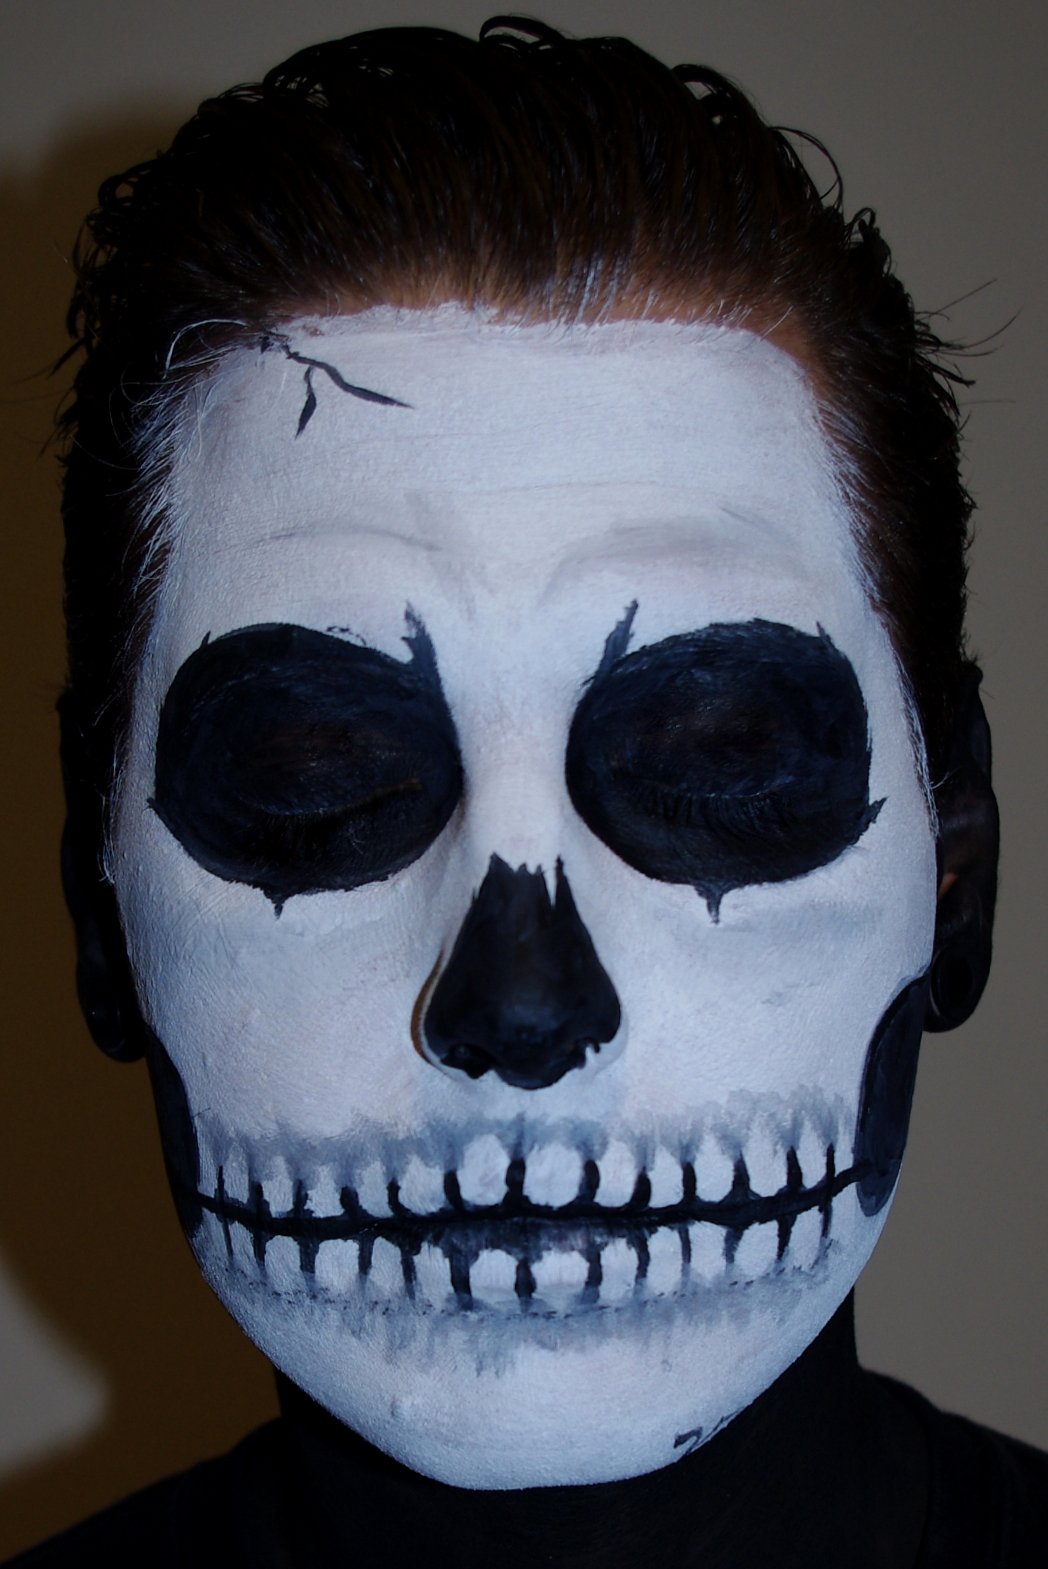
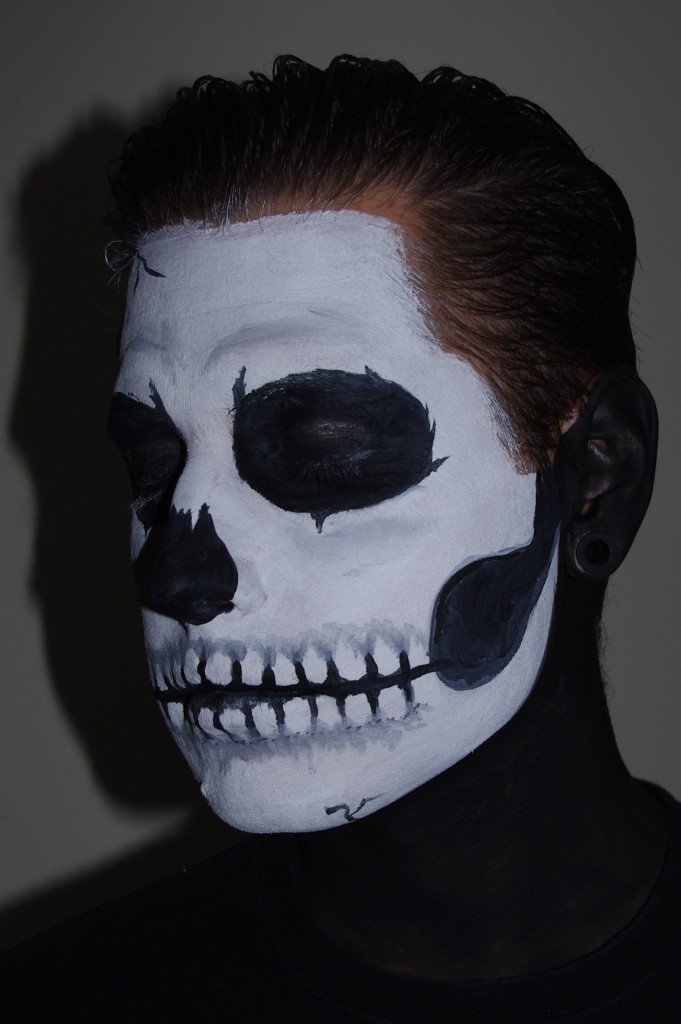
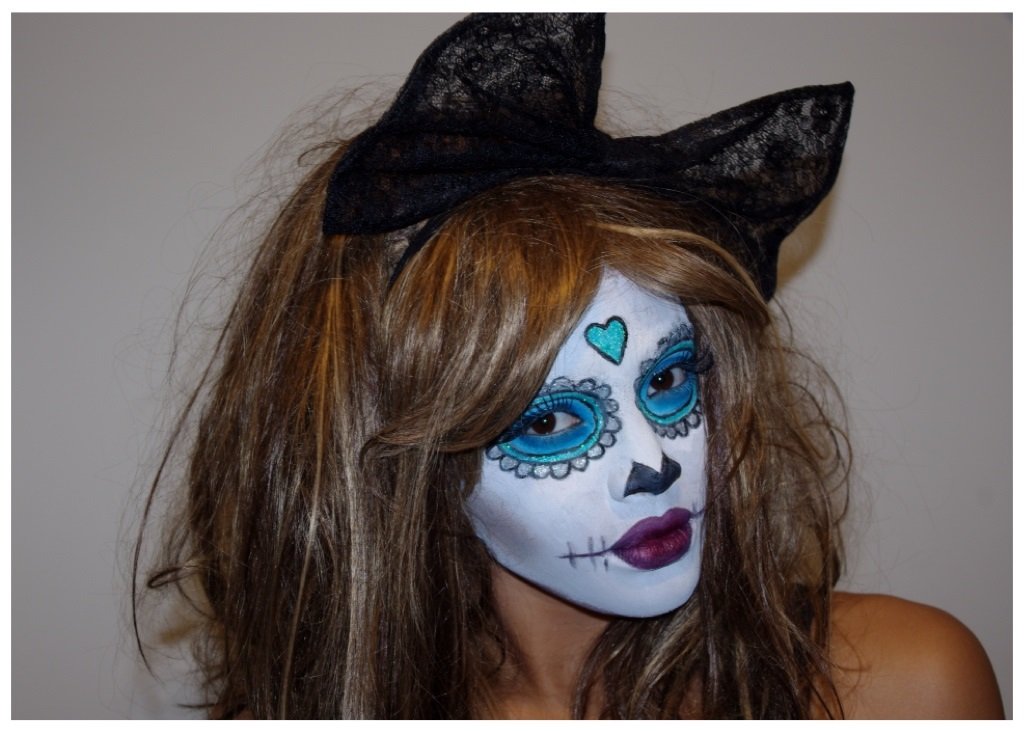
This is a follow on from the previous post, on how I did my skull doll Halloween makeup. My boyfriend also opted for skull makeup and I was quite surprised at his results. It’s always slightly awkward when your boyfriend does a better job at makeup than you, don’t you think?
Look below to see step by step of how he achieved this look:
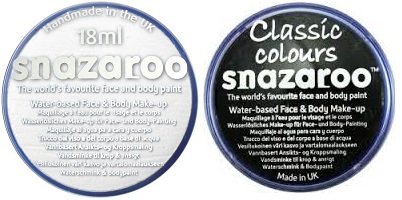
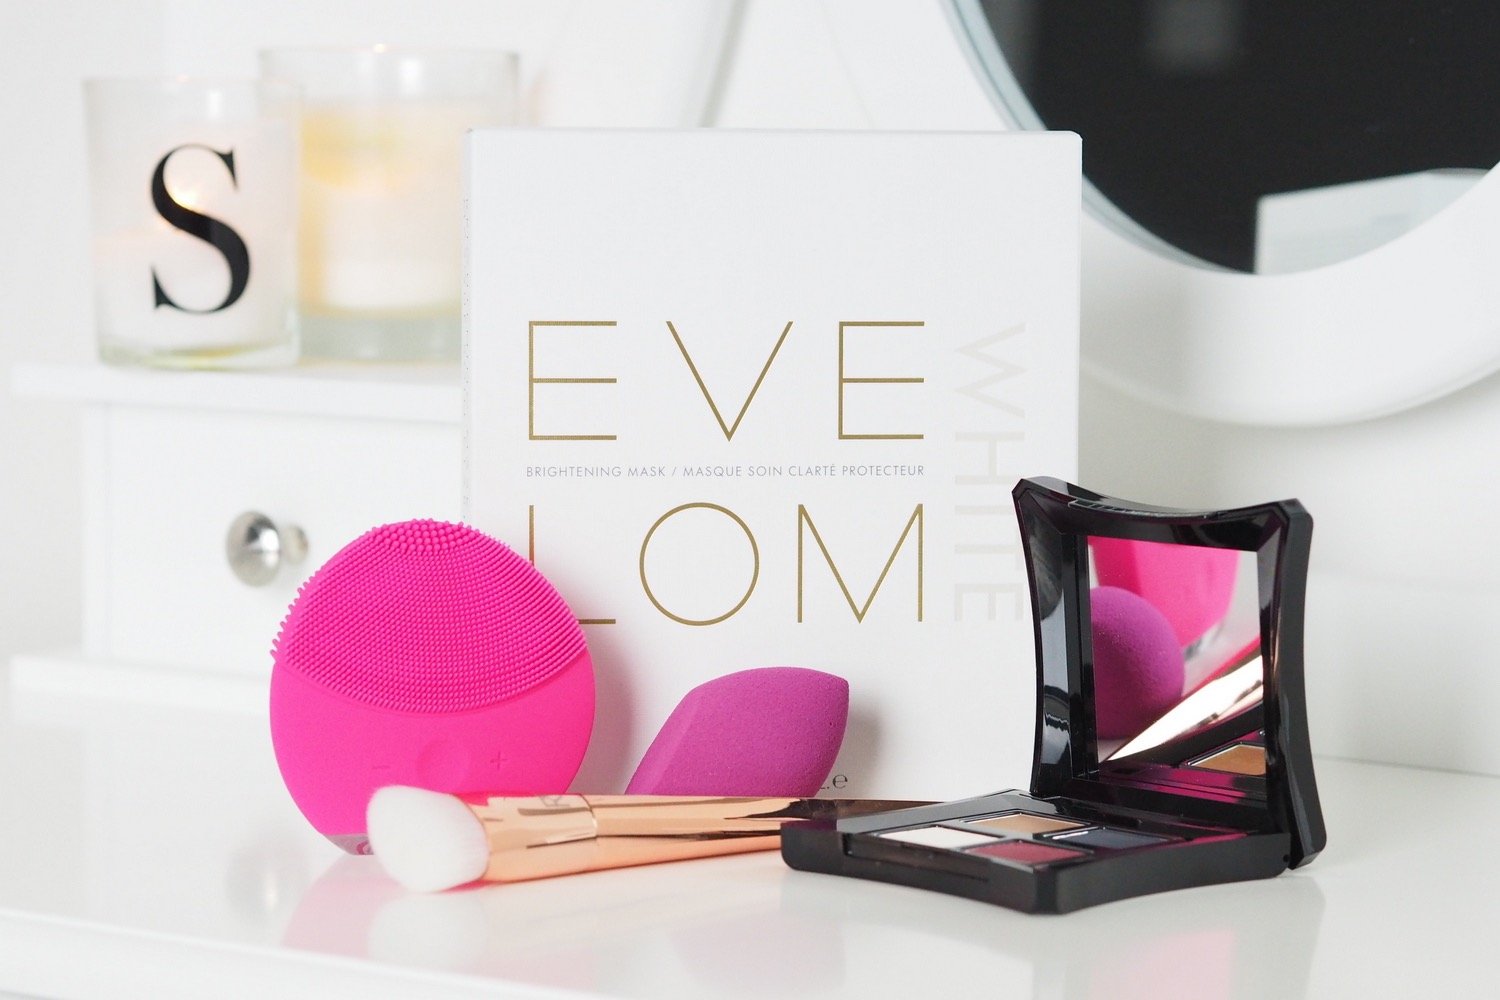
What he used:
For the application:
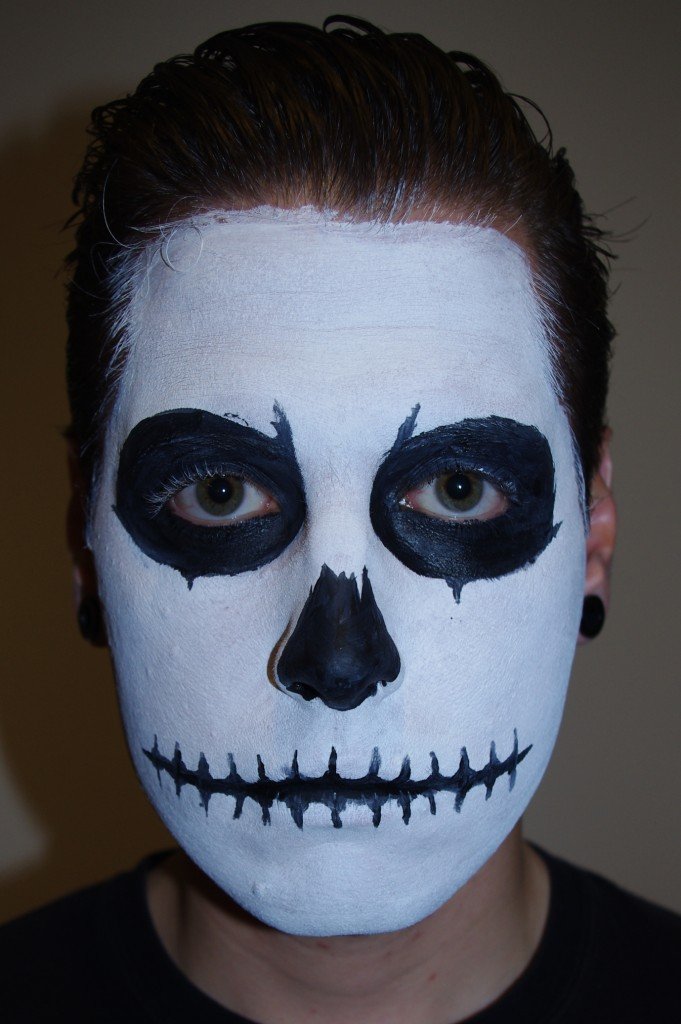
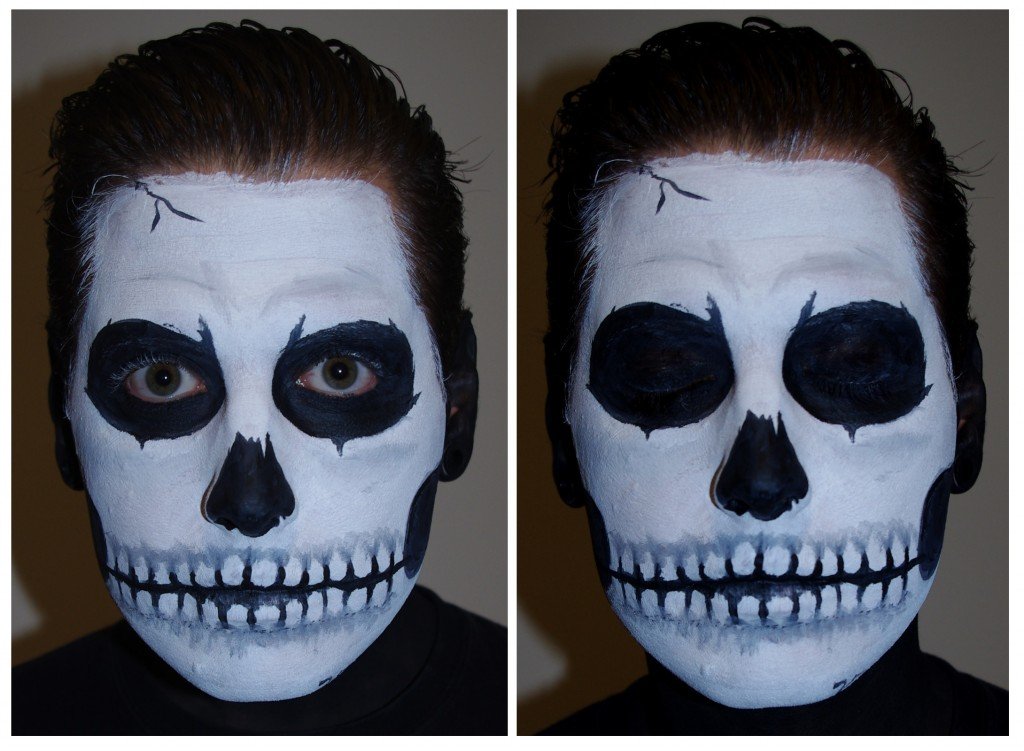
He used the sponge to apply the white face paint to the whole of is face, avoiding the eye area.
Next he used one of the fine brushes to outline and fill in the shape around the eyes, using the black face paint.
This was then done to draw and fill in the nose.
A thin line was drawn across the top lip, spreading out along either side of the face, again using the black face paint.
Along the black line he drew ‘U’ shapes, above and below the line, to create the look of teeth.
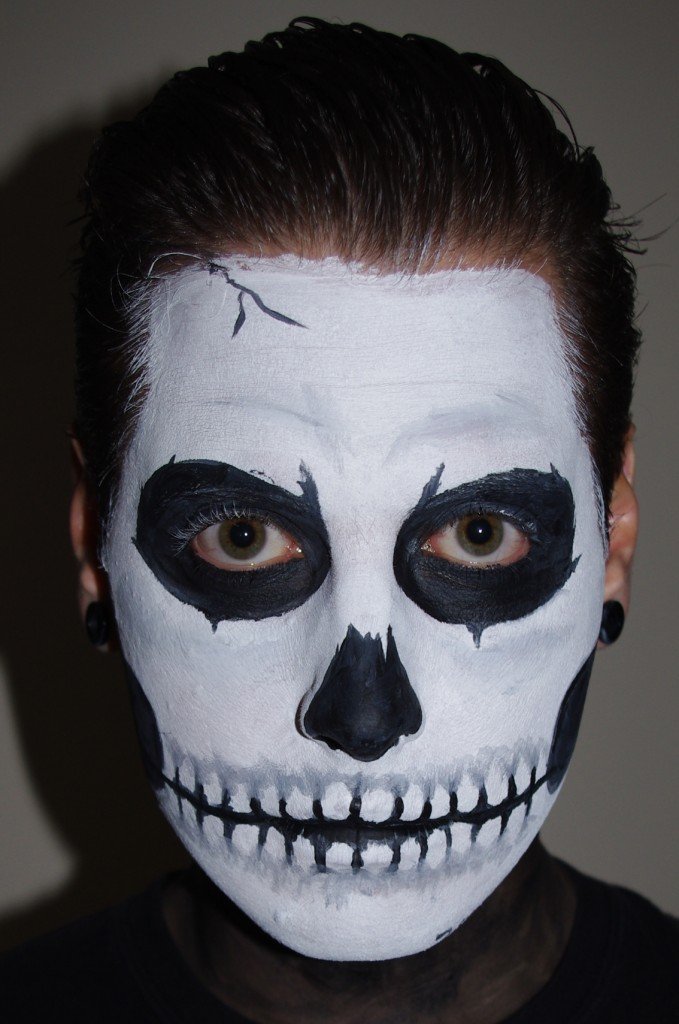
Lightly watering down the paint on the brush, he then shaded above and below the ‘U’ shapes, to add more detail.
At either sides of the face he drew a circle outline, to later be filled in.
He next filled in the outlines made on either side of the face, using the black face paint. He then added slight detail above the brown line, again using the black paint slightly watered down.
A crack line was added to a top corner of the face to give the look of a cracked skull.
To finish off the look, he painted his neck and ears with the black face paint.
Happy Halloween!
Samio x





1 comment
Thank you so much for this 🙂