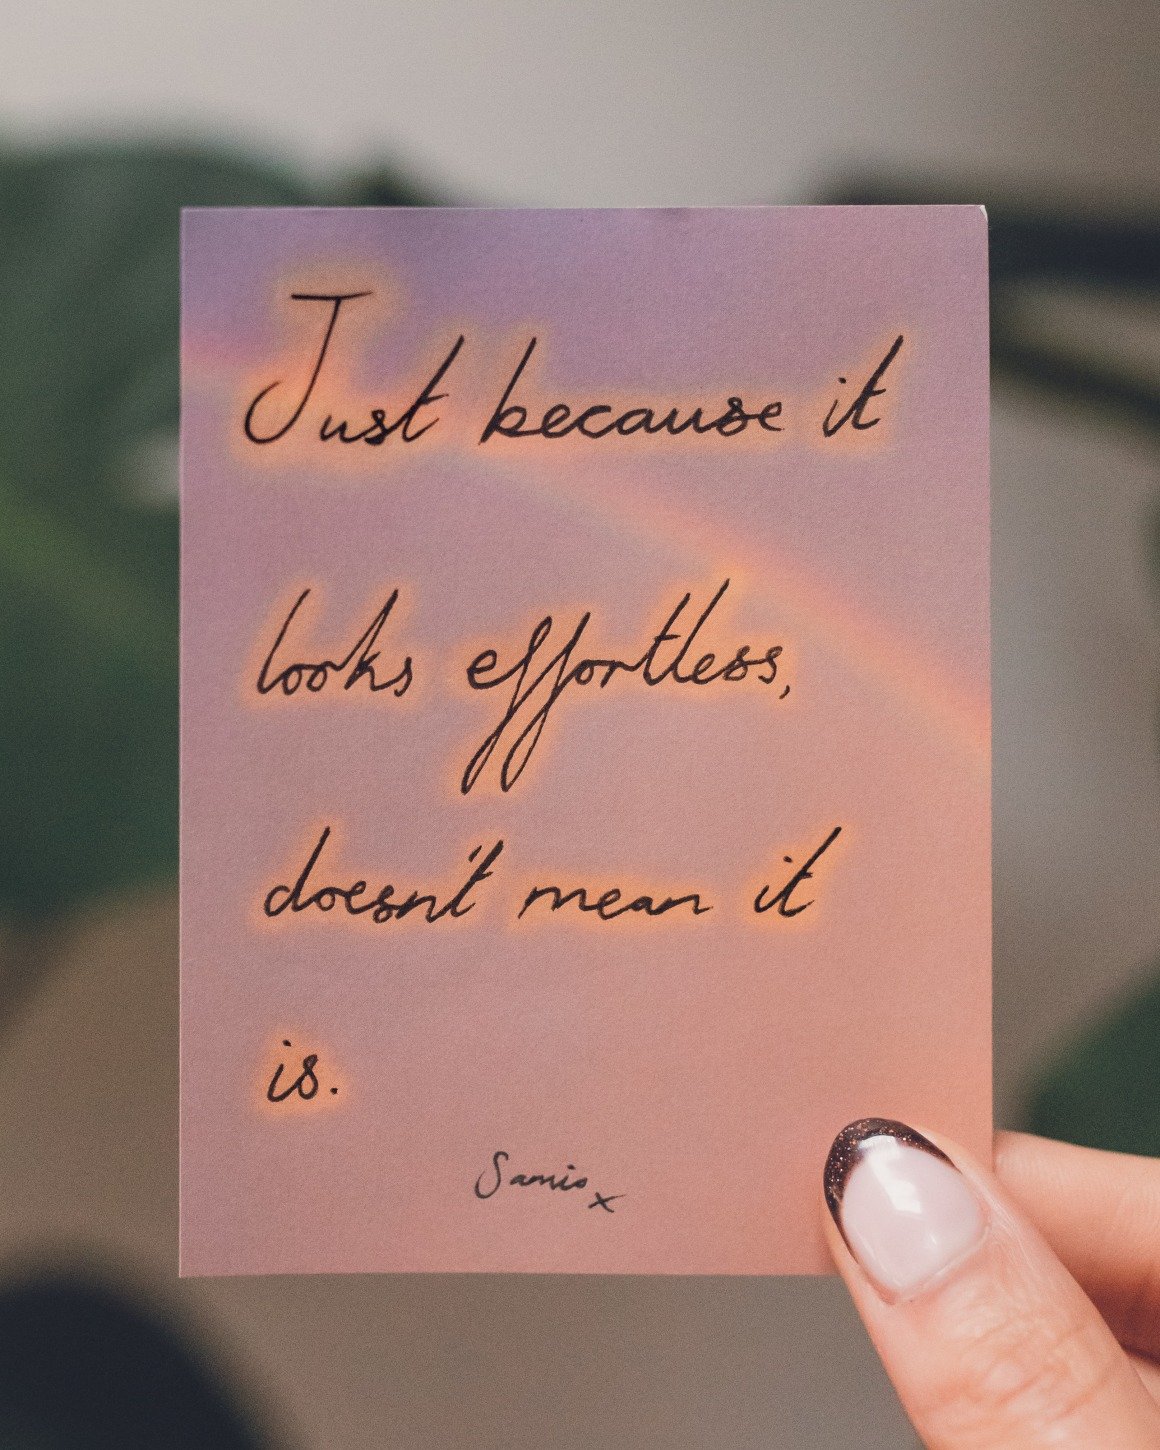
Remember, just because it looks ‘effortless’, doesn’t mean it is…
It’s all too easy to assume we understand the ins and outs of someone else’s success, journey, business, life, the list goes on…but just because what we see on social media may show us someone’s outcome, it doesn’t always show us the backstory (and even if it does, you’ll still never know all of it).
So when comparing your own journey in any area of life, to someone else’s seemingly ‘effortless’ outcome, remember that there will always be a lot behind the scenes that you’ll never really know…and just because it looks effortless, it doesn’t mean it is.
5 years has passed since this image, and I’m reminded of the construction site we once lived in again now, as Damien is currently working on the utility room.
We should have finished it with the rest of the renovations years ago, but what can I say, we got lazy and were sick of DIY at the time…but there’s no time like the present, so right now that area is once again dust and debris galore. But you can’t see round the corner (where it’s all going on) so we’ll just focus on the nice bit for now. @samiohome
As we enter into the festive season, it can become overwhelming when thinking about Christmas gifts and what to get for that certain someone who seems to already have everything, or on the other hand says they don’t want anything because maybe they feel they have enough things already or are concerned about the impact that said gift could have on the environment.
I personally am someone who doesn’t like to receive physical gifts as I try to keep personal clutter to a minimum, and so I realise I can be the type of person who can be hard to buy for around this time of year too, and that’s why Treedom stands out to me.
Treedom is a great way to give a gift to someone you love, whilst also having a positive impact on the environment and local farmers in other countries.
What is Treedom?
If you’ve never heard of Treedom before, they are the first platform that allows people to plant a tree from a distance and follow the story of the project online. Not only is there positive environmental impact from planting trees but there’s the social and economic benefits for the farmers too.
What’s really cool about Treedom is that by buying or gifting a tree you’re directly financing small agroforestry projects in rural communities giving farmers the knowledge to keep and look after the trees you plant. By planting trees across 17 different countries across the world the farmers also enjoy the commercial benefit of the fruits produced by those trees. The farmers are fully supported until the trees start producing meaning they can focus on giving the care the trees need to be a success.
What is Agroforestry?
Agroforestry is where land is utilised by more than one specific entity such as trees, livestock or crop rather than any single entity – essentially making the most of the land available. There are both economic and environmental advantages to agroforestry.
In terms of improving profitability making use of the land for multiple things gives more profit than a single entity, but also by planting trees in these areas the crops and livestock are protected from the effects of the sun, wind and rain and any other adverse weather. The new products diversify the farmers income so they aren’t reliant on one crop or livestock and the need for pruning of trees gives a small amount of firewood back to the farmers for use in cooking.
It’s not all just about making money either, there’s a huge environmental impact of planting trees. There’s the obvious CO2 reduction over the tree’s lifespan but trees also enrich the soil enabling use of it for a longer period; trees also aid in improving air and water quality locally.
Now you can’t just plant any old tree anywhere you like – it has to be carefully considered as to the species and if the environment is able to support it – and also that it won’t actually damage the environment too. Artificial forests (where there is only a select number of species grown in an area) can put water reserves for an entire region at risk, damage local ecosystems and also impoverish local diversity in the area. Treedom does the hard work for you here – by giving you the option to only plant pre-selected tree species in specific regions.
I Want To Plant a Tree!
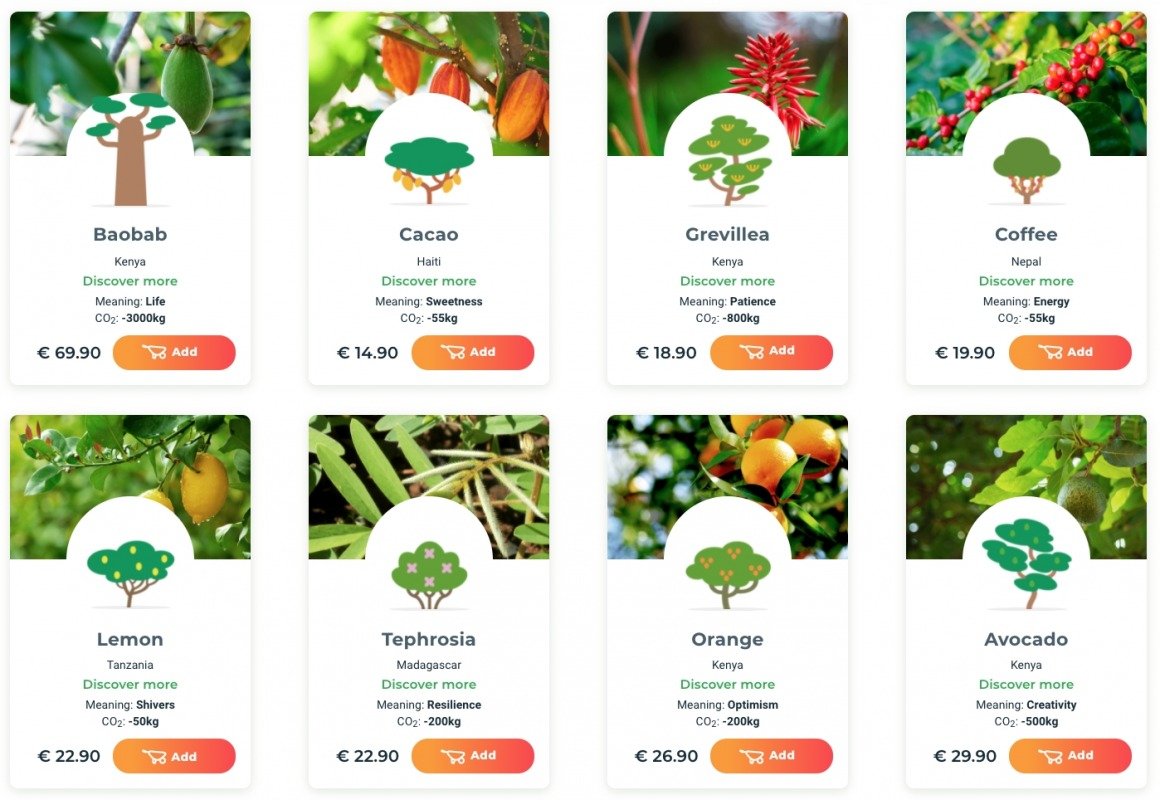
The first step is to head over to Treedom.net and select which kind of tree you’d like to plant. You can select from species such as Coffee, Cacao, Lemon, Baobab and quite a few more! Other than the type of tree you can also filter down based on how much carbon each tree would absorb over a minimum 10 year time period.
Before choosing your desired tree there’s information on which country it will be planted, local uses (such as medicine, biodiversity and sales) but also the overall benefits of planting this tree such as CO2 absorption, environmental protection, food security and economic development. I find the information really helpful in aiding me decide what exactly I want to support and where I want to plant a tree.
Once you have selected buy it for yourself or gift it to someone and then you can follow the story of your unique tree. You will be given GPS coordinates with a photo and regular updates about the project in which it is planted.
So buying and planting a tree couldn’t be easier, or more fun, and what a great way to gift a present that keeps on giving!
And as a special offer for readers of this blog, you can use code SAMIO15 at the checkout for 15% off. only to be used once per person, expires on the 1st January 2022.
If you’re new to the world of cruelty free beauty and are trying to get a better understanding of what it means, you may have already found it a bit confusing when coming across some products that are labelled ‘cruelty free’ and others that are labelled ‘vegan’, but maybe not both. It’s pretty normal when starting out your journey into the world of cruelty free beauty to have lots questions like ‘What does cruelty free beauty actually mean?’, ‘What does vegan friendly mean?’, And ‘does cruelty free mean both cruelty free and vegan?’
In this blog post I’m going to dissect some of this terminology a bit, and hopefully help you to better understand and navigate the world of cruelty free and vegan beauty…
What does ‘Cruelty-Free’ Beauty mean?
When referring to beauty products, ‘cruelty-free’ means that the products haven’t been tested on animals, nor do they contain ingredients which have been tested on animals. In order for a brand to be classed as cruelty free, all of their products must be cruelty free.
What does ‘Vegan’ Beauty mean?
The term Vegan when labelling beauty products refers to products that don’t contain any animal derived ingredients, for example things like honey, which comes from bees, or even some dyes which can come from bugs, or different skincare ingredients which can have animal derivatives too. An individual product from a brand can be classed a vegan without the entire brand being classed as vegan.
So what’s the difference between Cruelty Free and Vegan Beauty?
When looking at the general definitions for cruelty free and vegan beauty it sounds pretty straight forward, however this can be trickier to navigate than you’d think, as actually there are some brands which will claim to be vegan or sell a selection of vegan products, whilst not actually being cruelty free as a company. And if you are someone who is looking to buy only vegan products, not all cruelty free brands are fully vegan either.
But it is illegal to test beauty products on animals in the UK isn’t it?
Thankfully the testing of cosmetic products and their ingredients on animals was banned in 1998 in the UK and subsequently it was also banned across the EU in 2013…however, things get slightly tricky again when you take into account brands which are also sold within the Chinese market.
Unfortunately, up until recently, cosmetics sold within China were required to be tested on animals by law. This meant that even products produced and sold within the UK and EU, if then also sold in China, would also have to go through mandatory testing in order to be sold to the Chinese market, therefore not technically making these particular brand cruelty free.
As of 2021 however new changes have come into place which have lifted the legal requirement of animal testing on some cosmetic products imported and sold in China, but not all. And so this still means that many cosmetics sold in China are still not classed as cruelty free.
So how do I work out which products to buy, where do I start?
At first it can all seems a bit confusing, but don’t let this put you off altogether though, as I’m sure if you’ve made it this far into exploring more about the world of cruelty free and vegan beauty, you already have an interest to learn and understand it more, and I promise you that once you understand the basics it’s much easier to navigate, and actually shopping cruelty free and vegan is easier than you think.
You can start by looking out for brands which have been leaping bunny certified. This means that they have gone through a specific checklist to prove that they are cruelty free. This doesn’t mean that leaping bunny certified brands are also vegan however, so it is important to double check when looking for products that are both, but I’d say it’s best to find out if a brand is cruelty free first, and then if you are looking for vegan specific products, then find out which cosmetics from that cruelty free brand are also vegan.
Most cruelty free brands have a wide variety of vegan products (with some brands being both completely vegan and cruelty free), so you’ll soon find that there are so many amazing cruelty free and vegan beauty options to choose from to suit your budget. There are lots of products available that are both cruelty free and vegan if you’re looking to tick both of those boxes, and Boots have a wide range of both makeup and skincare to choose from.
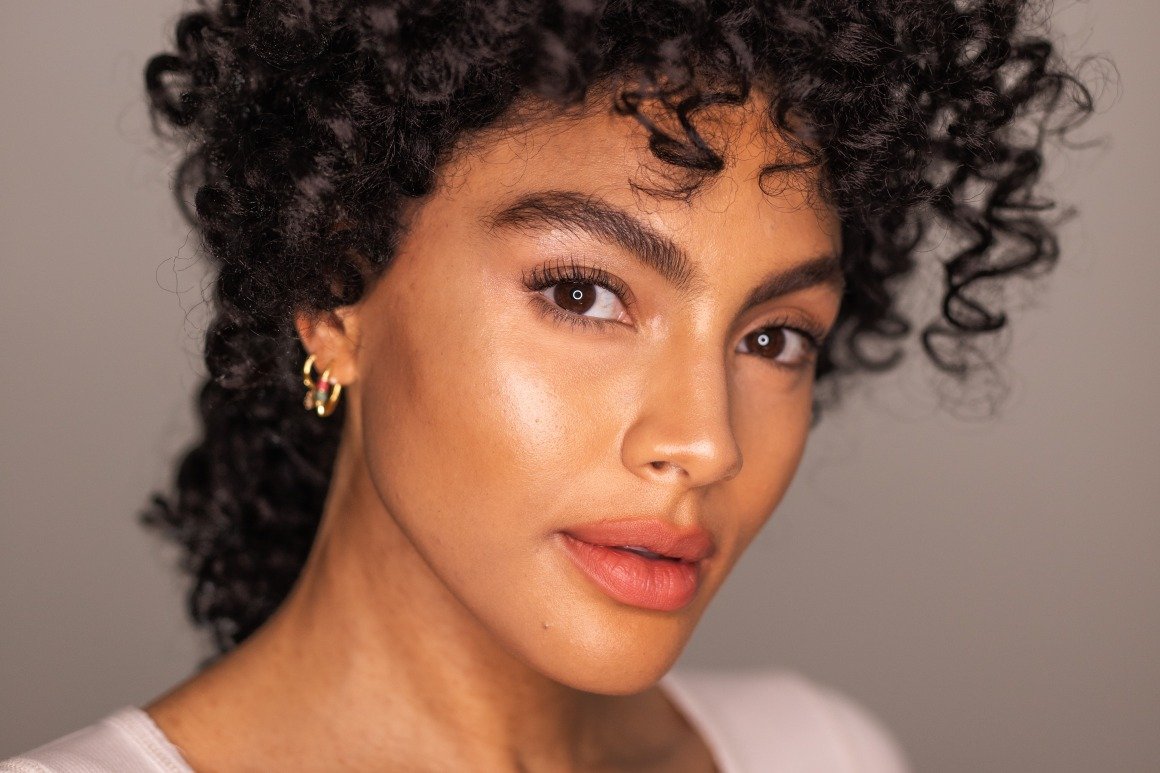
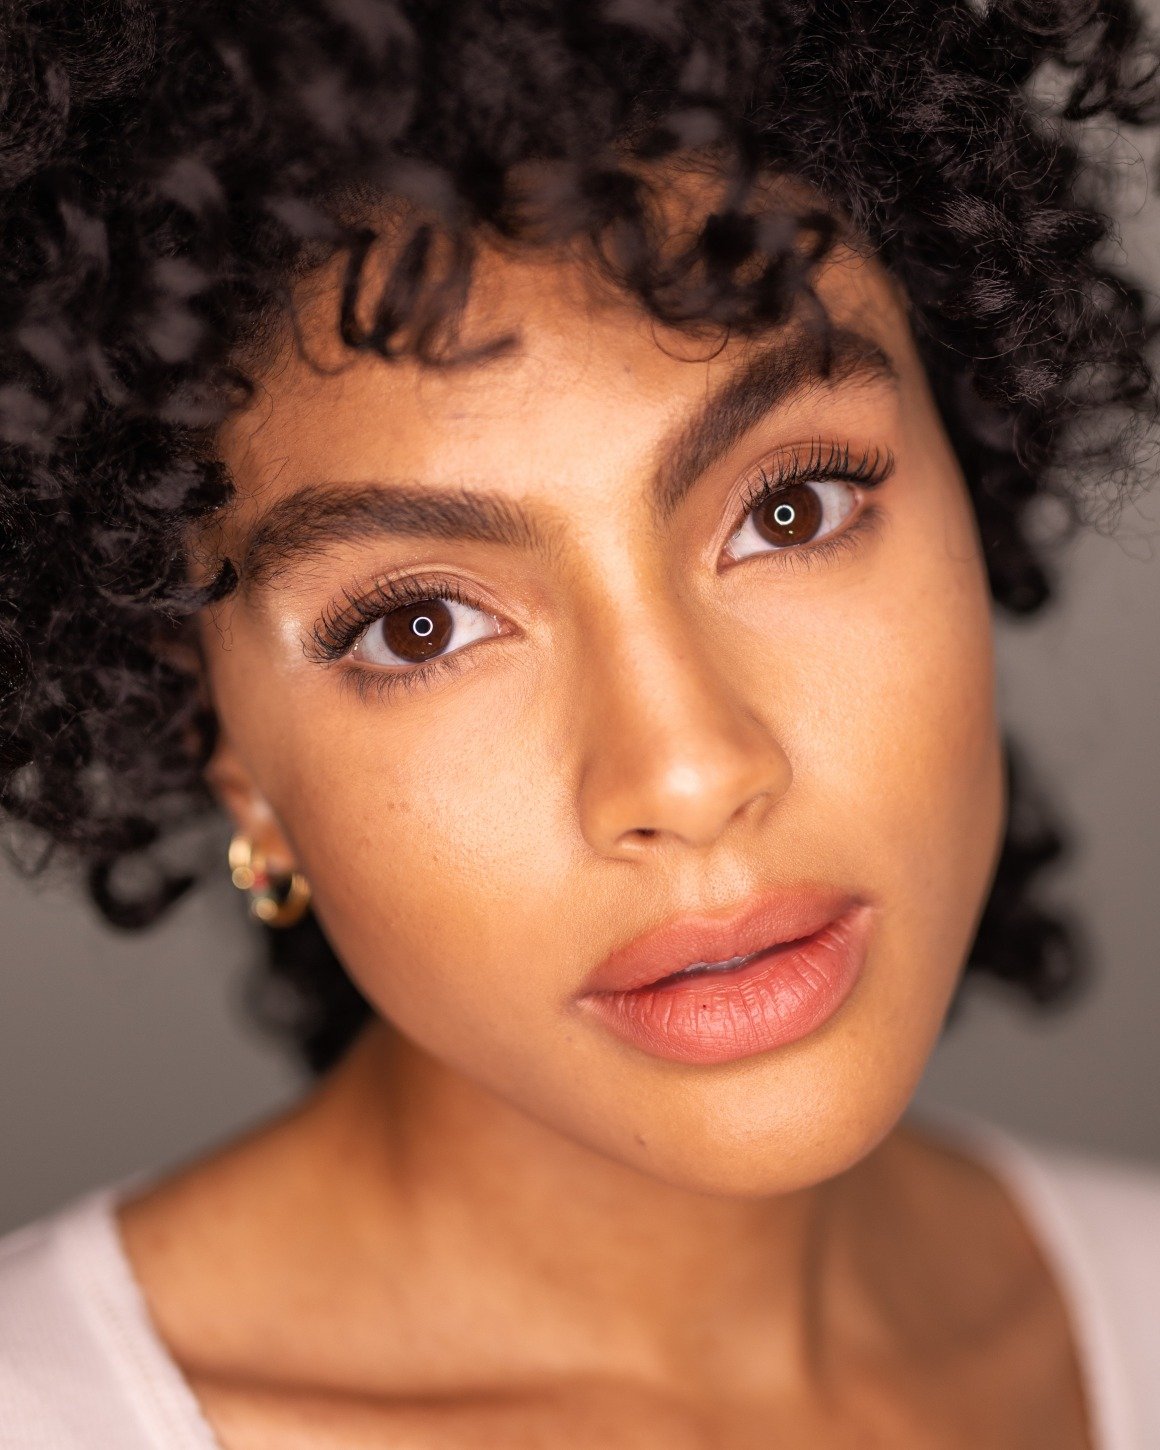
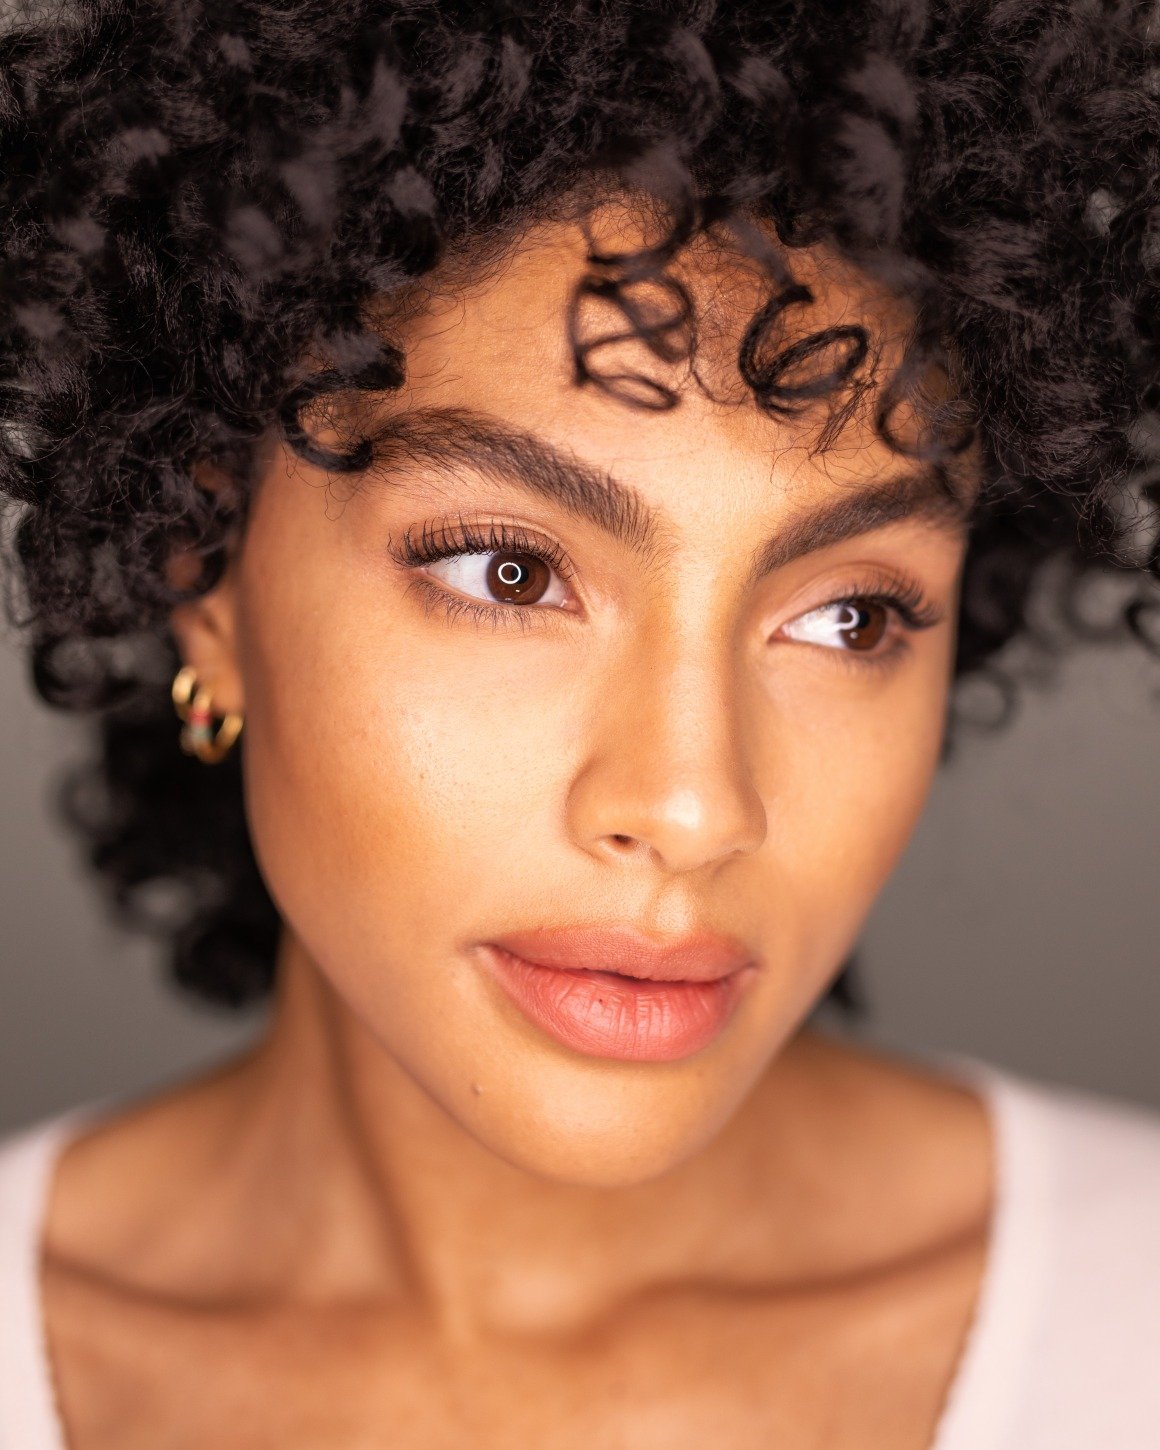
So in this post I’ve teamed up with Boots to compile a selection of vegan beauty recommendations; from vegan skincare to vegan makeup, making up a full daytime routine as some suggestions to get you started.
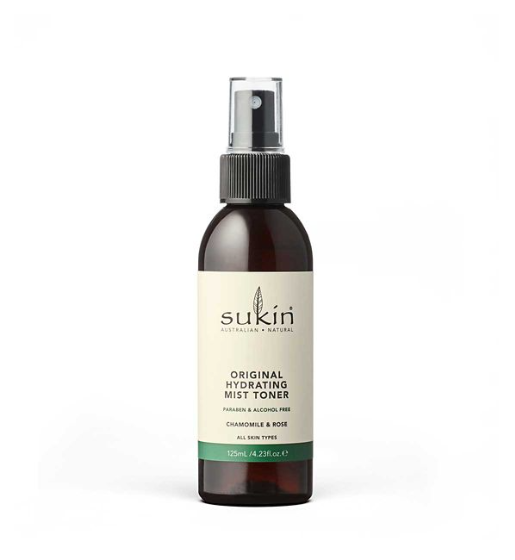
I love starting off my skincare routine with a mist toner and Sukin’s alcohol-free Hydrating Mist Toner has been one I’ve loved for a while. It combines Rosewater and Chamomile to help soothe, purify and cool tired skin.
It works great as a toner before applying skincare but also it works as great skin refresher throughout the day which can be sprayed on over makeup to help revive tired skin.
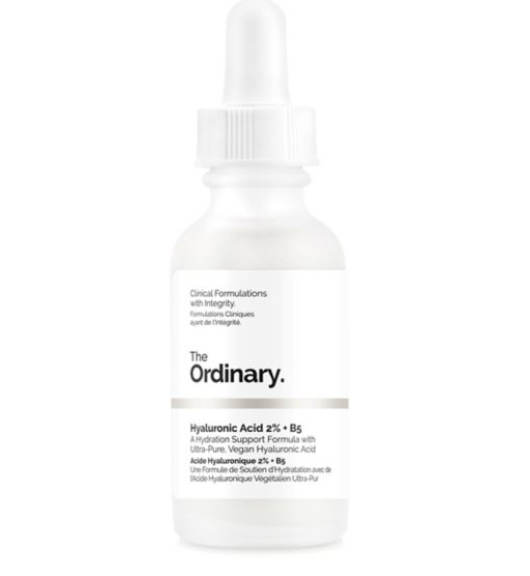
This vegan hyaluronic acid is great for locking in hydration. I use this almost everyday, especially during winter, and it really helps to ensure my skin stays hydrated.
It’s important to make sure your skin is damp when applying any form of hyaluronic acid to the skin, as this helps to lock in the moisture, rather than drawing it away from the skin.
So I always like to spritz my face first (this is where the Sukin Hydrating Mist Toner comes in handy), then I’ll apply a few drops of this before applying my face cream straight after, and this really helps to maintain that moisture retention on the skin, for a plump and smooth complexion with a fresh, dewy feel.
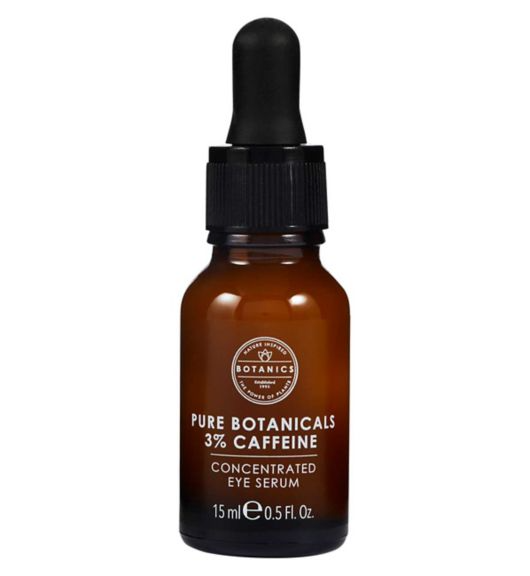
I only recently first tried this eye cream and I instantly took a liking to it. It’s a natural caffeine-powered serum which helps to nourish and wake up the eye area, great for those groggy mornings when your eyes need a pick me up.
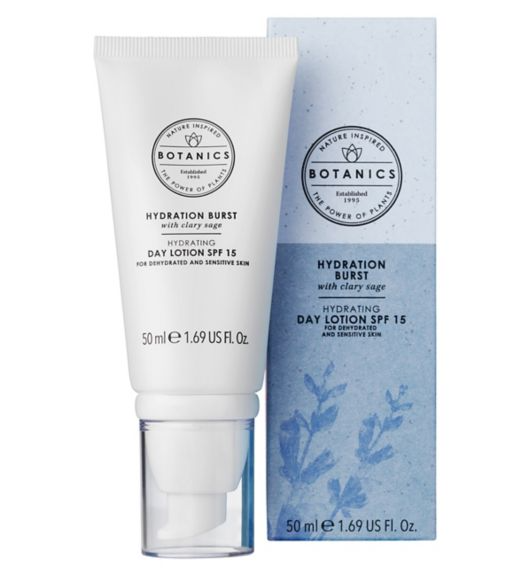
I always like to opt for a face cream with at least some SPF, even in the winter months, and this one with is great for sensitive skin which is in need of some added hydration. It contains Clary Sage extract to keep keeping your skin nourished and hydrated.
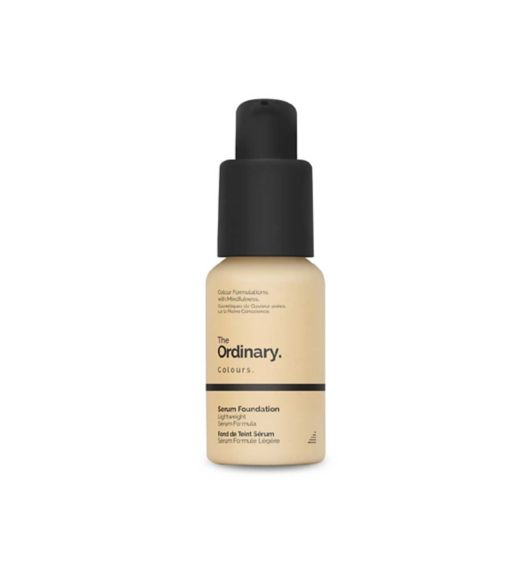
I first used this foundation a couple of years ago and I was instantly impressed by how good it was for the price. It has a light to medium coverage, and a lightweight serum feel.
I have found that this foundation is easy to build up for a fuller coverage, and with 21 shades to choose from you can easily blend shades too, in order to create the perfect shade for you (something which I’ve also done in the past). This serum foundation also contains SPF 15, which is another added bonus too. I’m using shade 2.1Y, for medium yellow undertones.
This is actually my first time trying out any products from KVD, but I have to say on first impressions I was immediately impressed wit this concealer.
It’s a creamy and blendable, full-coverage concealer with all-day long wear. It also feels really nourishing and works well at keeping the under-eyes hydrating.
You can use it to conceal over spots and blemishes, or to brighten under-eyes. You can even use this to contour by going for a shade deeper than your skin tone to create shadows and definition.
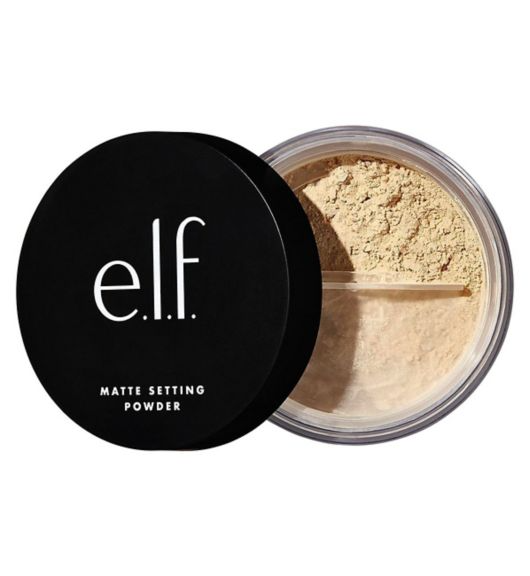
I always like to set my concealer and any unwanted shiny areas, such as above my brows, with a setting power. This ultra-fine setting powder gives a soft blur, matte finish and helps your concealer and foundation stay put for longer.
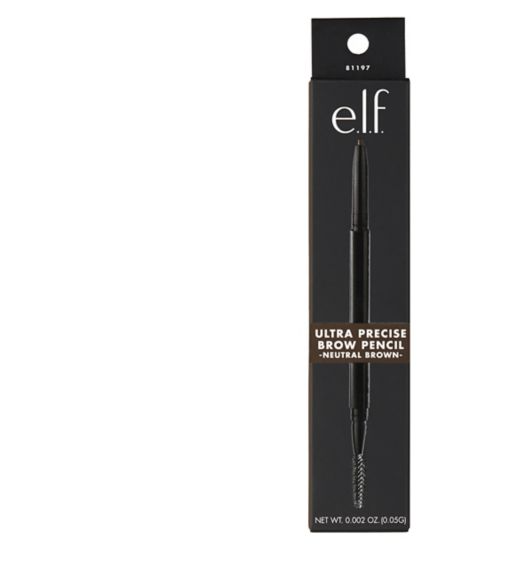
This is great brow pencil for an everyday natural finish. I like to fill in any gaps using the precise pencil tip and the spooly end is great for fluffing up and combing the brows into place afterwards.
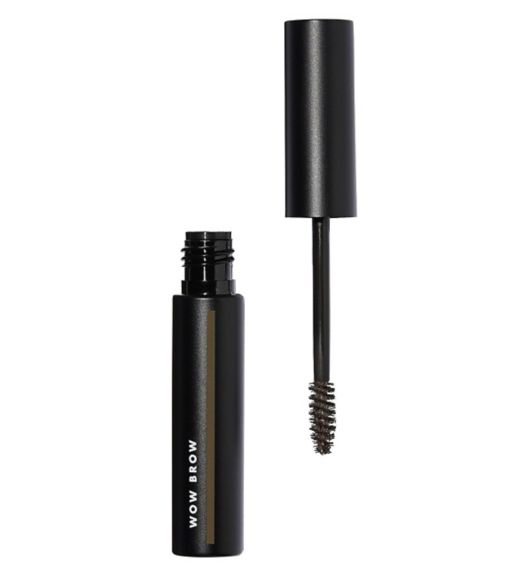
After filling in my brows with a pencil, I always like to go over the top of my brows with a brow gel. This really helps to give your brows a full, voluminous look. This product helps to brush brow hairs into place while depositing hair-like fibres for fuller-looking brows. It can be used over the top of a brow pencil, as I like to do, or it even looks good worn alone.
I really like the wand on this mascara as it’s great for combing through lashes to help separate and define them. It leave my lashes looking naturally defined.
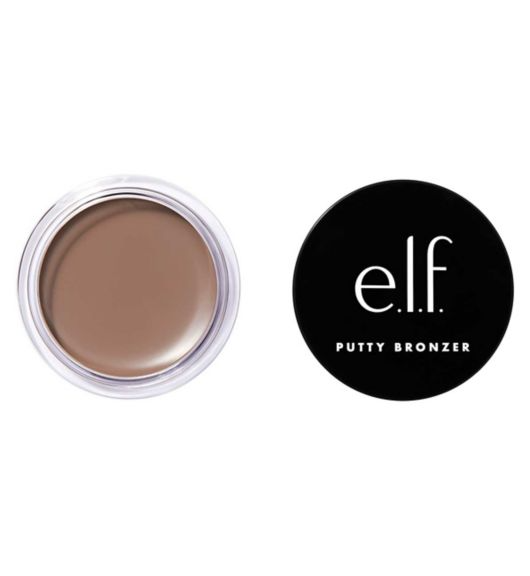
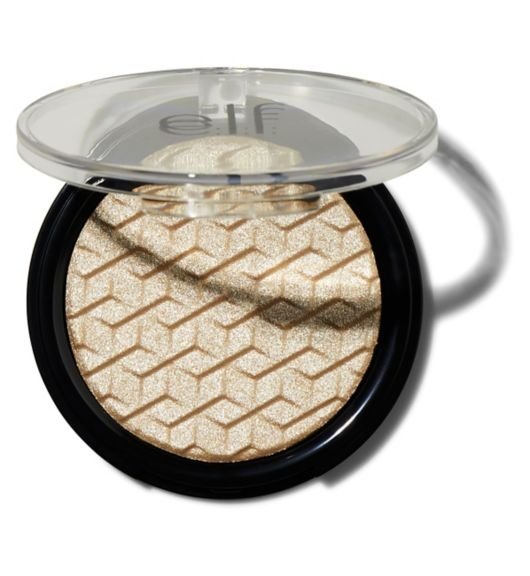
This bronzer has a unique putty-to-powder formula qnd great pigment, so a small bit goes a long way. It’s really buildable and is great for contouring or adding a natural sun-kissed glow.
It’s easy to blend and it’s lightweight and non-greasy, meaning it stays put and looks natural too. It’s also infused with Argan Oil and Vitamin E to help moisturise and nourishing the skin.
I also love the size of this put as it’s a great one for on the go, which easily fits into your handbag or travel makeup bag.
My all-time favourite long lasting lip product is Lime Crime Plushies. I most often wear the shade Milk Tea, although I do have these in a verity of shades, and I love them all! This time I’ve opted for shade butterscotch and I think I may have found a new favourite.
What I love most about these lip products is that they provide the long lasting wear of a liquid lipstick, whilst having the more subtle appearance of a light lipstick.
The Long-wearing formula dries down completely for a smudge-proof finish. Apply your plushies and once dry, pat down with a finger for a natural looking pouty lip look, or you can go more bold by applying a lip liner for a more defined and bold lip.
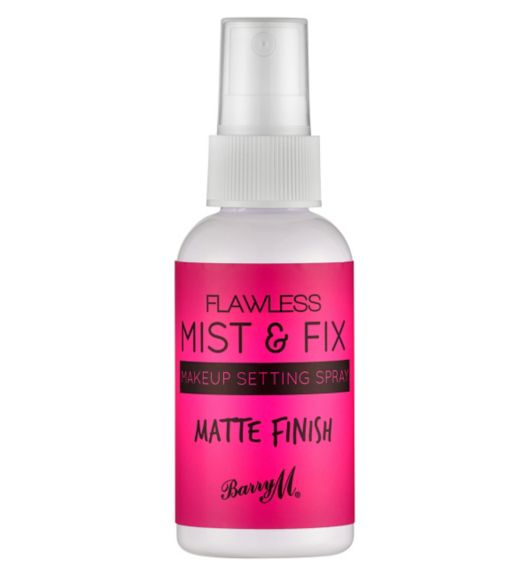
I always like to finish my makeup look with a setting spray.
This one has a matte finish and it helps to gently fixing your makeup whilst adding a polished look to the skin.
So that’s a round-up of my vegan beauty picks from Boots. I hope you found this blog post useful and maybe even found some products to add into your routine in the process. I’ve done a full video of this look over on my Instagram, so you can head there to check out this full look and how I applied the products in action.
Samio x
*Please be aware that Ingredients in beauty products can change, so whilst at the time of writing this all the items listed above are cruelty free and vegan, it’s important to do check the ingredient lists before purchasing incase of any future changes.
This blog is sponsered by Boots however all words and opinions are my own.
I took a week long digital detox and it was just what I needed…I decided to eliminate TV, my laptop, the internet and social media, deleting all my apps for a week, basically anything that usually would have me staring at a screen for long periods of time. And I pretty much only used my phone to text, only when essential (I’m not really a big texter anyway so that wasn’t hard for me)…and I have to say I actually loved it.
After having felt burnt out for a while, it was like the full factory re-set I’d needed – long overdue and so worth it.
I cleared my work calendar ahead of time and treated my week like an at home retreat; I went to the gym and yoga, I had a massage, I had a float tank session, went out for some meals, had lots of long walks, I journaled, and I read a lot – which is one of the things I really enjoyed getting back into the swing of this past week.
I seriously hadn’t felt this relaxed and fully present in such a long time, and I felt like I really got to clear my head and simply just think.
I couldn’t recommend taking a digital detox enough, especially if you are someone who struggles with anxiety, stress or overwhelm. It’s something I’ll be doing a lot more going forward…
Previously I’d take a weekend out here and there, but a full week gave me long enough to sit in the initial discomfort and actually give my brain time to process without so much outside noise and distraction…
It made me think of the quote I read whilst reading Greg Mckeown’s Essenstialism a while back -‘ …by abolishing any chance of being bored we have also lost the time we used to have to think and process’ – I couldn’t agree more.
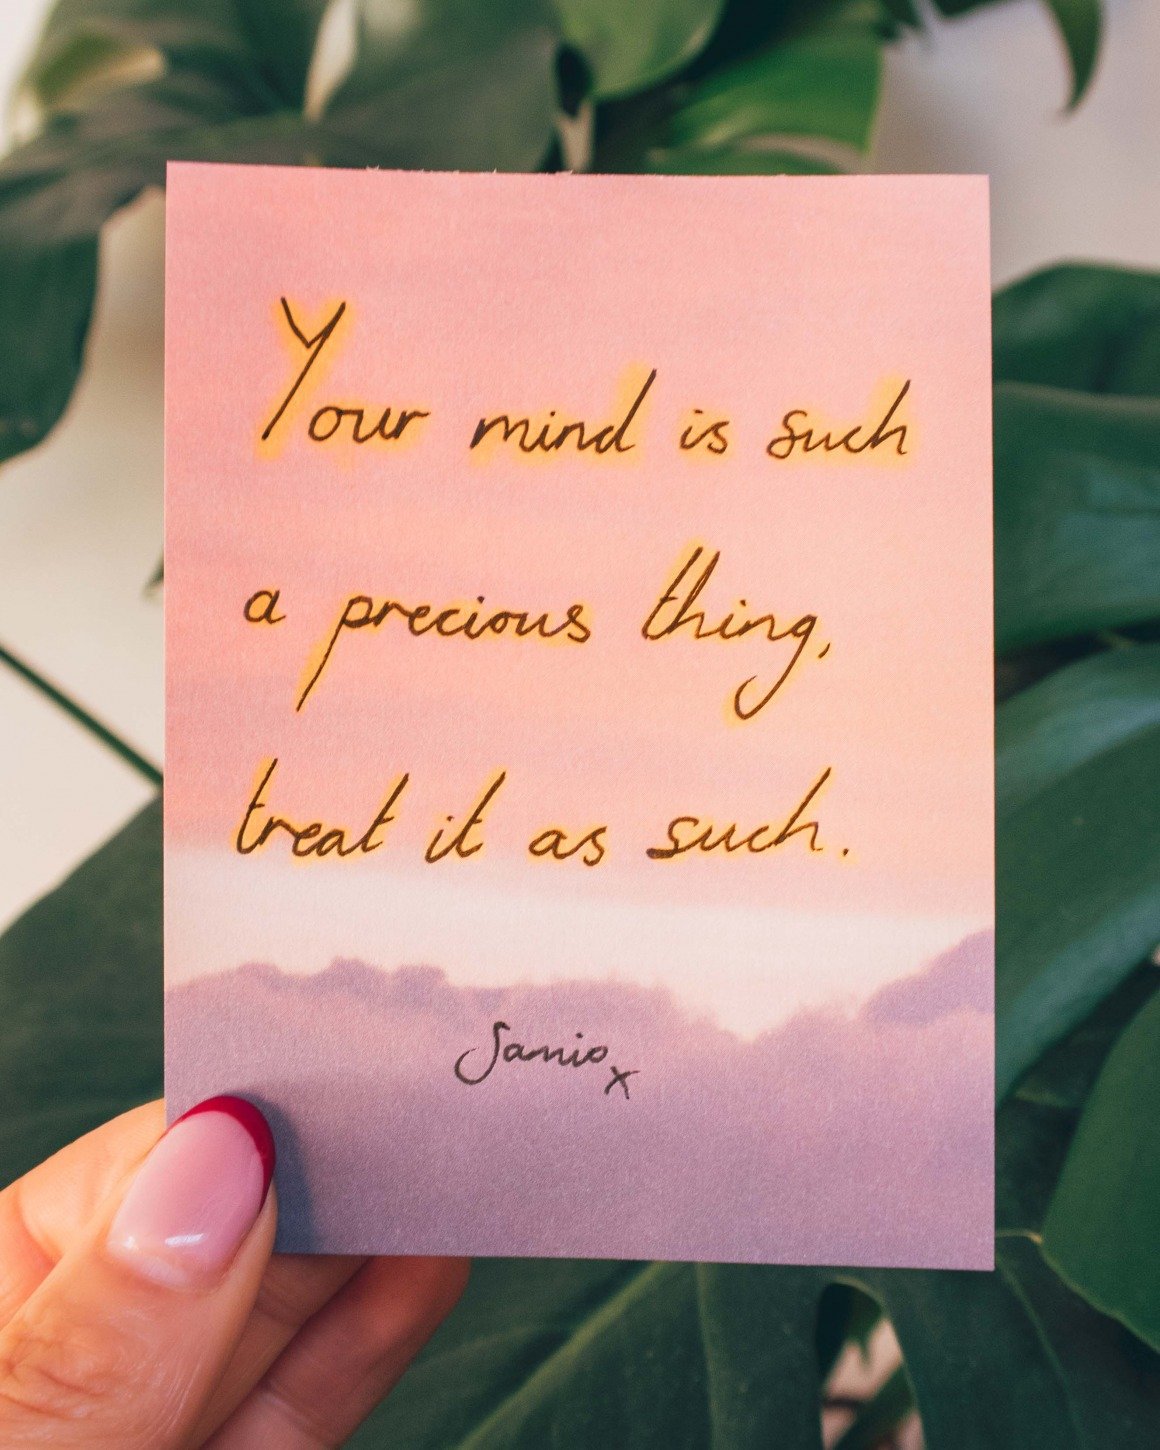
Your mind is such a precious thing, treat it as such.
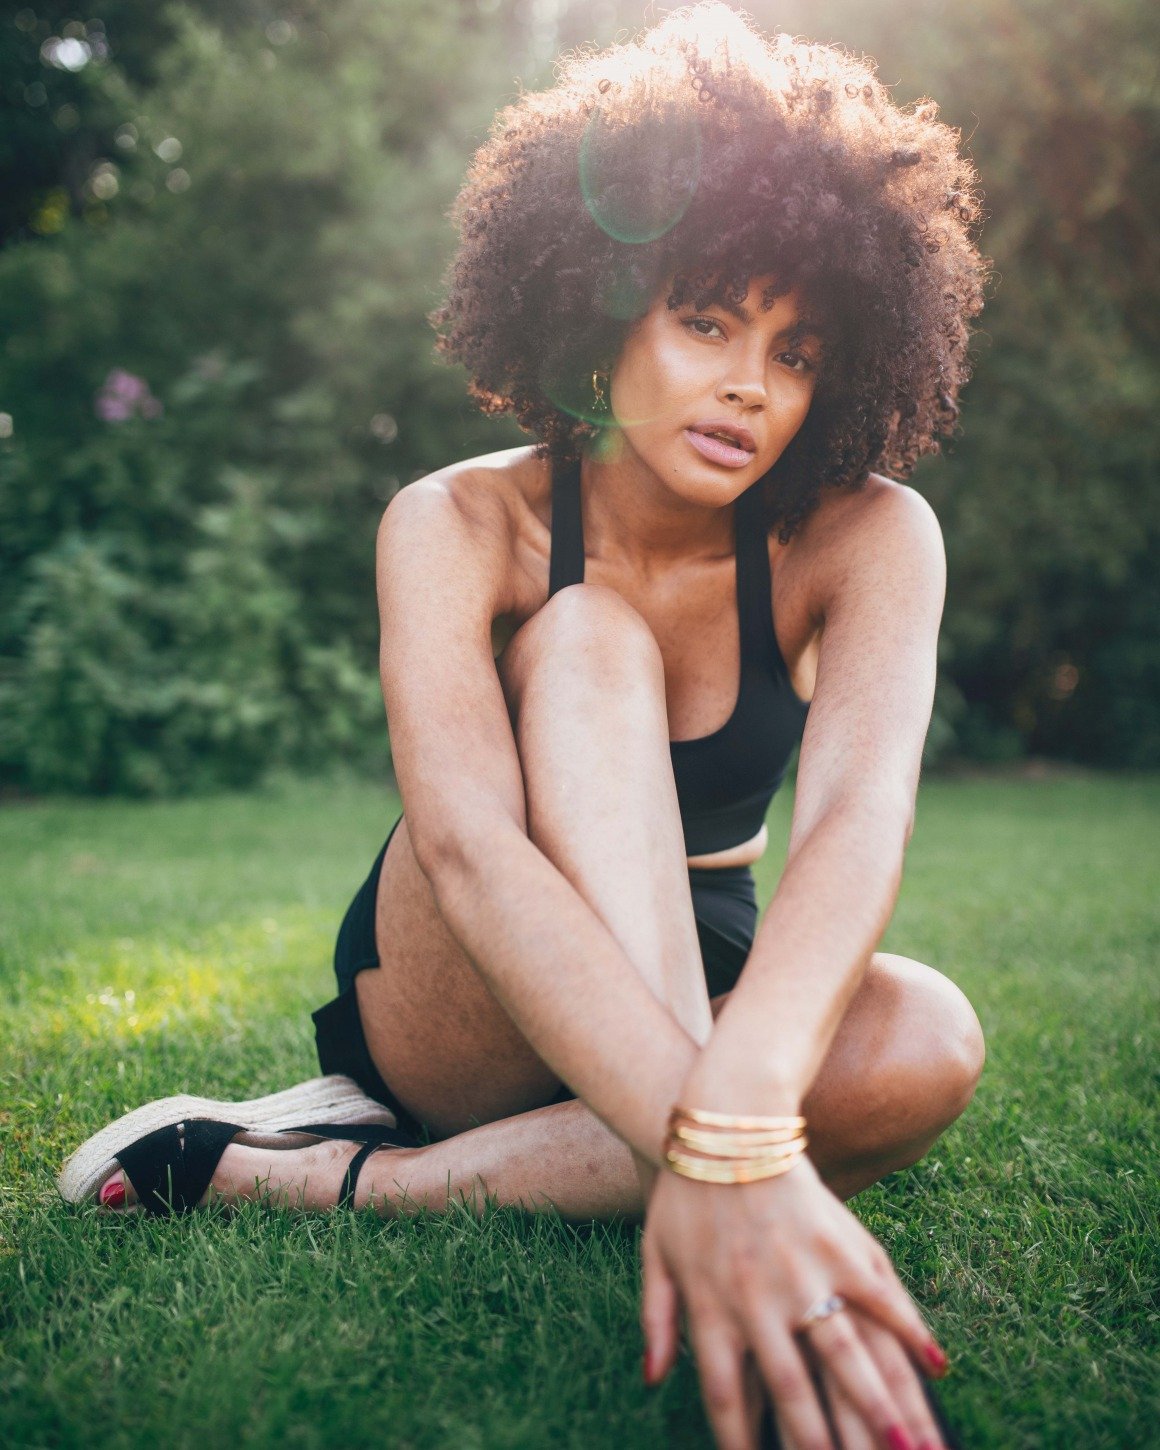
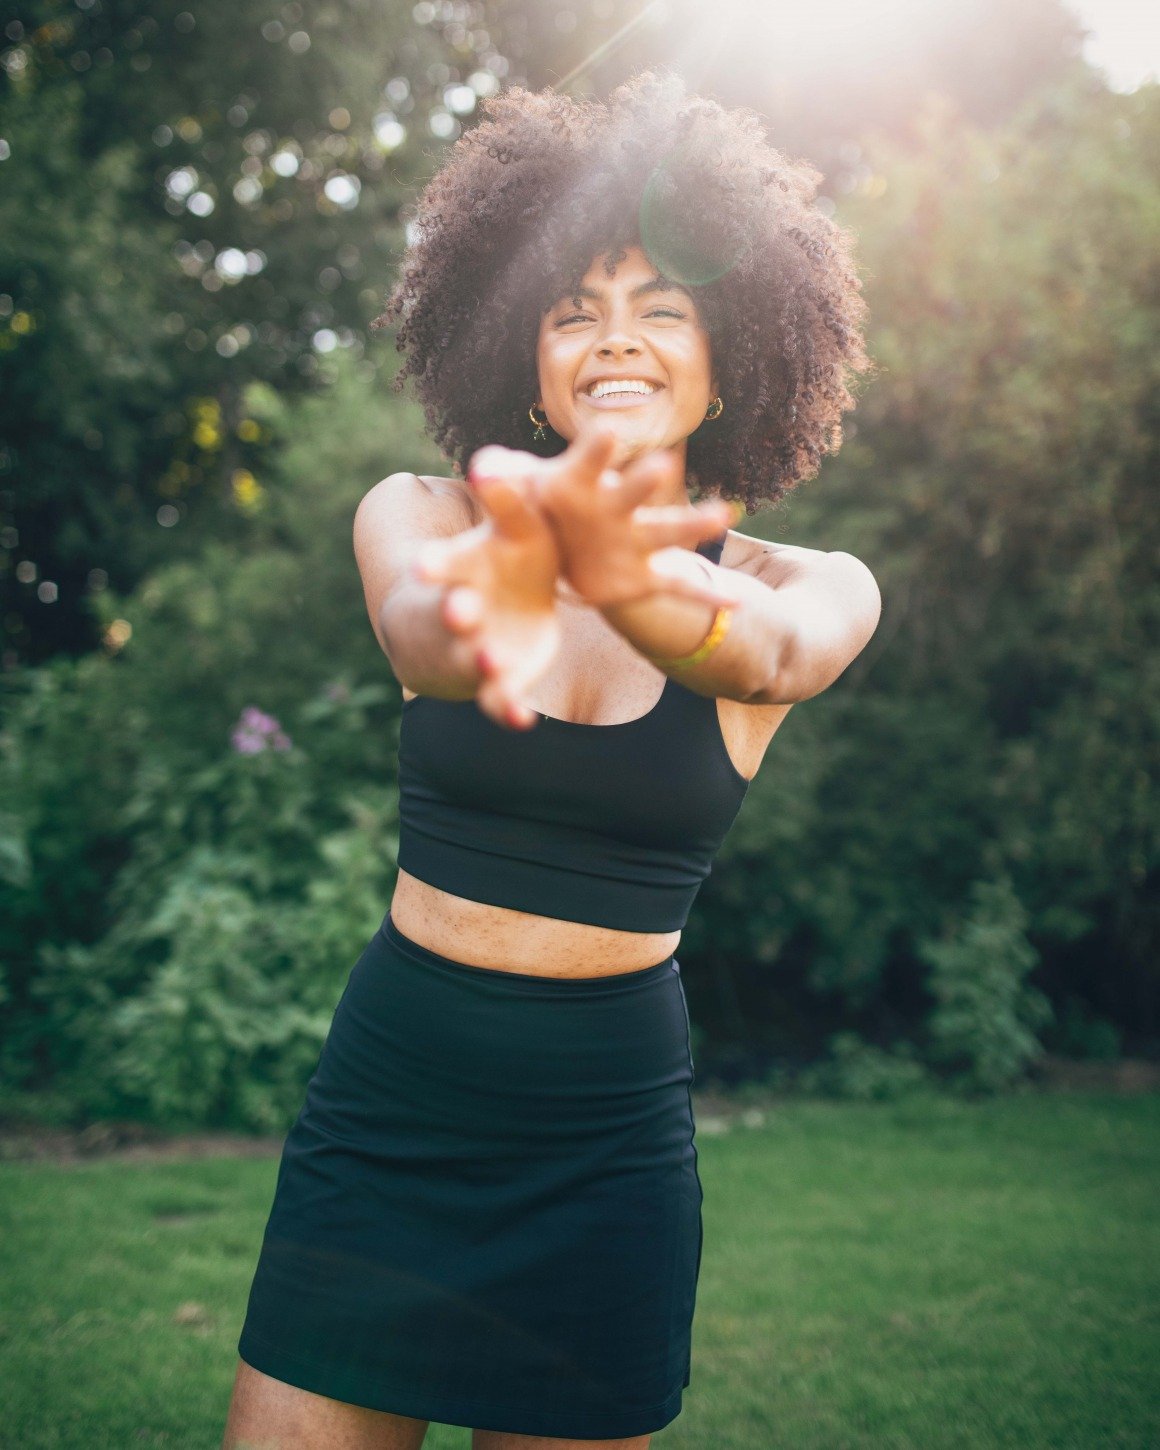
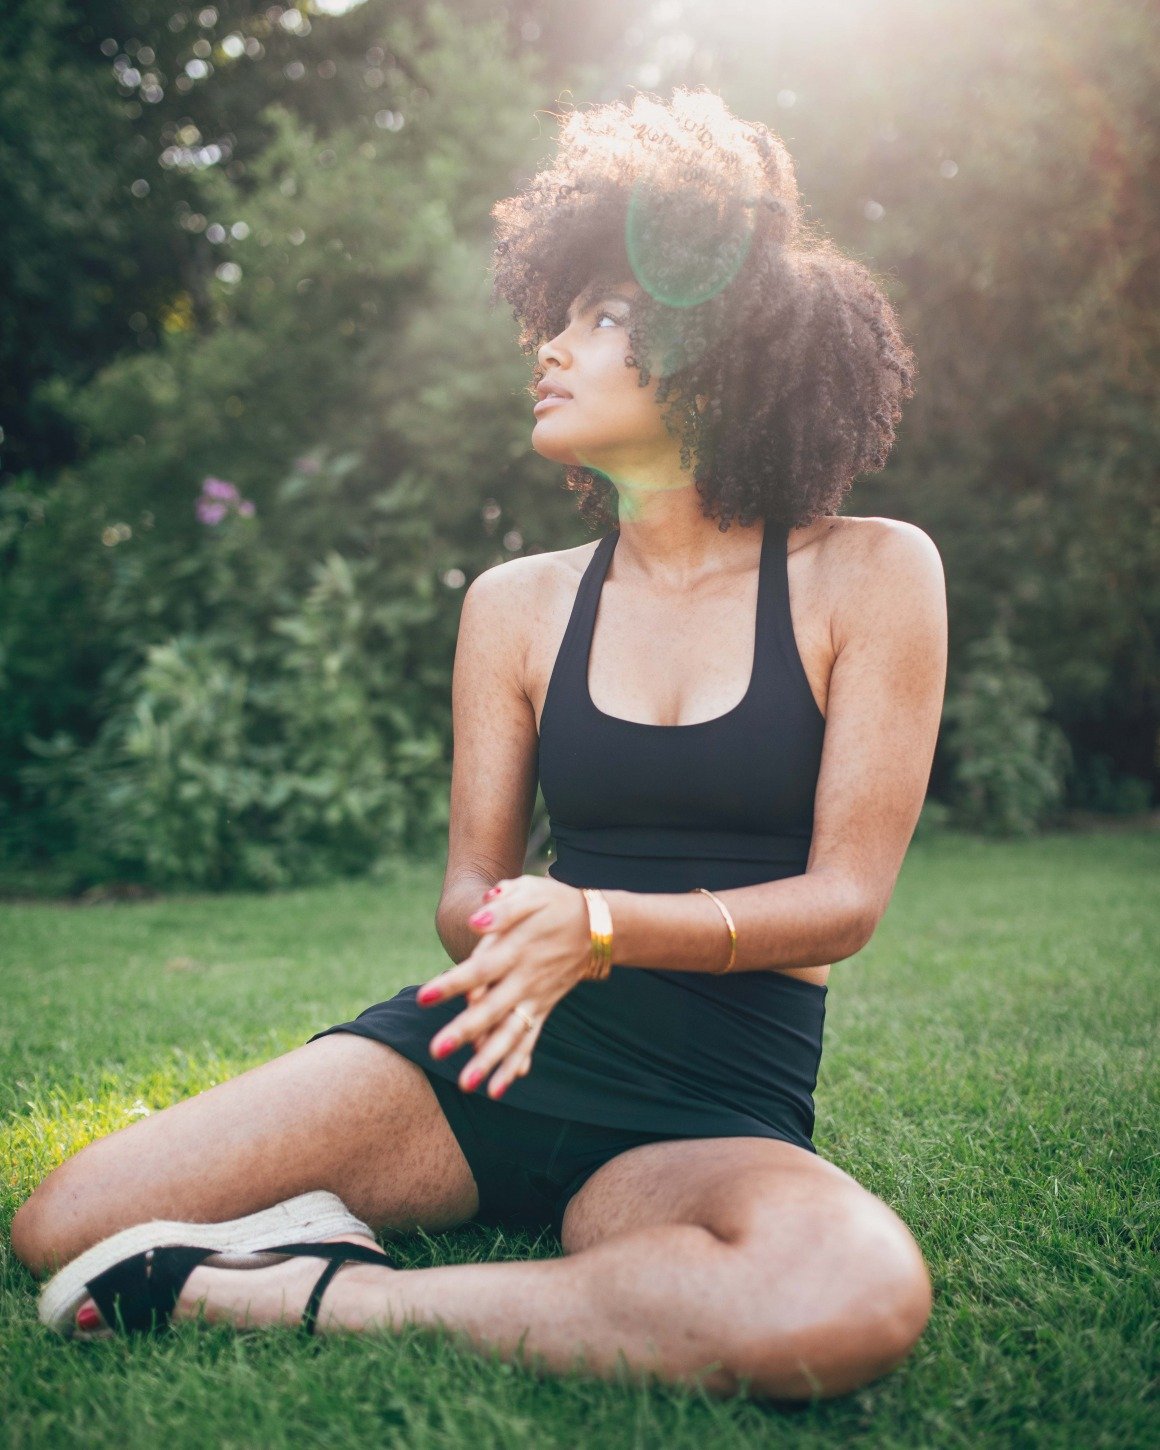
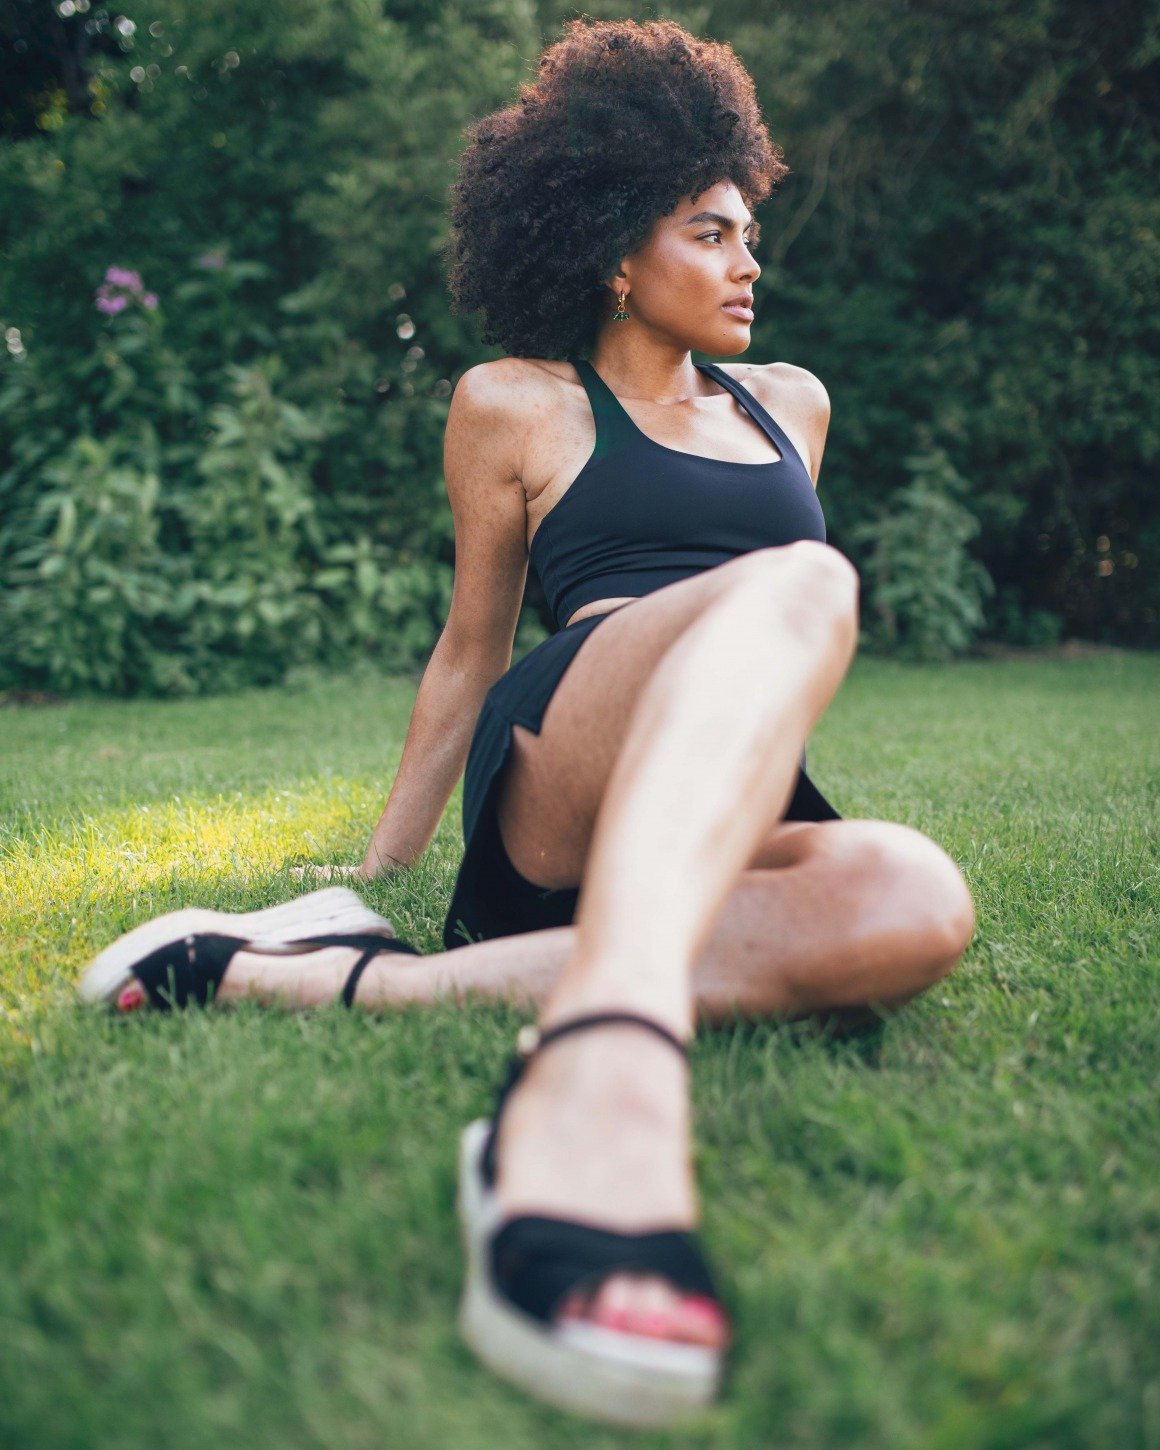
I feel like I’m finding my groove with fitness again, and in general just carving out more time for myself both mentally and spiritually over the past few weeks has felt great…I went through a long period of not feeling myself and struggling a lot with anxiety and a constant feeling of overwhelm. I know that I let the scales tip for a while and I’d lost control of that ever elusive thing we call balance.
These past few weeks of being back at the gym have reminded me how exercise helps my mind so much, and not just that, but also how much me time is important too. It’s something I’ve always known, but I think many of us often need a little reminder to come back to the things that truly serve us in terms of taking care of ourselves on a multitude of levels.
For me currently, I’m finding the gym, walks with Larry, working less, reading more and seeing friends and family are helping me to reset and rebalance, and feel more me again…for you it might be something completely different…but either way I hope you’re finding your own groove with things and if you don’t feel you are right now, then let this be your sign to re-assess and hopefully plan to reset. You’ve got this!
Back at the start of the year I got a skin infection that pretty much took over my life for the first few months of 2020 (little did I know a global pandemic was also just around the corner)…
I look at my skin now and see a faded spattering of dark splodges across my body, and it’s crazy to think that just some months ago this was where my skin was red raw, itchy and sore to the touch.
After trips back and forth to the doctor’s, a mix of diagnoses and nothing really working to full affect, I decided to take matters into my own hands and went on a mission to cure my skin.
And it worked.
Several months later and I’m sat here relieved to say that the red raw skin healed, it no longer itches, and whilst sensitive in parts after my skin going through such a trauma, it’s no longer sore to the extent it was previously. It feels amazing to feel and see it come such a long way…and even the post infection hyperpigmentation has slowly started to fade too.
I’m so grateful for my skin’s recovery, and whilst it felt like forever whilst going through it, I do realise it’s only a fraction of what some people with skin issues have to deal with on an ongoing basis.
It was eye opening to say the least, and it’s something that whilst going through the worst of it, knocked my confidence like nothing had before.
I stopped going out and pretty much went inward as I went through the process of trying to heal my skin.
Then the pandemic hit, and the UK went into lockdown.
I was rather accustomed to staying home at this point. But like most people, I still found the pandemic a lot to deal with mentally.
I’m someone who can overthink at the best of times but this new world adjustment had my brain doing overtime (and it still has its moments I should add).
I was in need for a routine, a distraction and a pick me up.
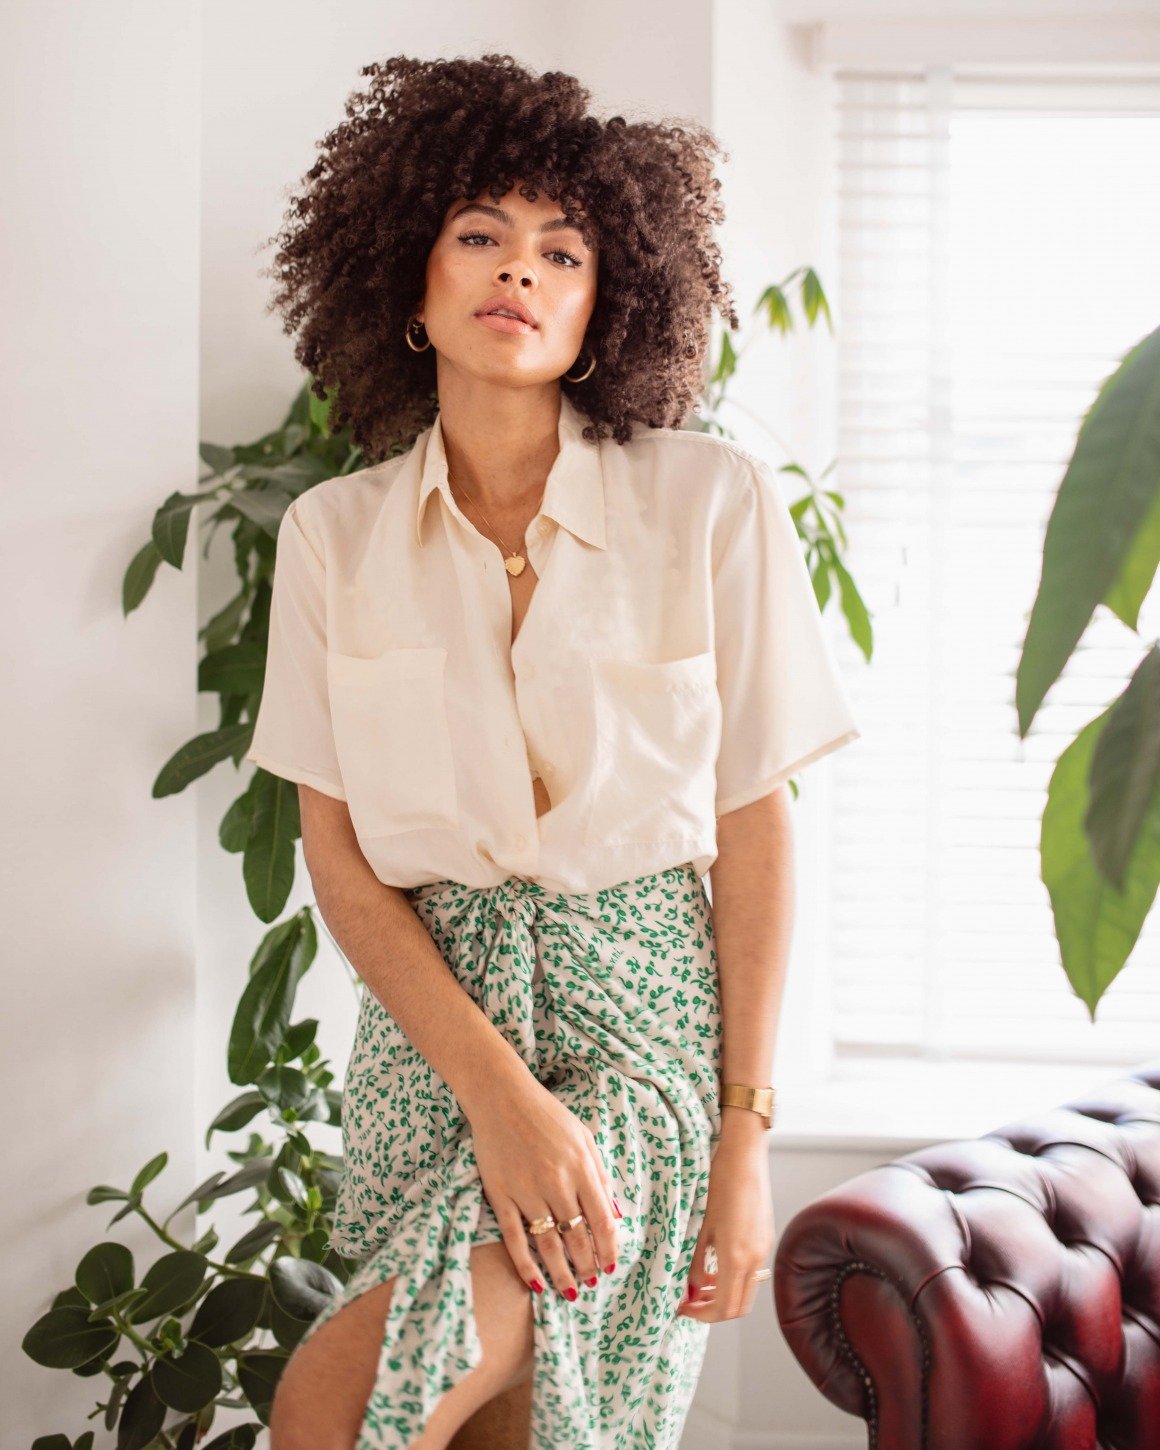
And so one day whilst being stuck at home, I pulled out my makeup, and began to ‘get ready’.
[show_shopthepost_widget id=”4213484″]
The start of lockdown was my full phase of ‘all dressed up and nowhere to go’ because I found that getting ready, getting dressed and doing my makeup was my one grasp at holding onto some form of normality.
At this point I actually hadn’t done my makeup in such a long time due to my skin. But it felt good to see myself looking ‘revived’ so to speak.
Whilst most people were enjoying the luxury of not feeling the need of having to apply makeup, or get ready properly whilst now working from home, I was just getting back into a routine of doing my makeup, putting on something nice and enjoying seeing myself looking better.
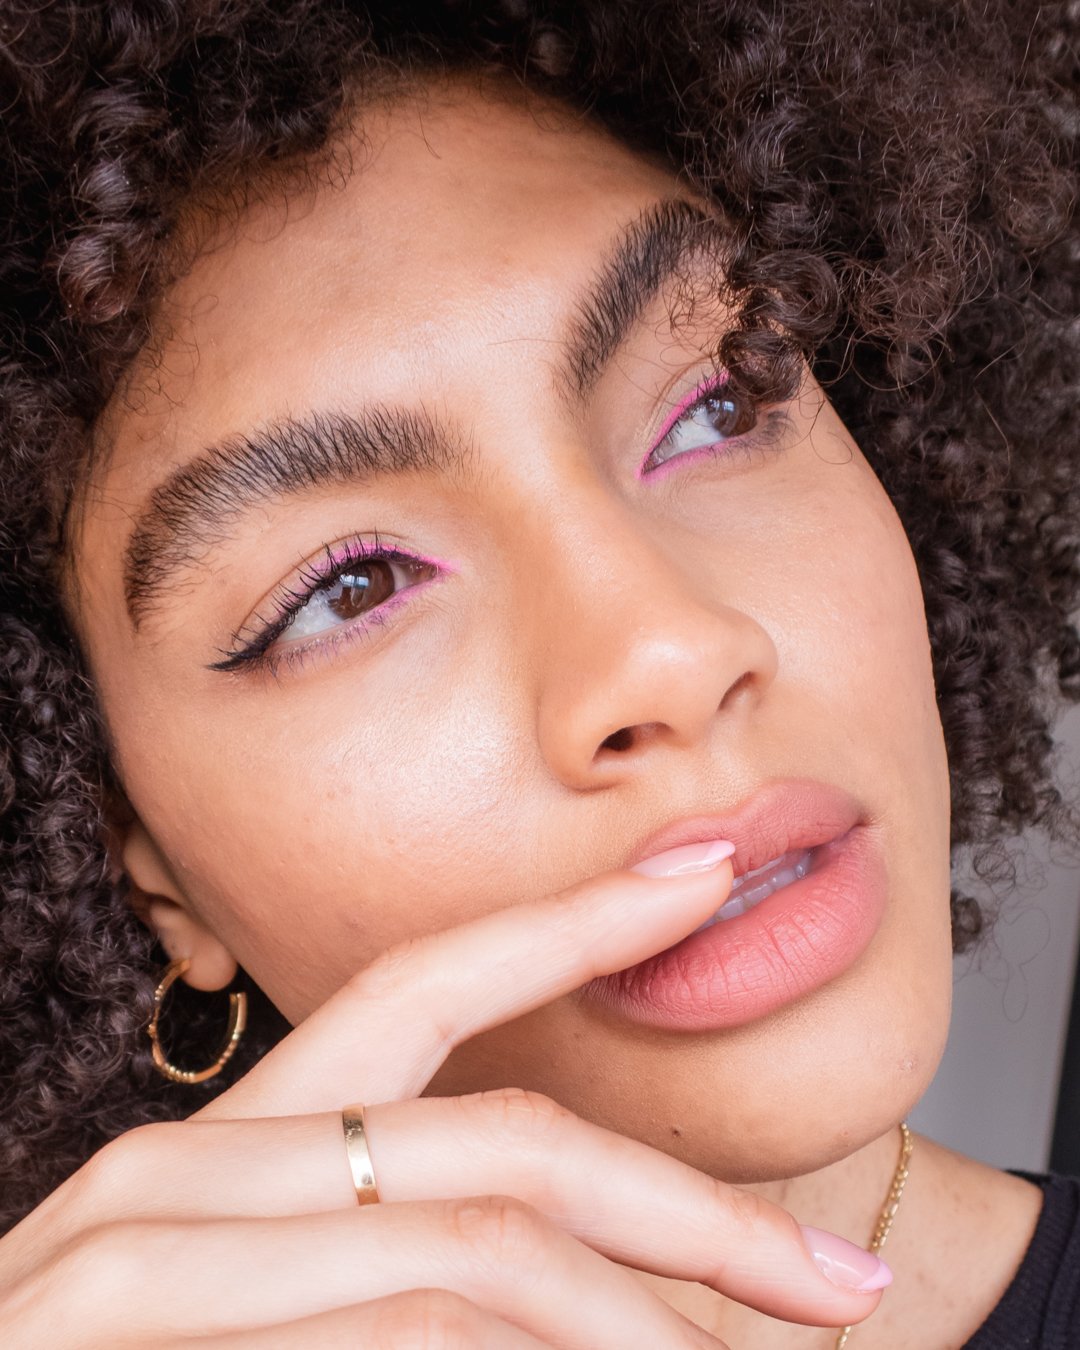
Makeup was becoming fun again and I wanted to play around and experiment.
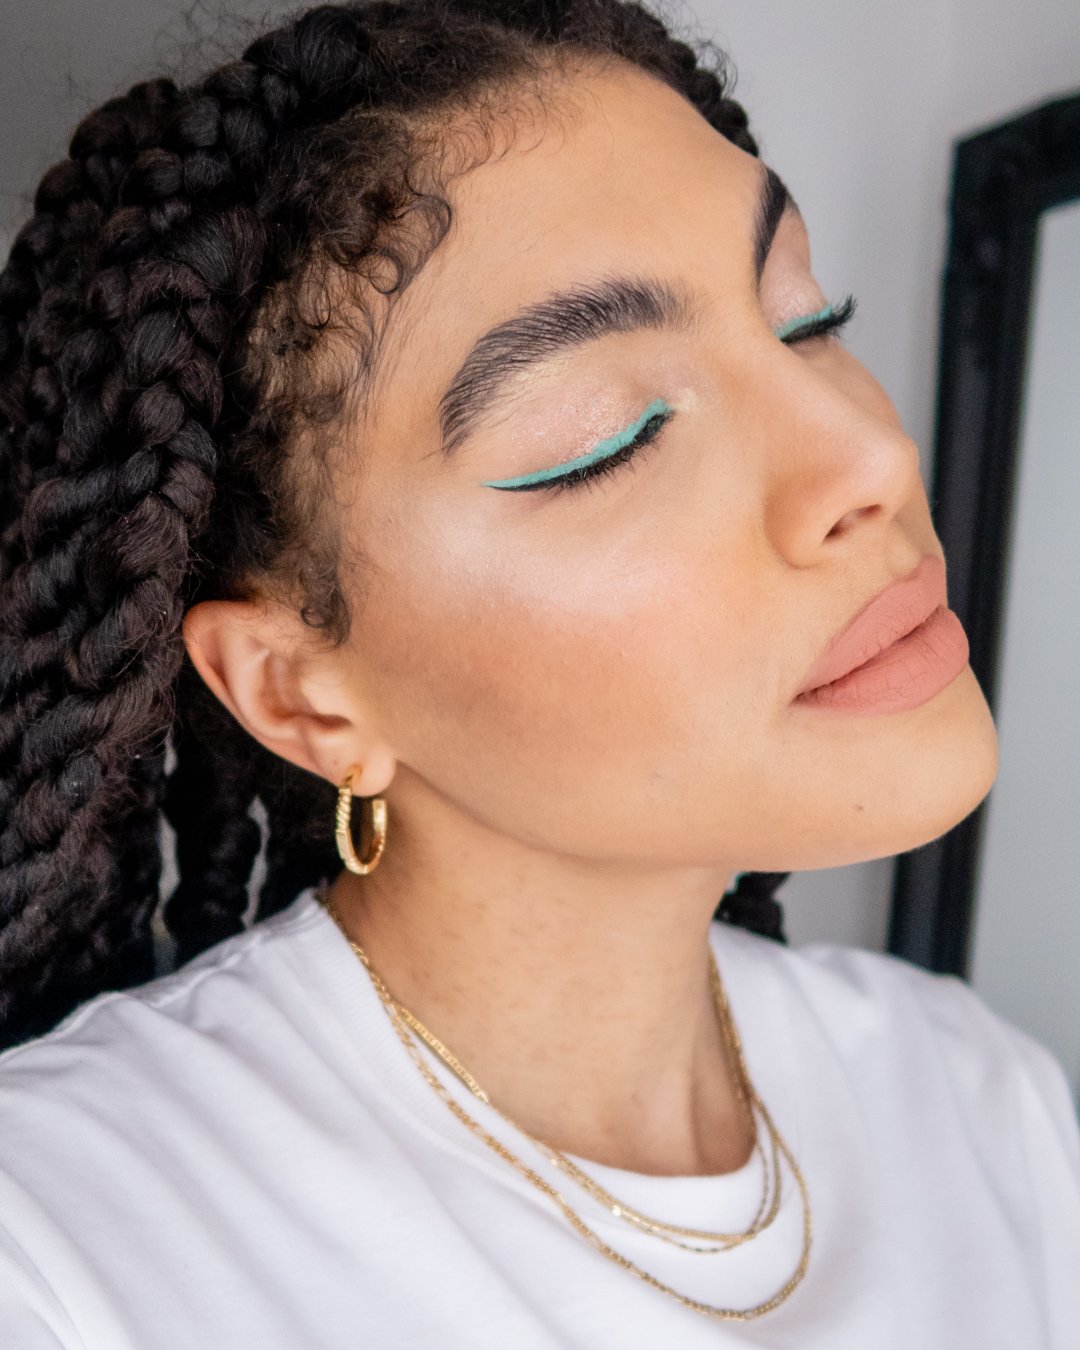
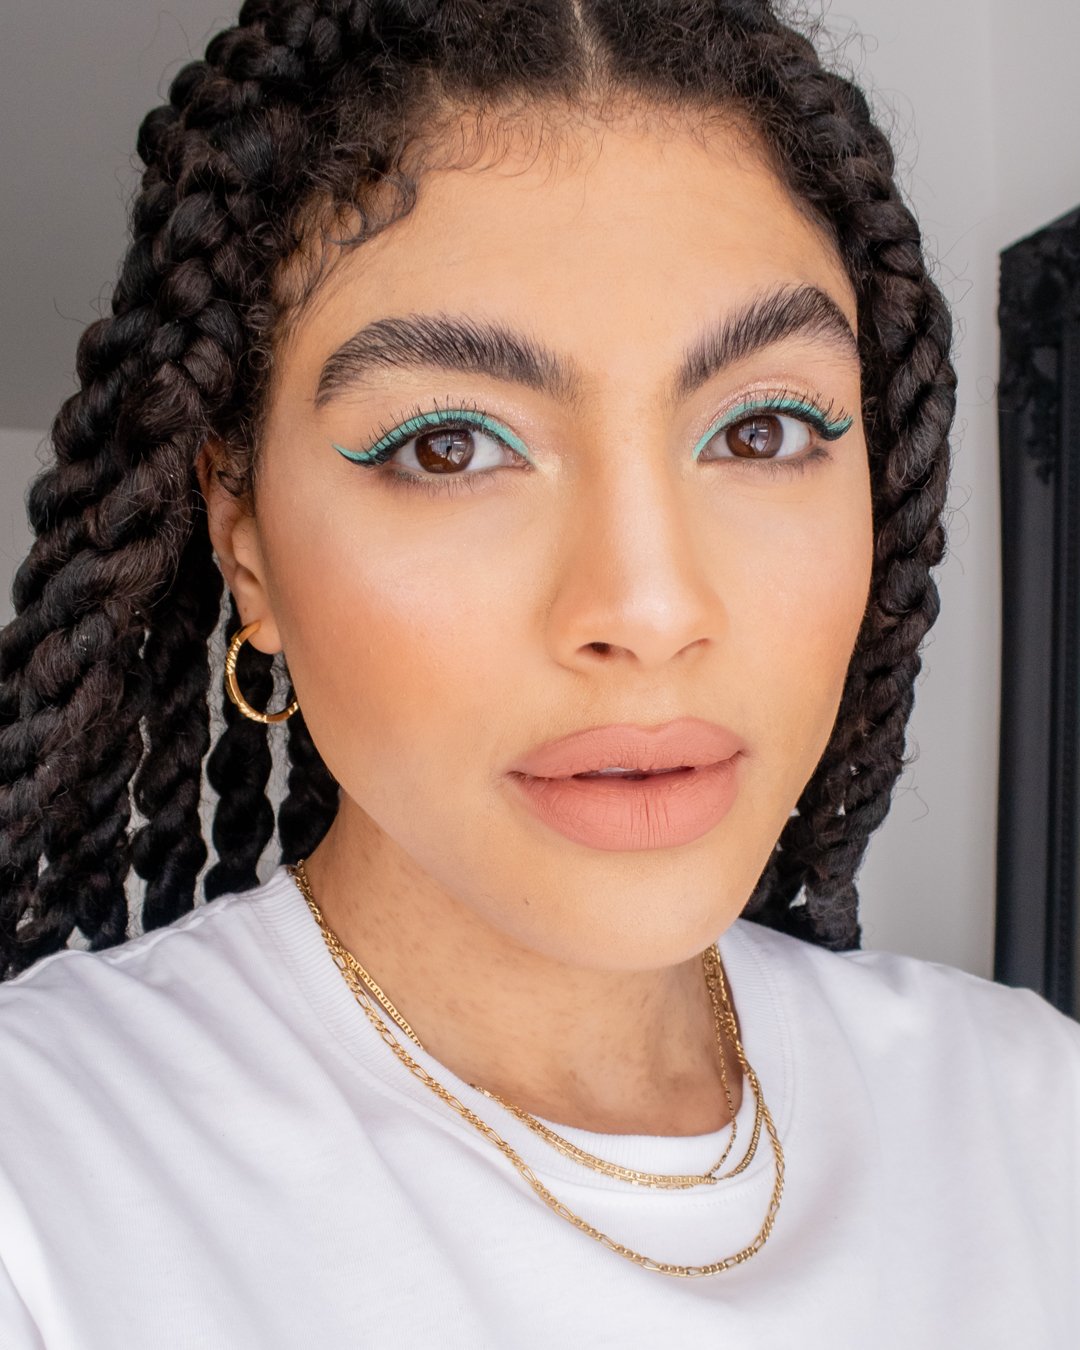
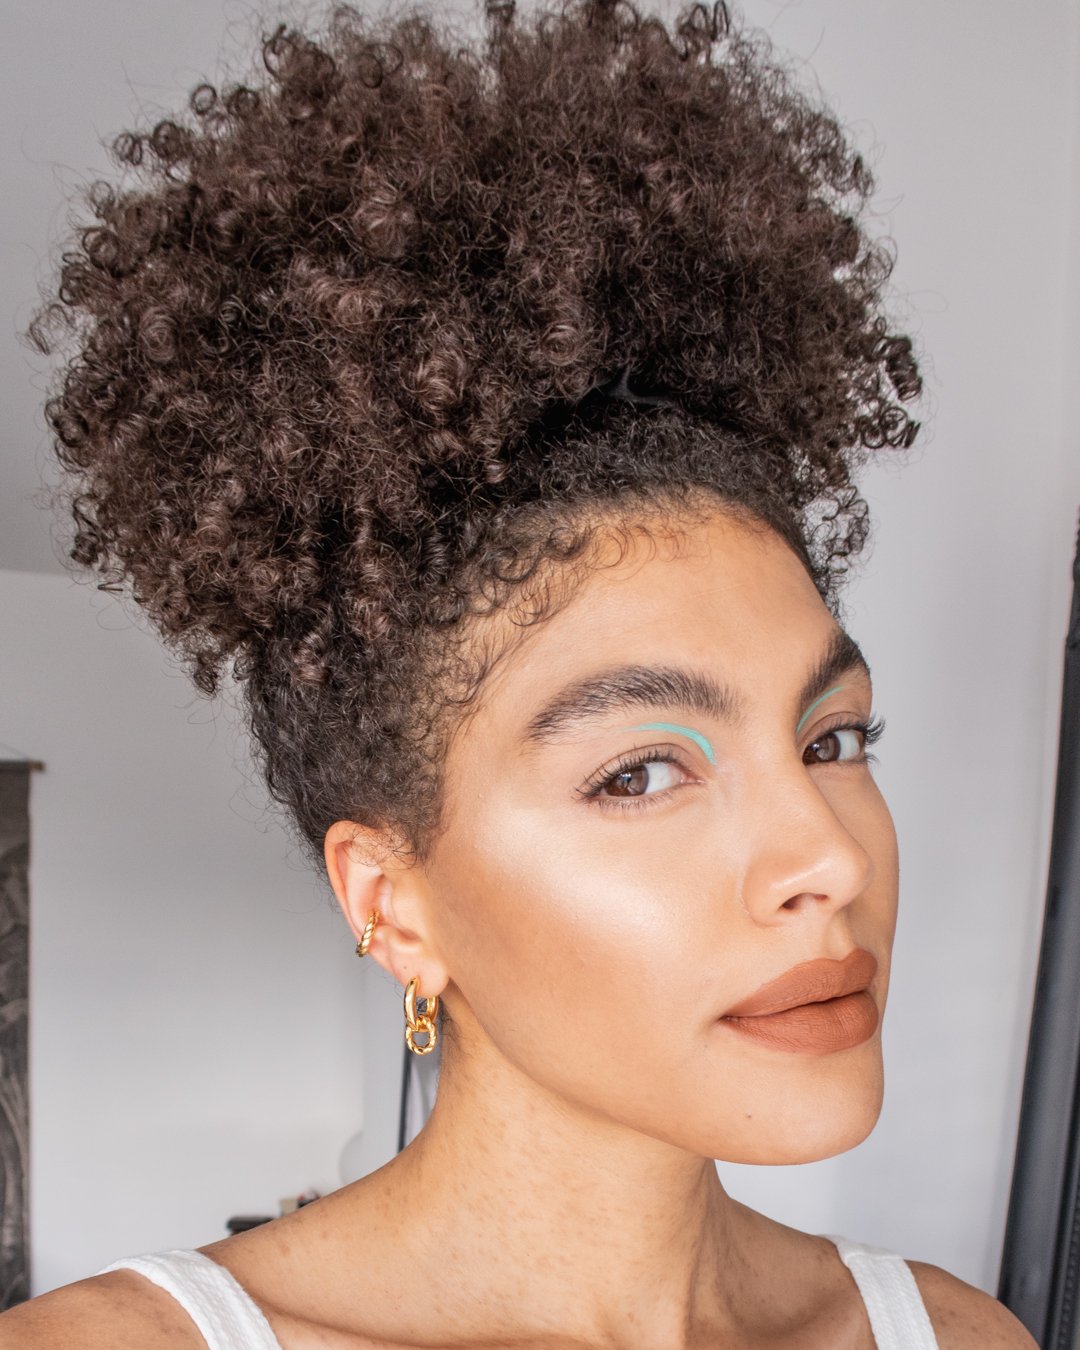
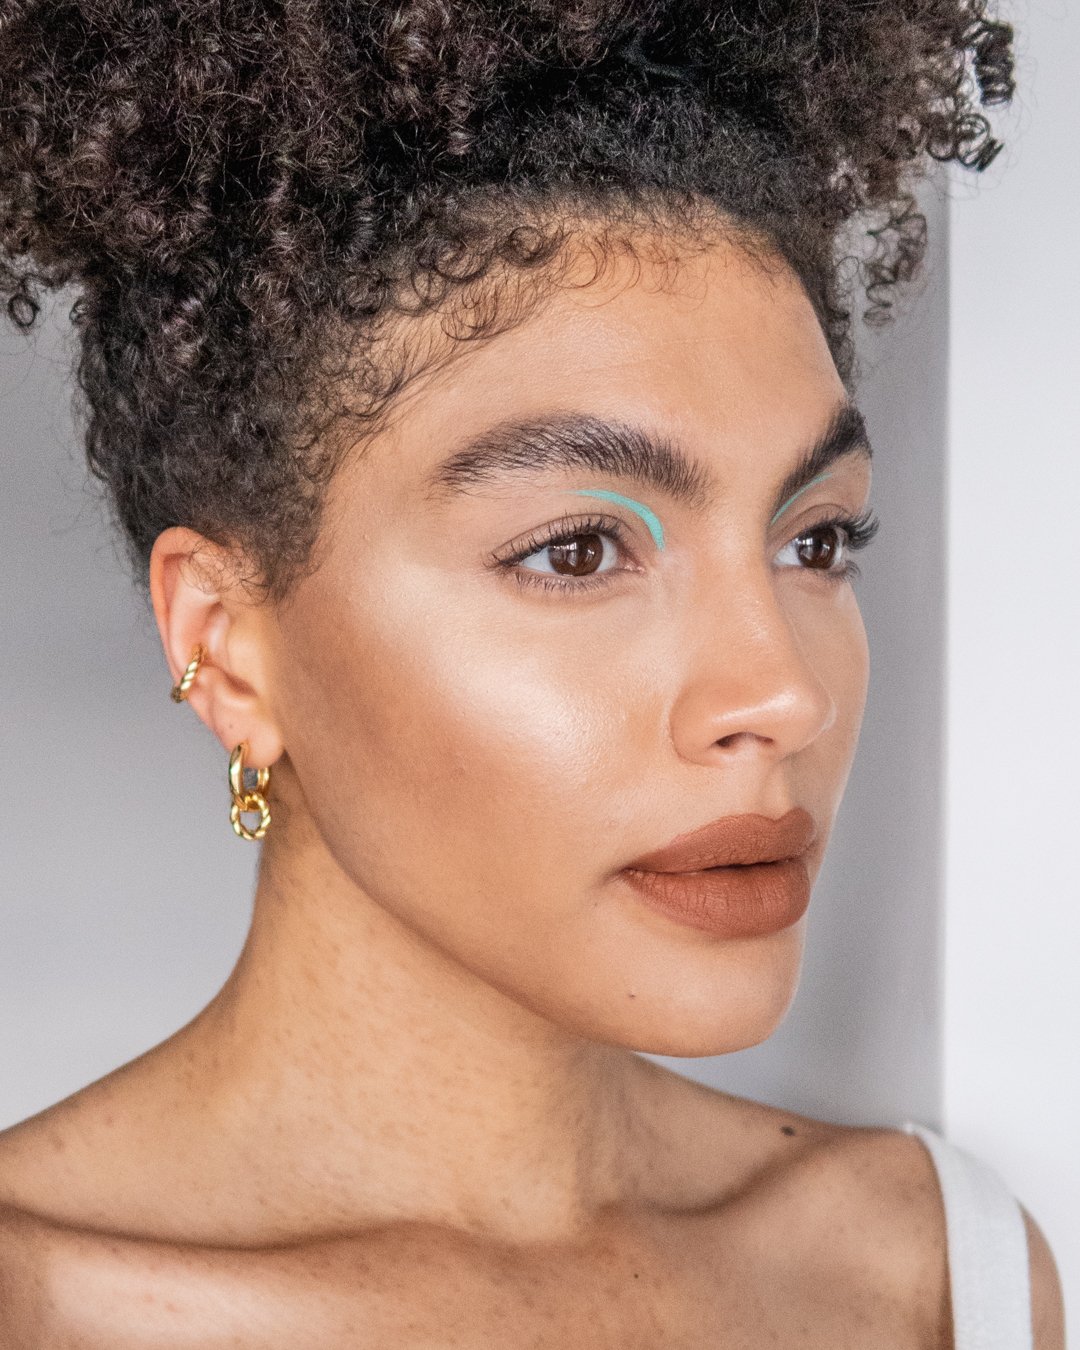
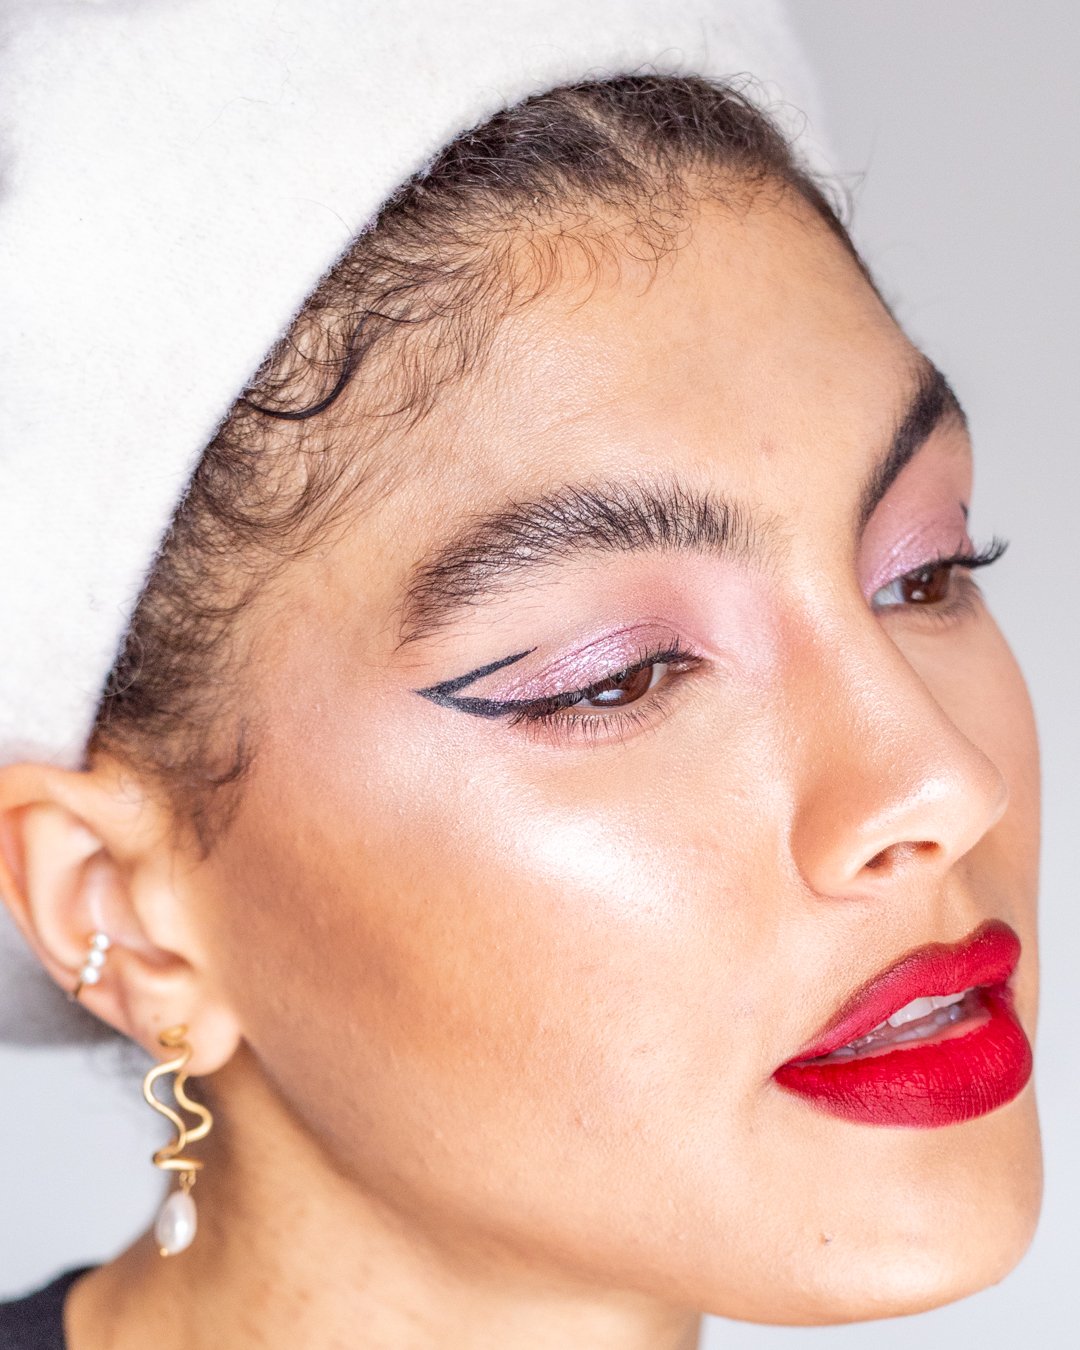
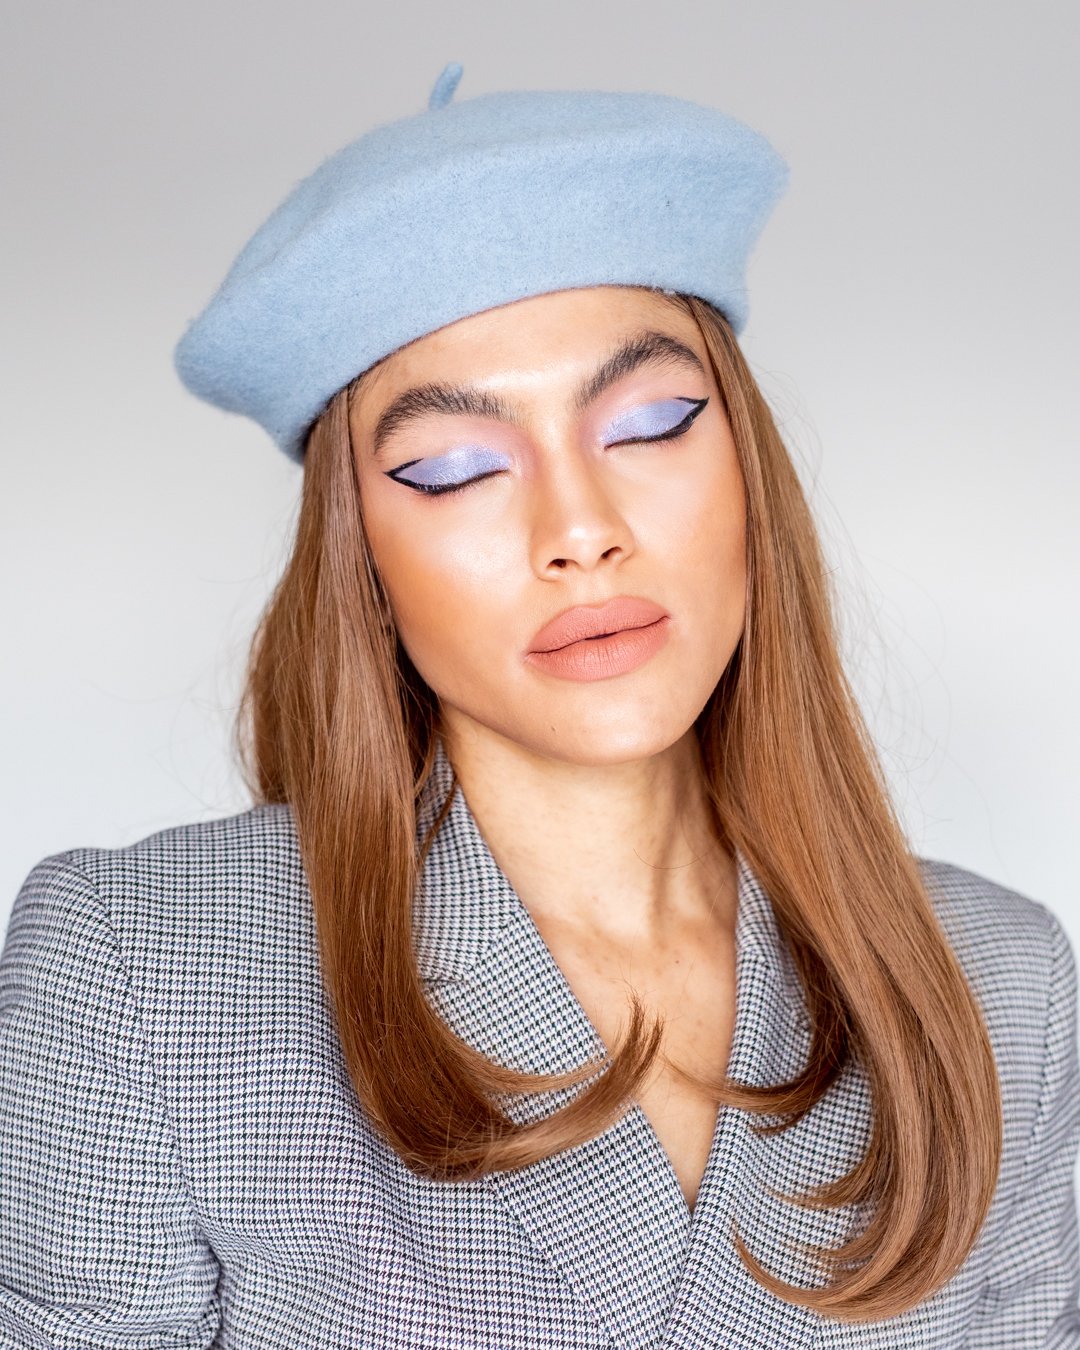
Playing around with colourful pops of makeup had been something I’d done a lot a long time ago, but not in recent years. But right now I wasn’t going anywhere, so why not have a bit more fun with it.
A winged liner was nice, but how about in green?
[show_shopthepost_widget id=”4213481″]
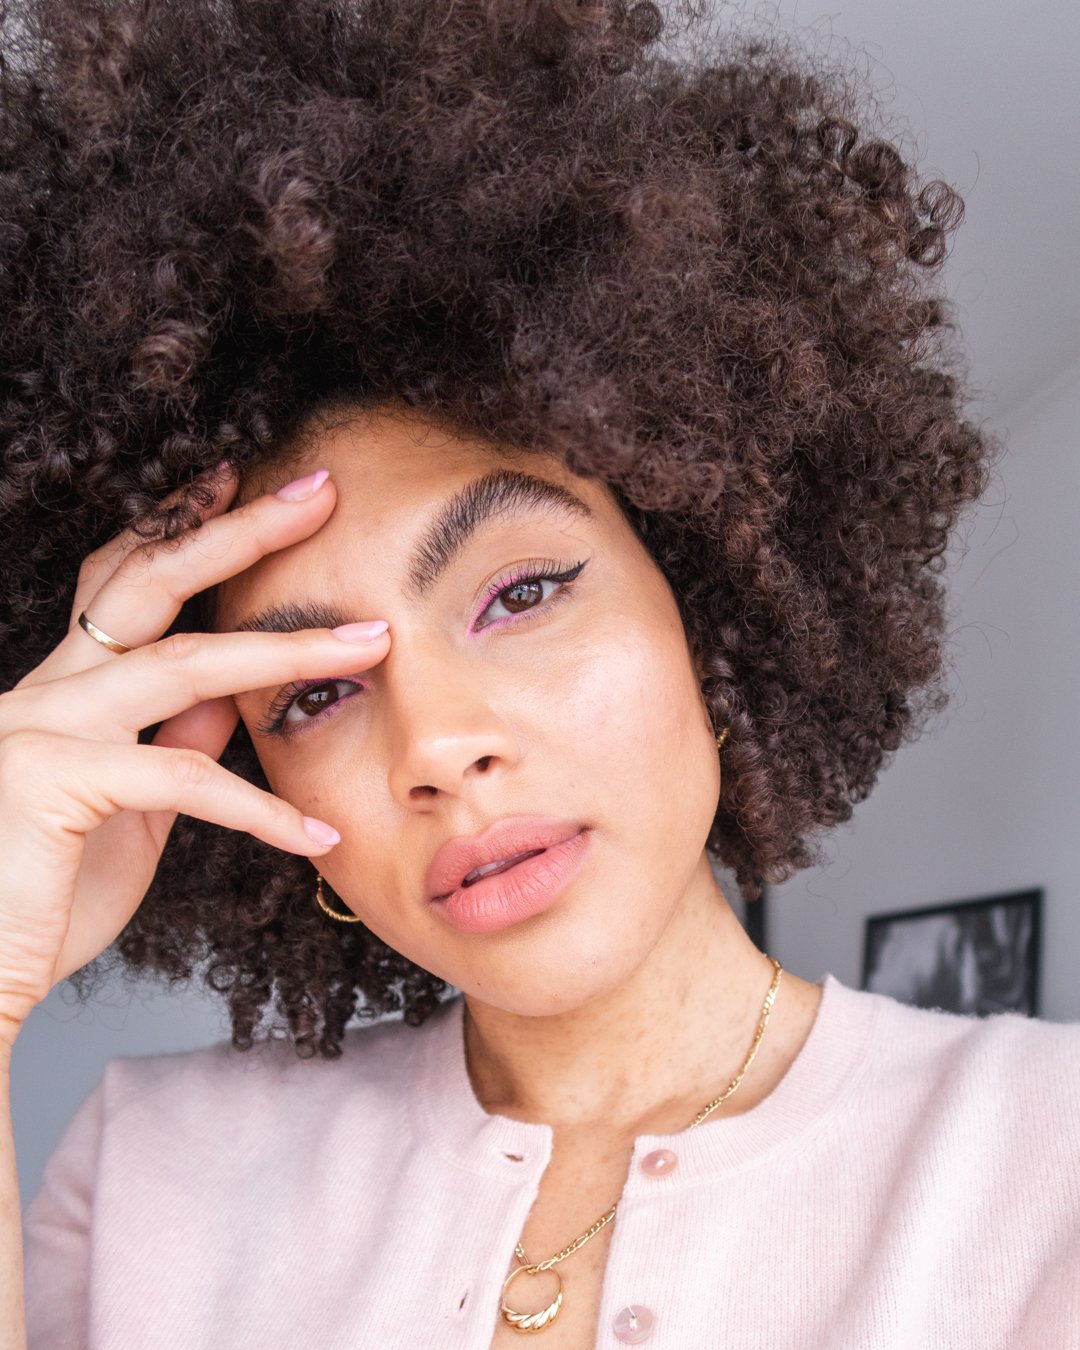
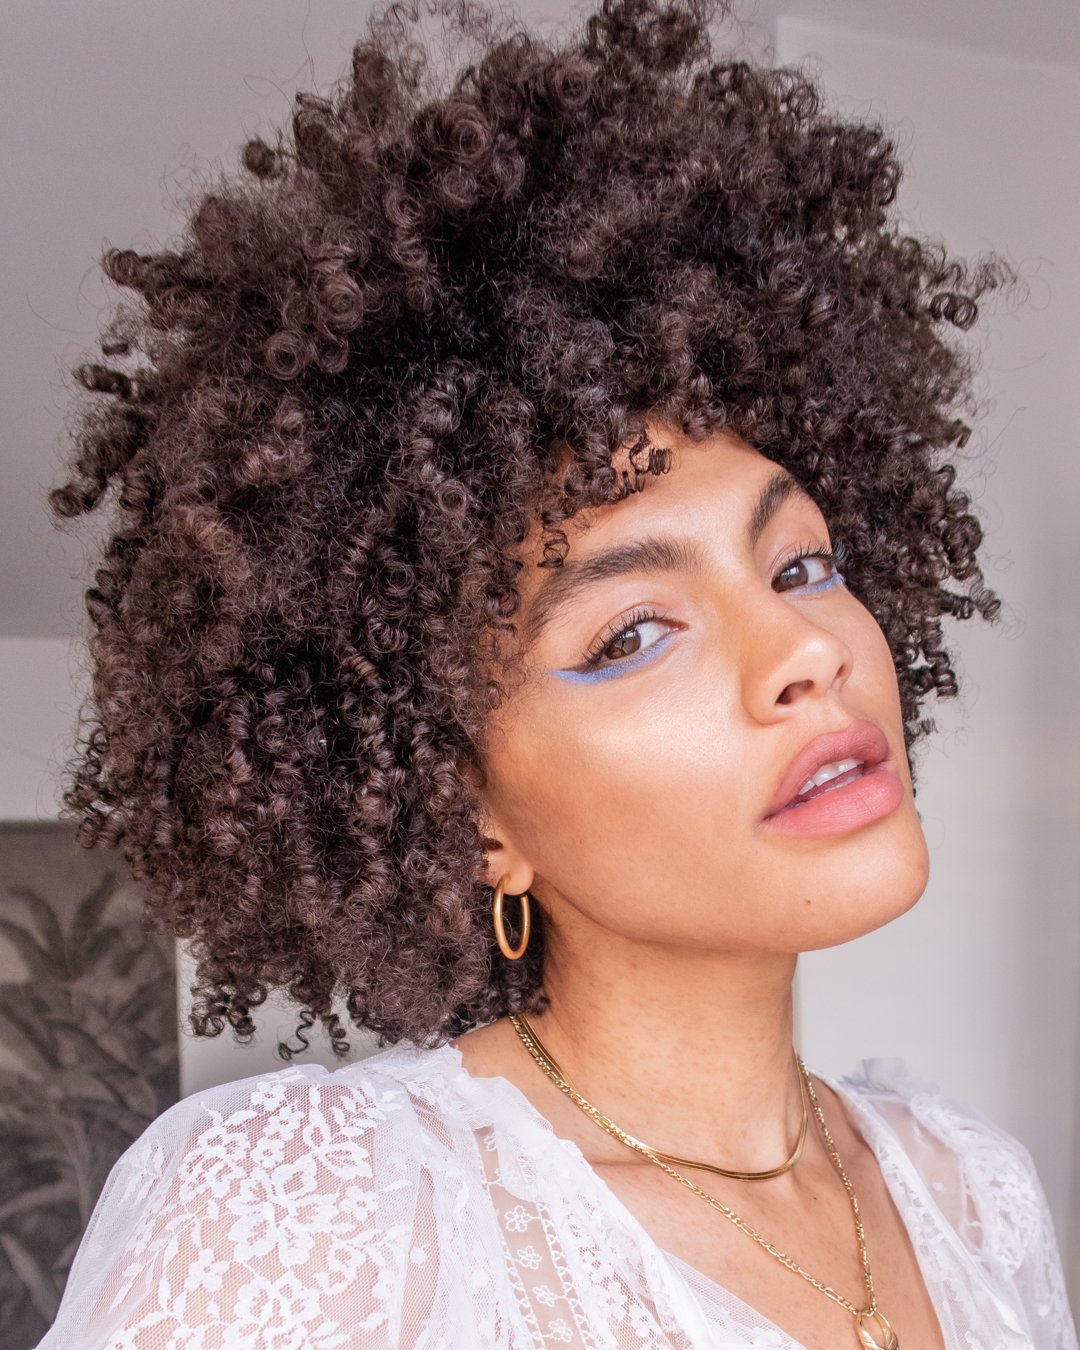
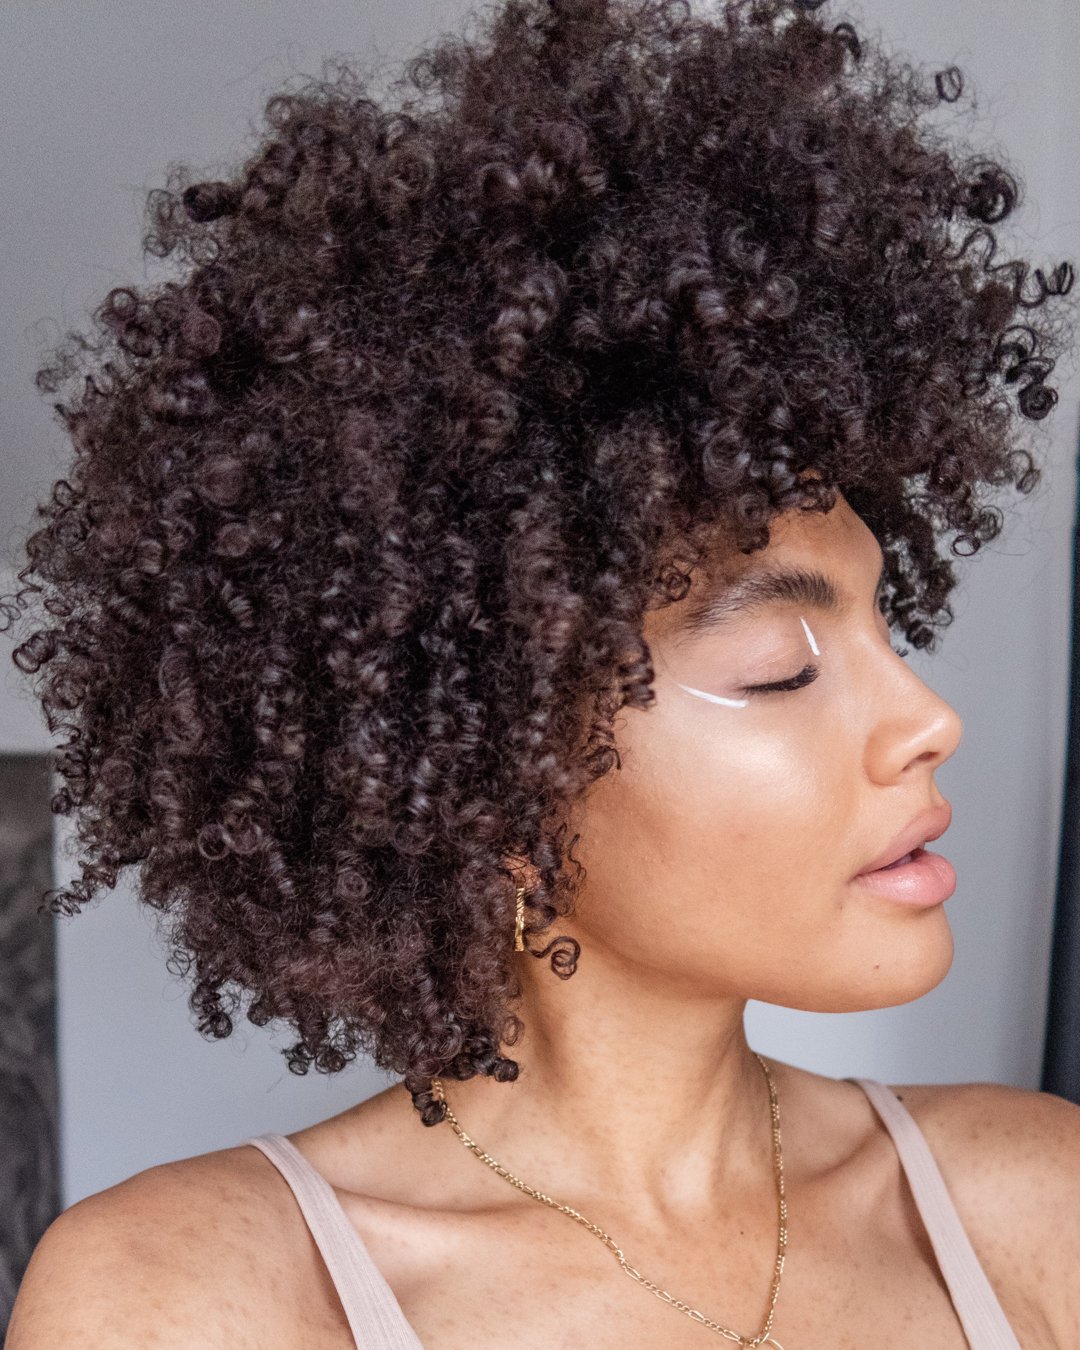
Soon playing with graphic eyeliner looks and subtle pops of colour became a bit of a thing. I would often think, ‘what wearable, yet fun makeup look can I try and create today’.
Whilst doing my makeup I was able to focus on something that wasn’t the pandemic and it was a much welcomed distraction that actually really helped to calm my anxiety.
I’d get ready, and experiment with something subtle but fun when it came to my makeup, and it became my new form of artistic expression.
Getting ready felt good. Even if I wasn’t going anywhere.
It was giving me a confidence boost and in those thirty minutes or so of makeup play where I’d focus of perfecting a colourful wing or artistic line, it was like a meditation in which I was able to relax and get lost in the joy of makeup play.
[show_shopthepost_widget id=”4213480″]
You may notice a lot of this is written in the past tense, as I must admit I haven’t been playing around with makeup quite as much more recently, but my rekindled love for it is still definitely there.
I’m pleased to say that my skin has come along even further since April (when the UK lockdown first began) and I finally feel confident and happy with my natural skin. So right now I’m embracing it, and I’ve been enjoying makeup free days as of late.
That doesn’t mean that I’m done playing with makeup though.
[show_shopthepost_widget id=”4213473″]
This period made me appreciate the art of makeup even more than I had done before. What it can do as a boost of confidence, but also how it can be used as an artistic expression is wonderful, however bold or minimal you wish to go.
It’s the form of playing dress up that I love; ‘Who do I wish to be today?’, ‘which version of me do I wish to portray?’, ‘what artistic expression do I wish to show to the world?’ (or even just myself at home).
It’s fun, and it’s definitely been a great distraction at times. And for those moments of makeup play I am definitely grateful.
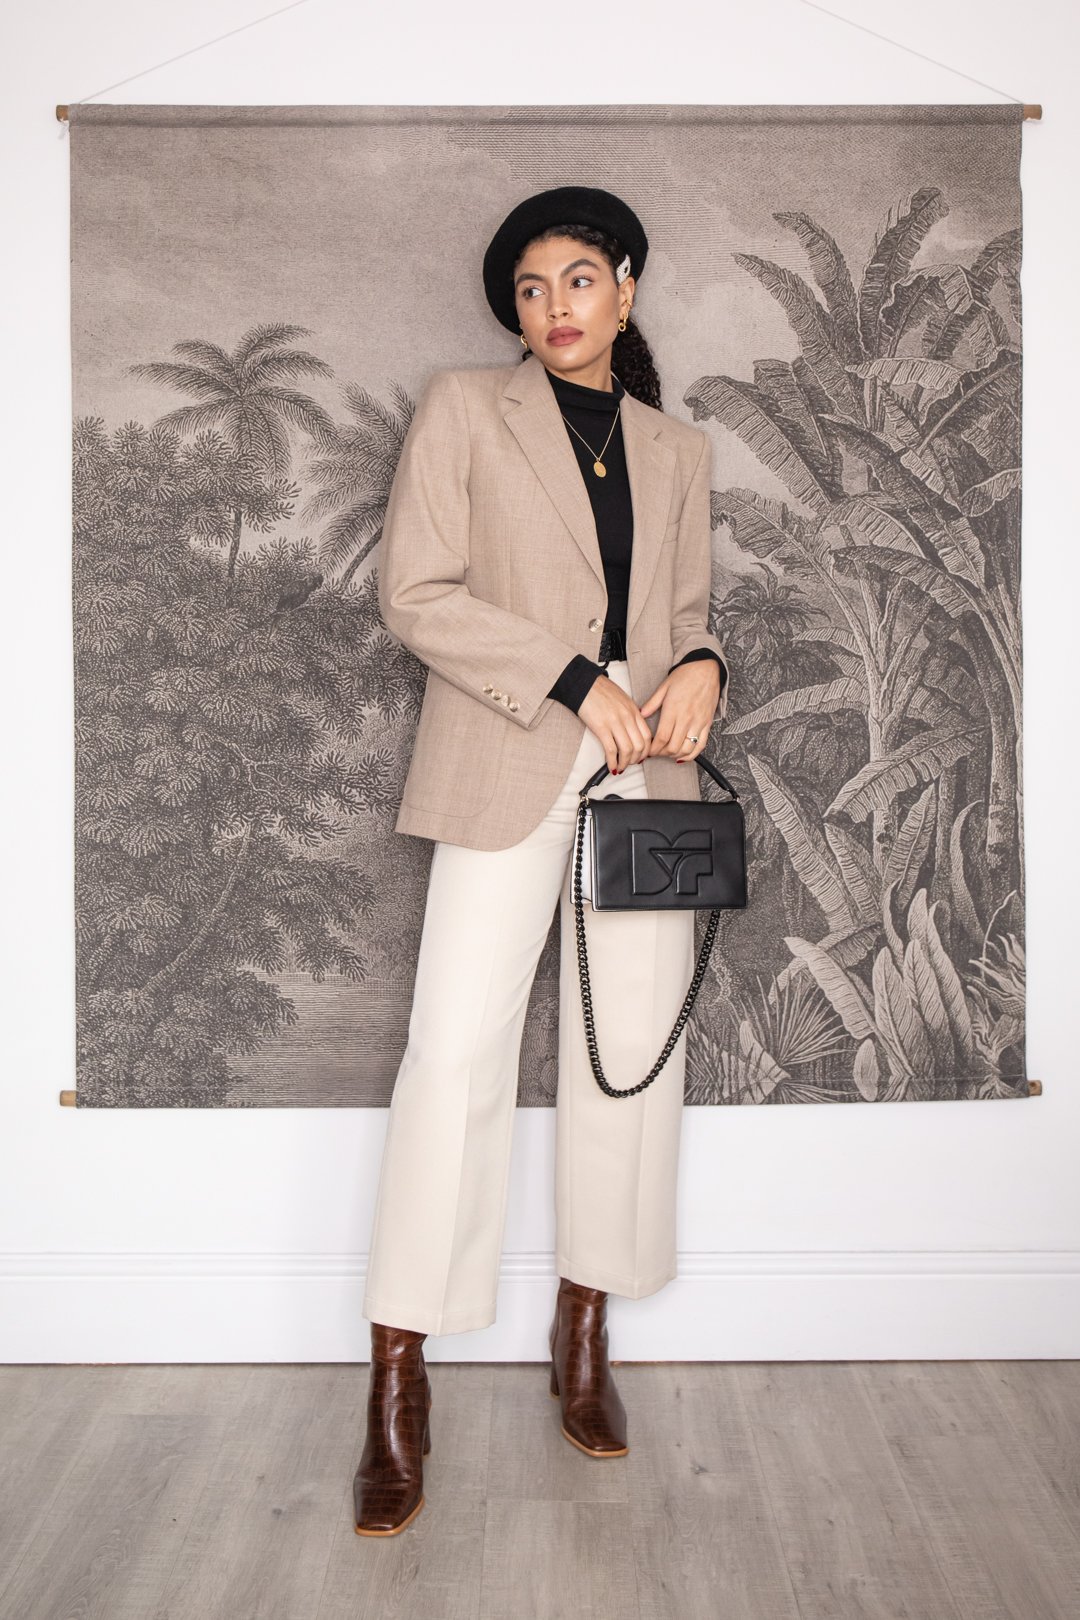
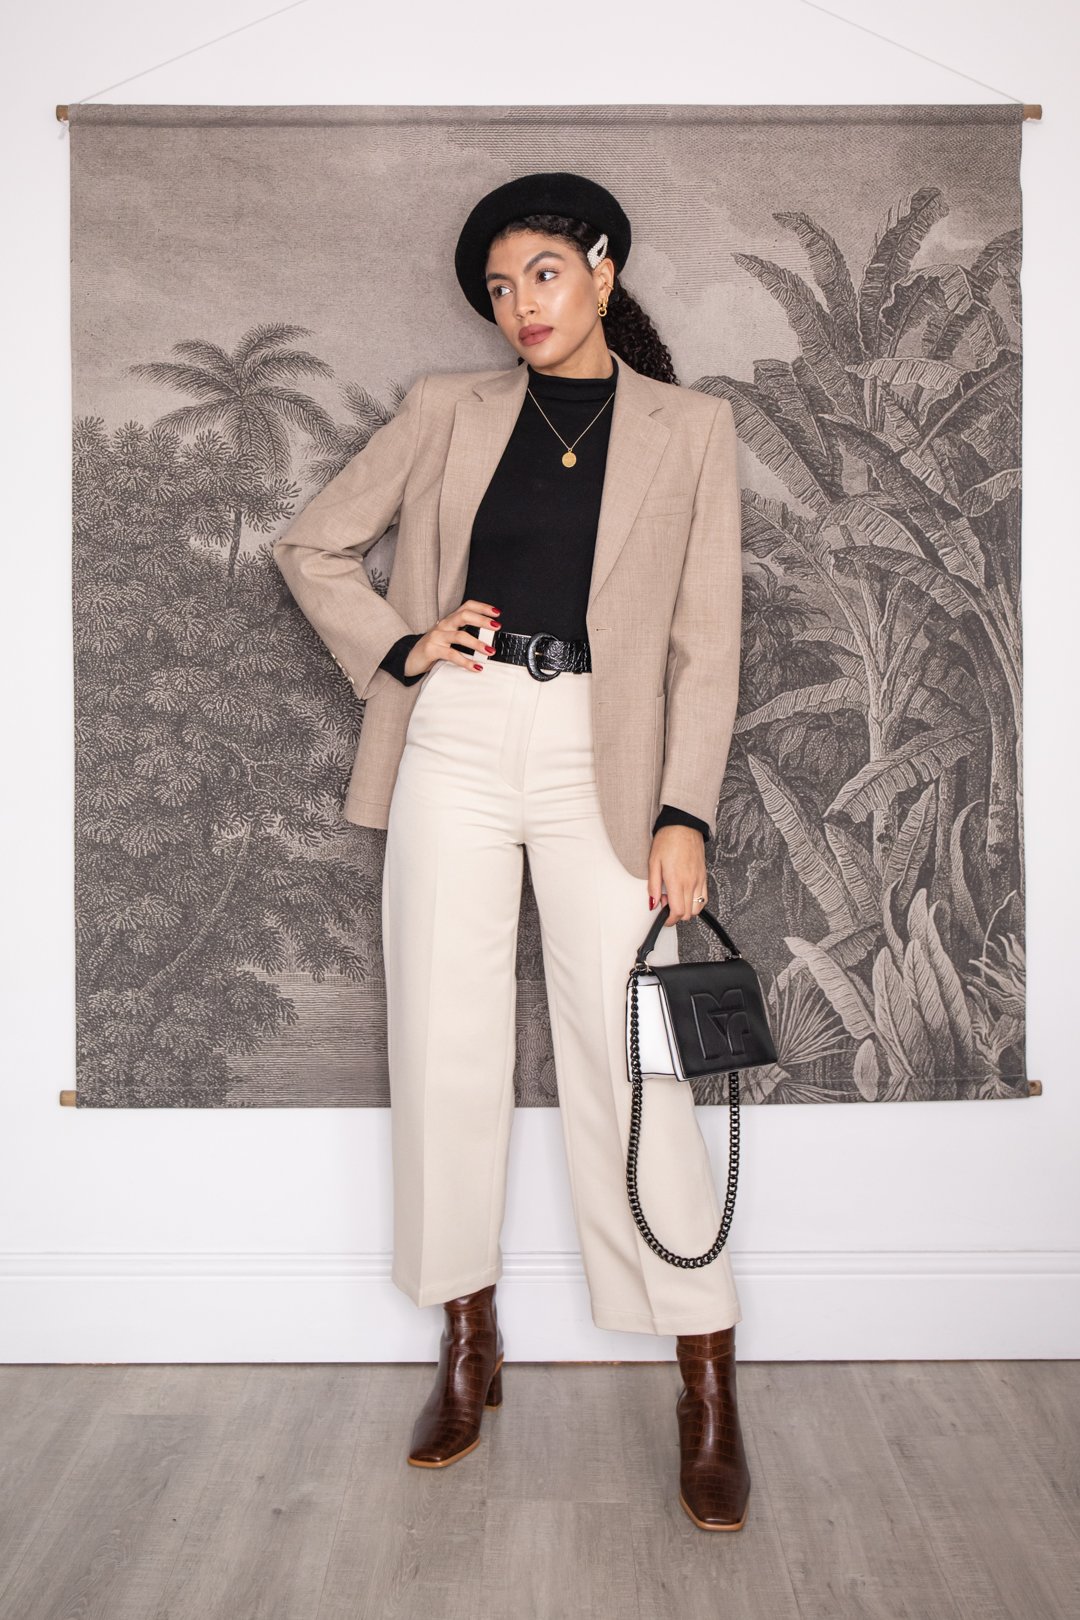
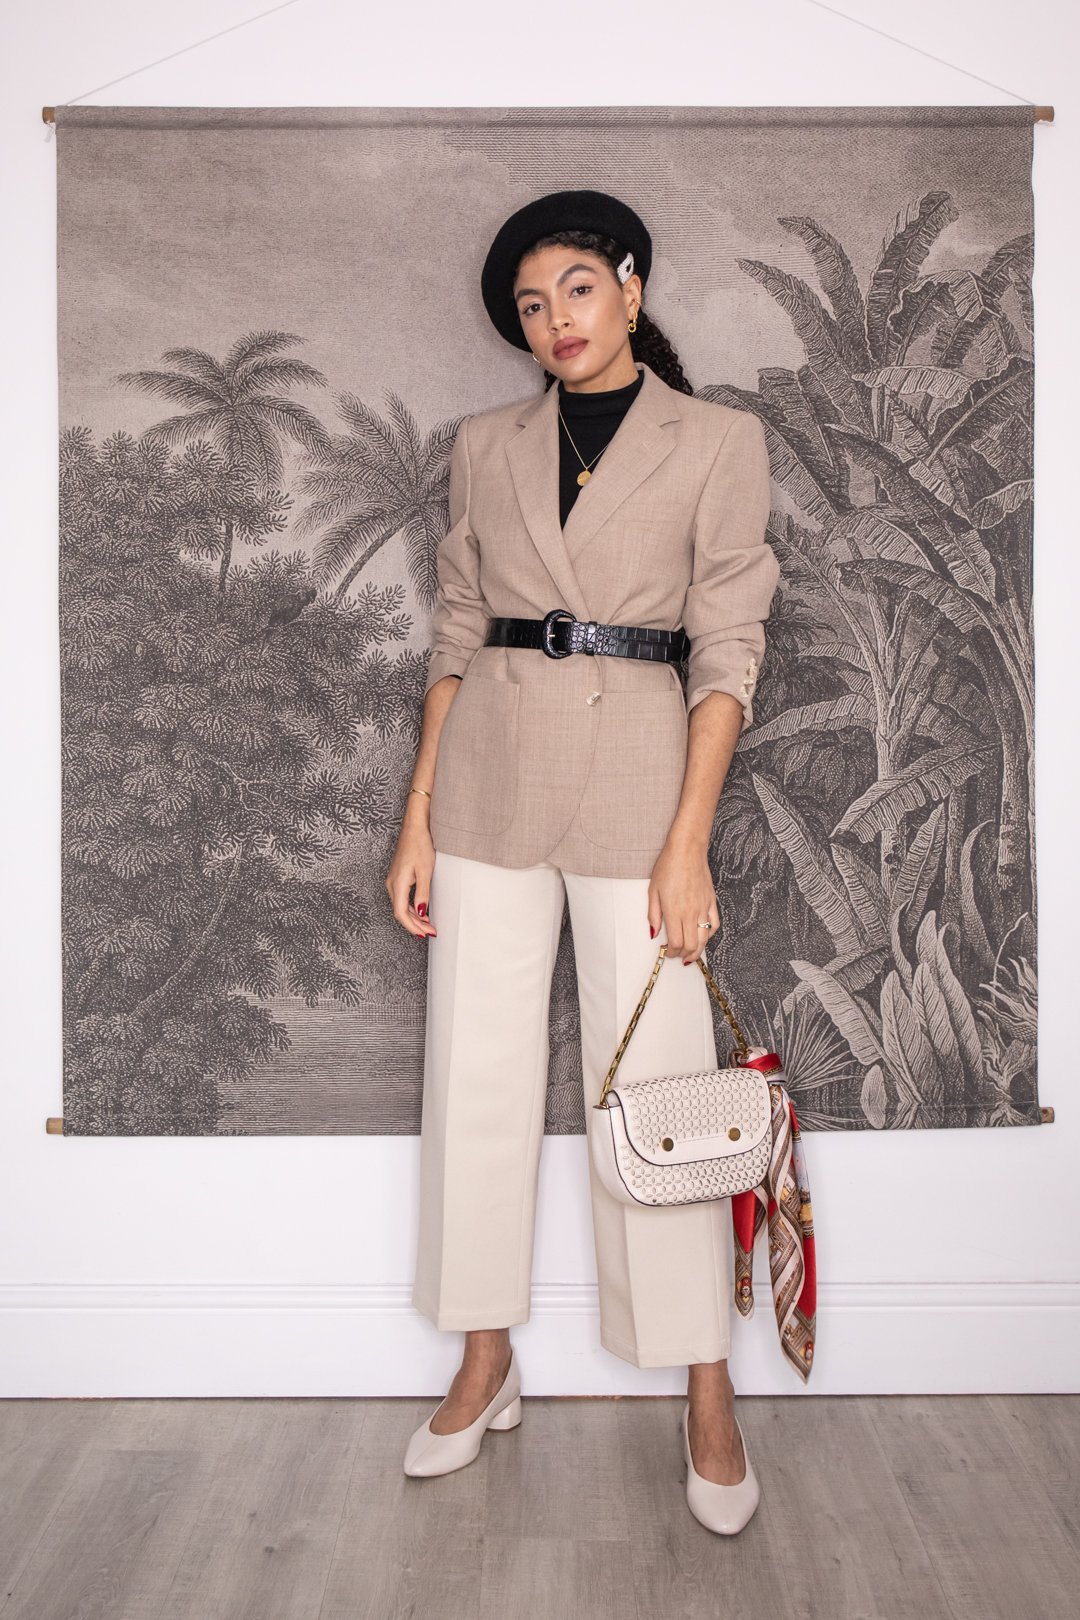
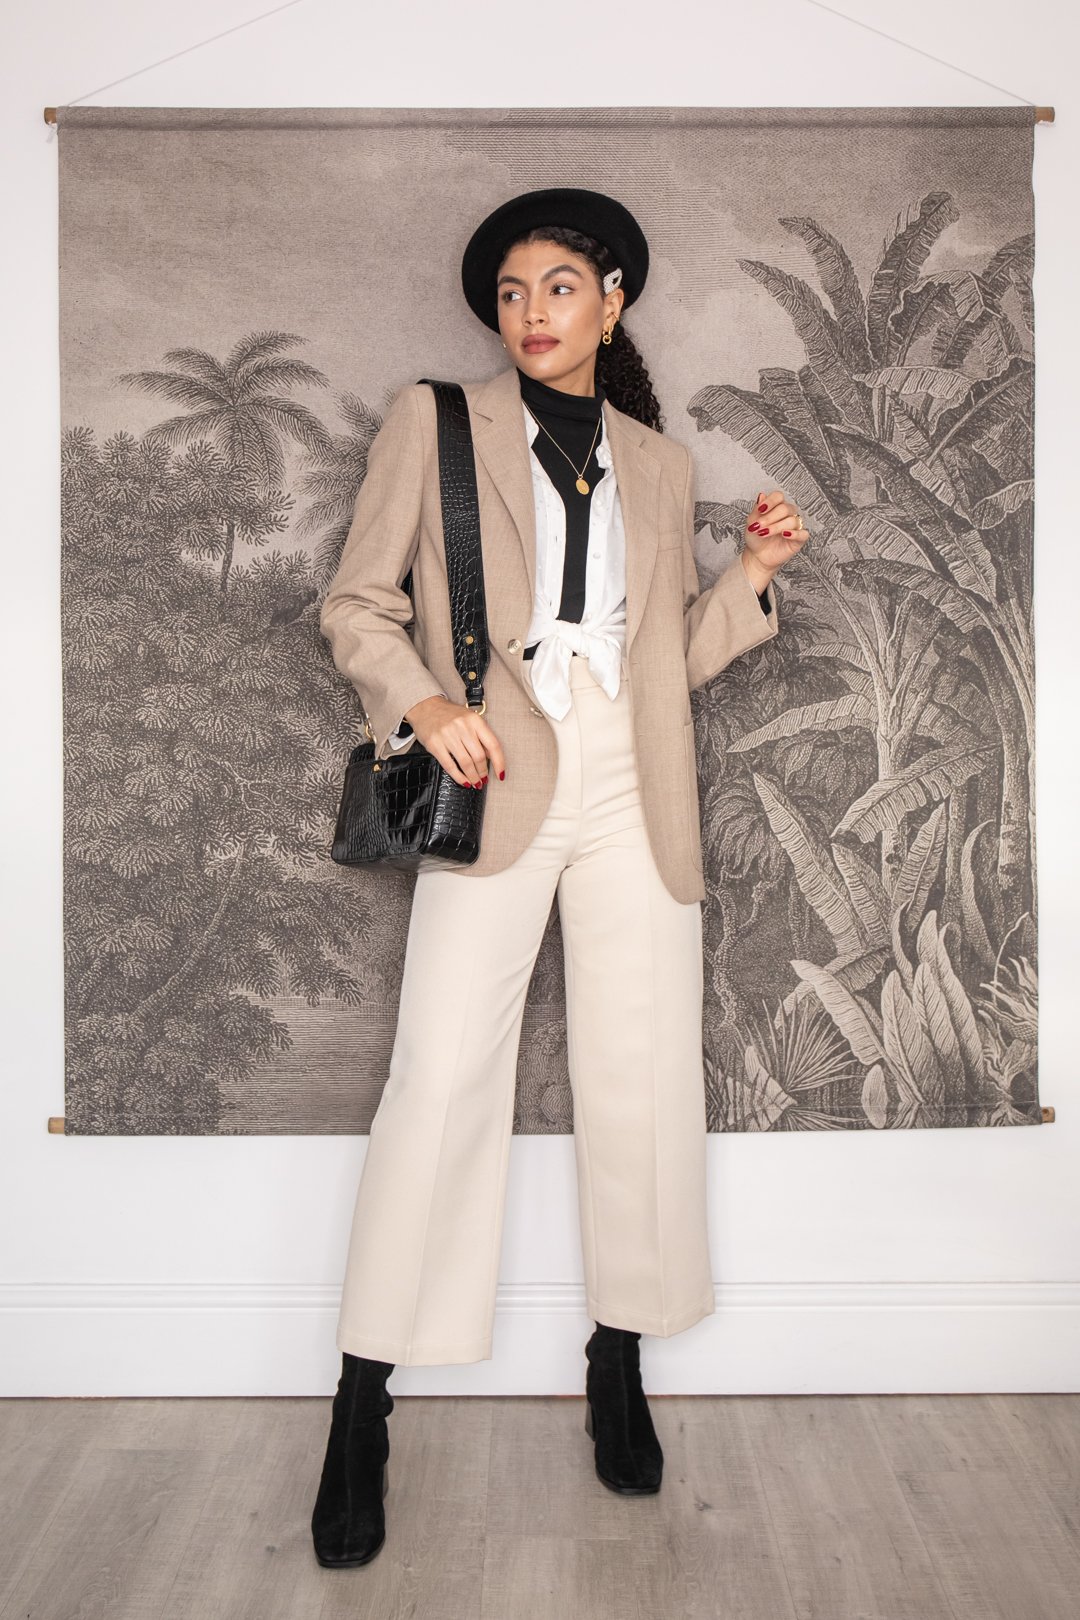
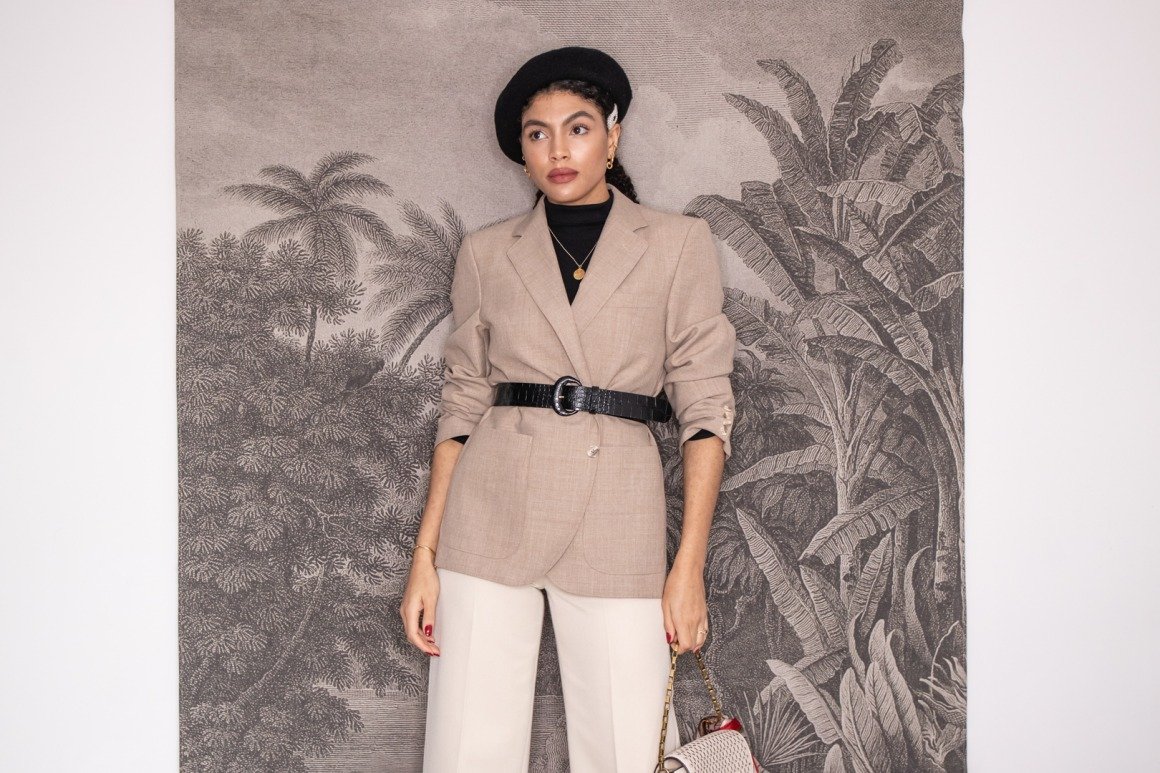
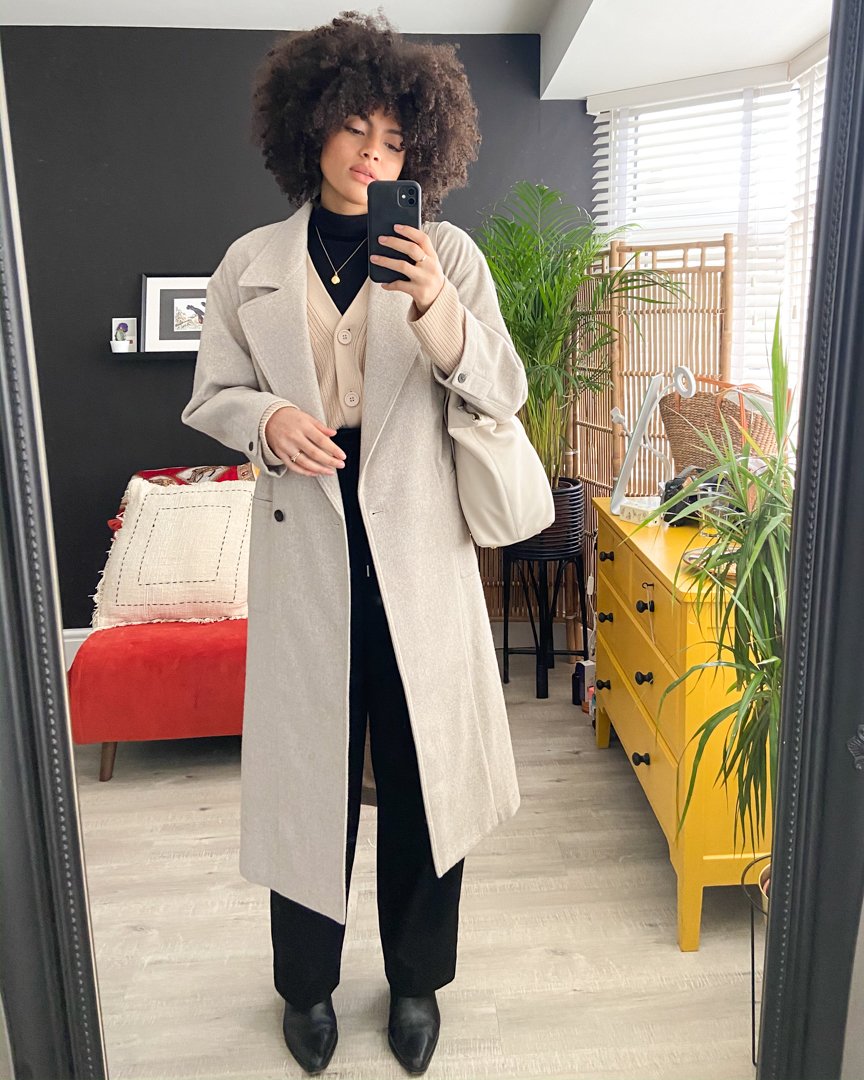
When it comes to Autumn layering, blazer’s are pretty much my go to when it comes to transitioning my outfits into the new season. When I find a good blazer I tend to wear the same one on repeat and the few blazers that I have in my wardrobe are absolutely what I would call wardrobe staples.
For me personally I tend to favour a slightly oversized blazer and a boxier fit. And as someone who is tall with broad shoulders I find that men’s blazers often provide the cut and fit I’m looking for.
Quality is also an important point and if I can find something that is a high wool percentage and great quality that will last, then I know I’m onto a winner.
This is where vintage blazers often tick a lot of boxes for me. The saying ‘they don’t make them like they used to’, tends to ring true here, unless you’re willing to pay a much higher price tag…and so when looking in the right places you can often find a good quality vintage blazer that isn’t too expensive either.
How to Shop for a Vintage Blazer
My favourite place to search for vintage blazers is online via places like eBay. As I love an oversized fit as I’ve mentioned, I tend to browse the men’s section first. There are a few steps I take in my process to finding the perfect vintage blazer and so I’ve listed a breakdown below…
1. Search & Select Your Options
Open up eBay and search ‘Men’s vintage blazer‘. Go to the side tab and select the size, colour preference and outer material. If you’re looking for something that is good quality and slightly thicker for Autumn/Winter then I’d recommend opting for wool. Anything from around 50% upwards is good and when possible, the higher wool percentage the better in my opinion (it tends to be better quality and should last).
2. Check the Seller’s Rating
When you find a blazer you like, go onto the listing and check the seller’s rating. Do they have a good rating? Have they sold vintage before? What’s their other feedback like?
3. Check the Description & Images
It should go without saying, but check the images and description. A good seller should show if there are any marks or damage to the item (which of course can be the case with vintage sometimes), so make sure you take this into account when looking and look out for these things too. It is possible to find vintage pieces in great condition but just be mindful when looking.
4. Check the Measurements & Sizing
This is an important point, and its definitely something I’ve made the mistake of not doing before. The generic sizings such as ‘S’, ‘M’, ‘L’ can vary a lot in vintage sizing and it can be confusing, especially is you’re used to buying women’s clothing and you’re now shopping in men’s. So it’s important to check the measurements of the garment and if you’re unsure, maybe check them in comparison to a jacket or coat you already own. I have even tried on one of my husband’s blazers and compared the measurements to that which I found to be helpful when I was looking for something more oversized on me.
5. Be Aware of Cleaning
My final point which is one that I think is important to mention, is that it’s good to be aware that you may want to get your item dry cleaned when it arrives. So I always take this into account when working out the cost of an item as I may want to account for getting it dry cleaned too.
The only downside to shopping vintage is you don’t technically know where it’s been and, I know, just the thought can be pretty off putting (this is why seller rating is important). It is something you have to be aware of when buying vintage and especially when ordering online when you can’t inspect and smell the item before you buy it.
I don’t want to put you off but I have had an item arrive that didn’t smell the most pleasant (it’s now making me laugh to think about it as I type) but all was well once it had been on a trip to the dry cleaners and back. It’s not worth thinking about the possible history of said garment, but lets just say I am now someone who checks seller feedback more thoroughly and if they are a regular vintage seller, as opposed to someone getting rid of grandpa’s old clothes – yeah, just something to be mindful of.
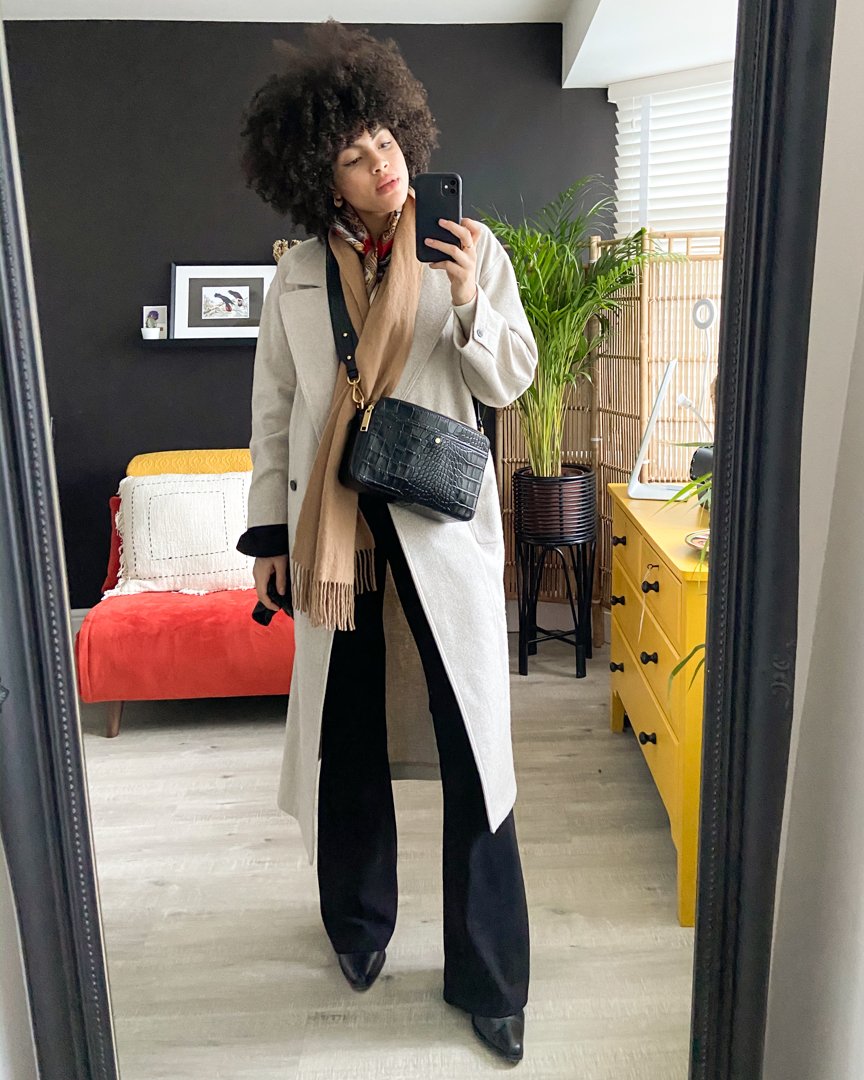
Overall, I really enjoy the process of finding a good quality vintage item, such as this blazer. I purchased this men’s vintage blazer on eBay at the start of the year and I’ve recently pulled it out of my wardrobe again ready for the Autumn season. There’s something quite nice about knowing you’ve found an item that you know nobody you know will have, that’s good quality and you didn’t have to pay an arm and a leg for…and you’ve made a more sustainable shopping choice in the process.
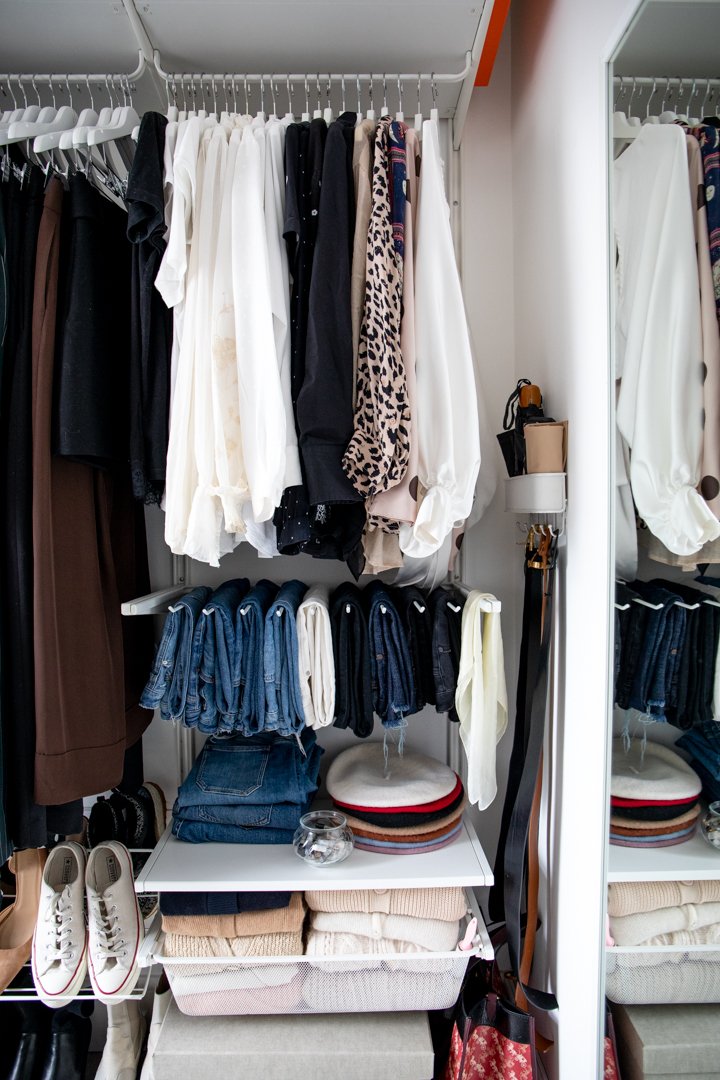
Decluttering your wardrobe can feel like such a daunting task, especially if you do have a lot of clothes. But it’s one of those things that can be extremely satisfying once you’ve completed the process. Also, if done efficiently enough it can enable you to completely change the way you look at your wardrobe, the way you shop and improve how you feel about your wardrobe, space and style.
This blog post is part two, of a three part series all about taking things back to basics with your wardrobe, helping you to build your wardrobe from the bottom up. If you haven’t already, you can check out part one in this series here: How to Find Your Style.
In this second part in the series we’ll be focusing on decluttering your wardrobe. So if you feel you already know your own personal style, then feel free to skip part one and continue straight on with this one, as I share my 10 steps to help you effectively declutter and organise your wardrobe.
When starting your wardrobe decluttering process, give yourself a full day and start in the morning if you can. If you have a full weekend, or a couple of days free, then even better. Make sure you have the time and don’t start this on a day when you know you have other things to do, because it does always take longer than you expect. So let’s get started!
Top Tips to help with your Decluttering process:
Start in the morning
Wear comfy clothes
Get yourself a good playlist or line up some podcast episodes to listen to, to keep you motivated whilst you’re decluttering
Have some bags at the ready for any items you sort through
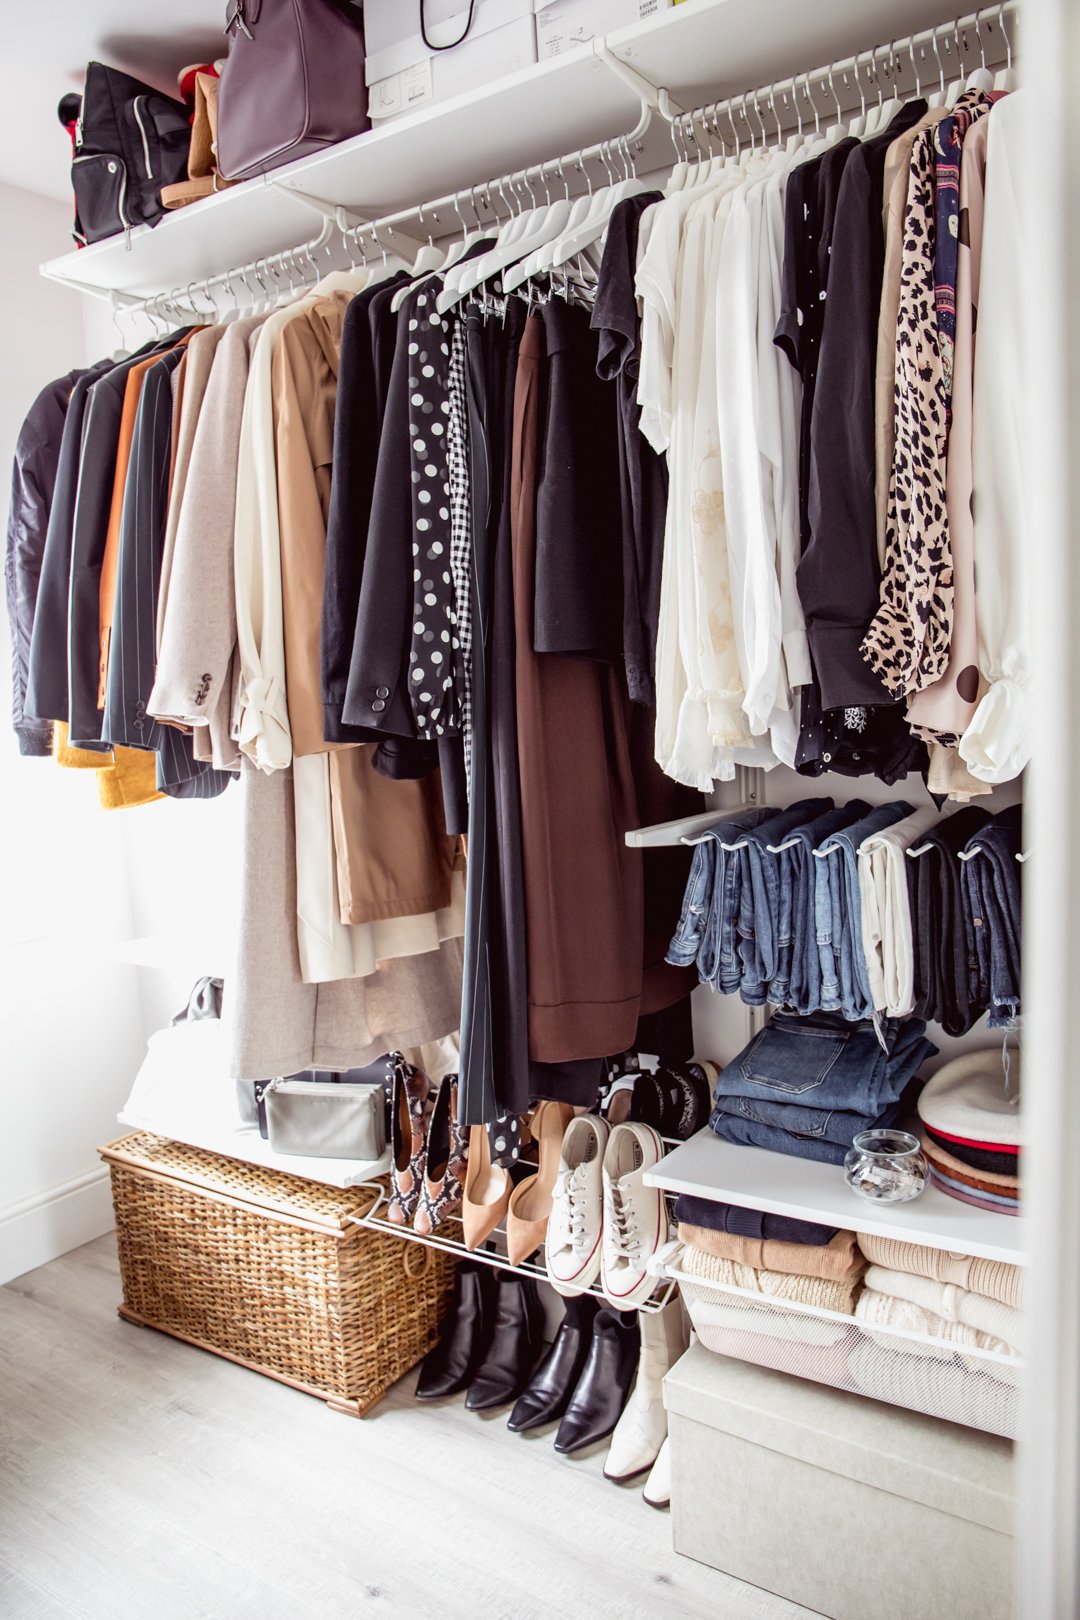
Before you even begin this process, I’d recommend you go and take a picture of your wardrobe right now, as it is. It can be tempting to skip this step, as who really wants a reminder of their not so best lives documented for all eternity, but trust me, when you’ve finished this process you’ll be so glad that you took that before picture to serve as a reminder of how far you’ve come.
The before picture can also serve as a great motivator for when you’re half way through this process and starting to wonder, why you ever started. By having this before photo to look back on can be just the motivation you need to keep on going.
Step 2 – Empty Out Your Wardrobe
Start by taking everything out of your wardrobe. If you have a lot of clothes it can be overwhelming, but it can also be good to see how many clothes you actually have, which can in turn help you to put things into perspective and think about how much you actually wear. If your wardrobe is exceptionally large, or you don’t have much space to lay everything out, then maybe do this in sections.
This is where things will look worse before they look better, but we are going to sort this out, so don’t worry too much about the mess.
Step 3 – Separate Everything into Piles
Separate everything into yes, no, and maybe piles. Be strict with this but also really be mindful as you’re doing it. For example, make sure you’re not throwing anything out you’ll end up wanting to re-purchase later down the line. This for me is where the ‘maybe’ pile really comes in handy.
Top Tip: Ask Yourself specific questions as you create your ‘yes’, ‘no’ and ‘maybe’ piles.
You might want to ask yourself:
Do I wear this item? If not, then, could I wear this more?
Does this item fit with my style?
Would I buy this item now?
Don’t keep things just because they are ‘new’. If you don’t wear an item, then don’t keep it.
During this process, don’t be afraid to try things on. If you’re unsure, sometimes the best way to tell if you still like something or not, is to simply see what it looks like on, and think about how it makes you feel.
If you have good quality pieces that you still like but maybe they need repairing or altering, then these could be worth putting in another pile to take to the tailors. I’ve done this with a fair few items in my wardrobe, and whilst it can seem like a chore, it often can work out cheaper than replacing said items altogether. It can be a great way to breathe new life into an old item. For example, I’ve had trousers and jeans taken in to make them better fit to me, and they have since become some of my favourite pieces as they now fit me perfectly – something which is rarely achieved when buying an item off the hanger.
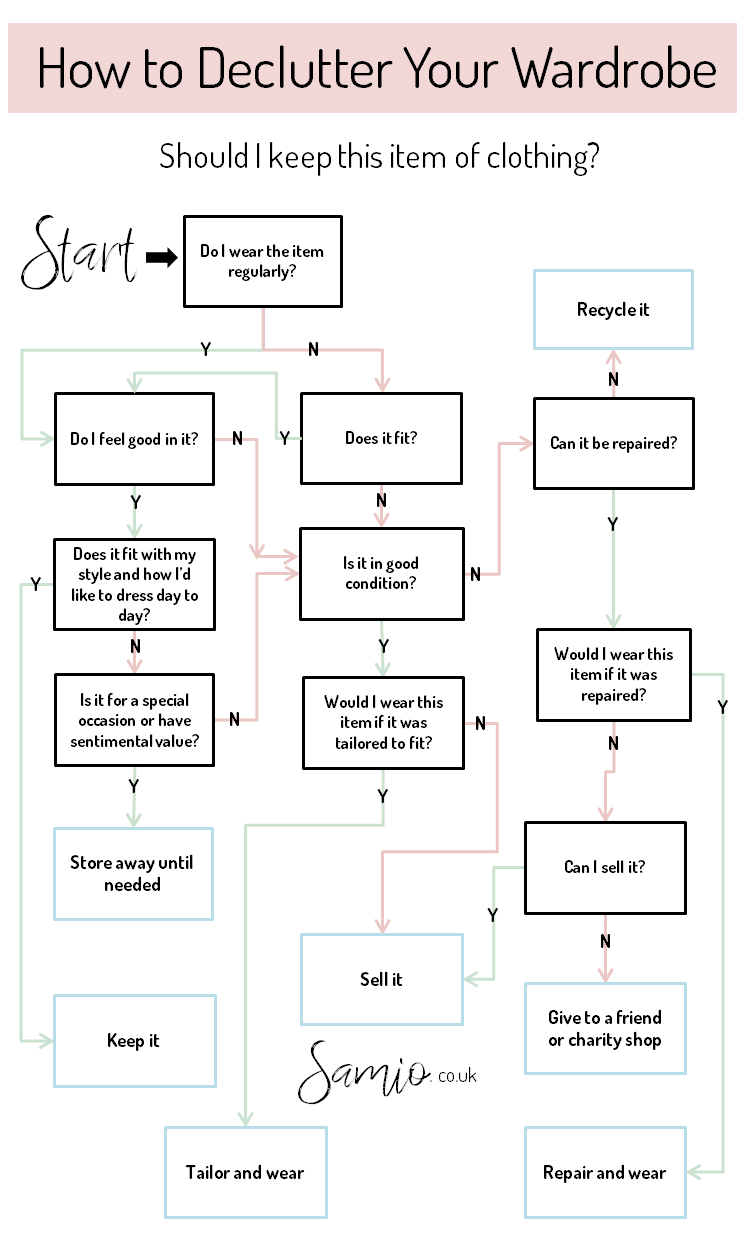
If you’re still struggling to decipher what to get rid of and what to keep, then I’ve created this flow chart which can easily help you to figure out which items in your wardrobe are best to keep, pass on, or recycle.
Step 4 – Repeat the Same Process for Shoes, Bags and Accessories
You know the drill; go through the rest of the items in your wardrobe, such as shoes, bags and accessories, and separate these items into ‘yes’, ‘no’ and ‘maybe’ piles.
Step 5 – Create A Separate Storage Space for Sentimental Items
You may have a few sentimental pieces that you really want to hold on to, and if so I’d say create a designated storage space for these. But be careful not to hold onto things simply because they are items that you used to love, if it’s something you have no intention ever wearing again, ask yourself why you really want to keep it.
I understand this process of letting go of certain items can be hard, especially if you’re someone who attaches emotions and memories to items. I myself am someone who struggled to detach memories from items, and so I know it can be hard. But once I learnt to do this it felt so freeing. The way I found it easier to let go of certain items was by passing them onto a good home, so to speak. The more I let go of items, the easier I found the process.
I did allow myself to keep a very small number of clothing items purely for sentimental reasons. For example I wanted to keep my leavers shirt from high school, which had all my classmate’s signatures on, and the dress that I wore on my first ever date with Damien. When holding onto pieces, of course don’t throw anything out that’s a family heirloom or has real sentimental value to you, but try to be quite strict with the process of letting go of things if you can, so don’t keep anything out of a feeling of obligation.
Remember the whole point is to declutter, so don’t hold onto things just for the sake of it. I know it can be hard to get rid of everything right away, but if you are planning to hold onto a few things for sentimental reasons, then just be mindful of what those are, and why you’re keeping them. And if they can be re-homed and loved by someone just as much as you once did, then don’t be afraid to pass it on.
Step 6 – Re-Organise Your ‘Yes’ Pile
If you don’t already have your clothes separated into seasons, then now is a good time to re-organise your wardrobe so that you’re not overwhelmed by seeing clothes that you’re not currently able to wear. Obviously depending on where you live this point will be more relevant to some than others. But for example if you live somewhere like the UK, you’re likely to experience four seasons, with different weather conditions which will alter how you dress depending on the time of year.
Designate an area, or create a storage space to keep your out of season clothes and other pieces that you may not be about to wear soon, (such as special occasion wear for example). I recommend using storage tubs or boxes for this, so that you can easily store these pieces out of the way until you next need them.
Step 7 – Put All the Items You Love Back into Your Wardrobe
Start putting the items from your ‘yes’ pile back into your wardrobe, and try to organise these as you go.
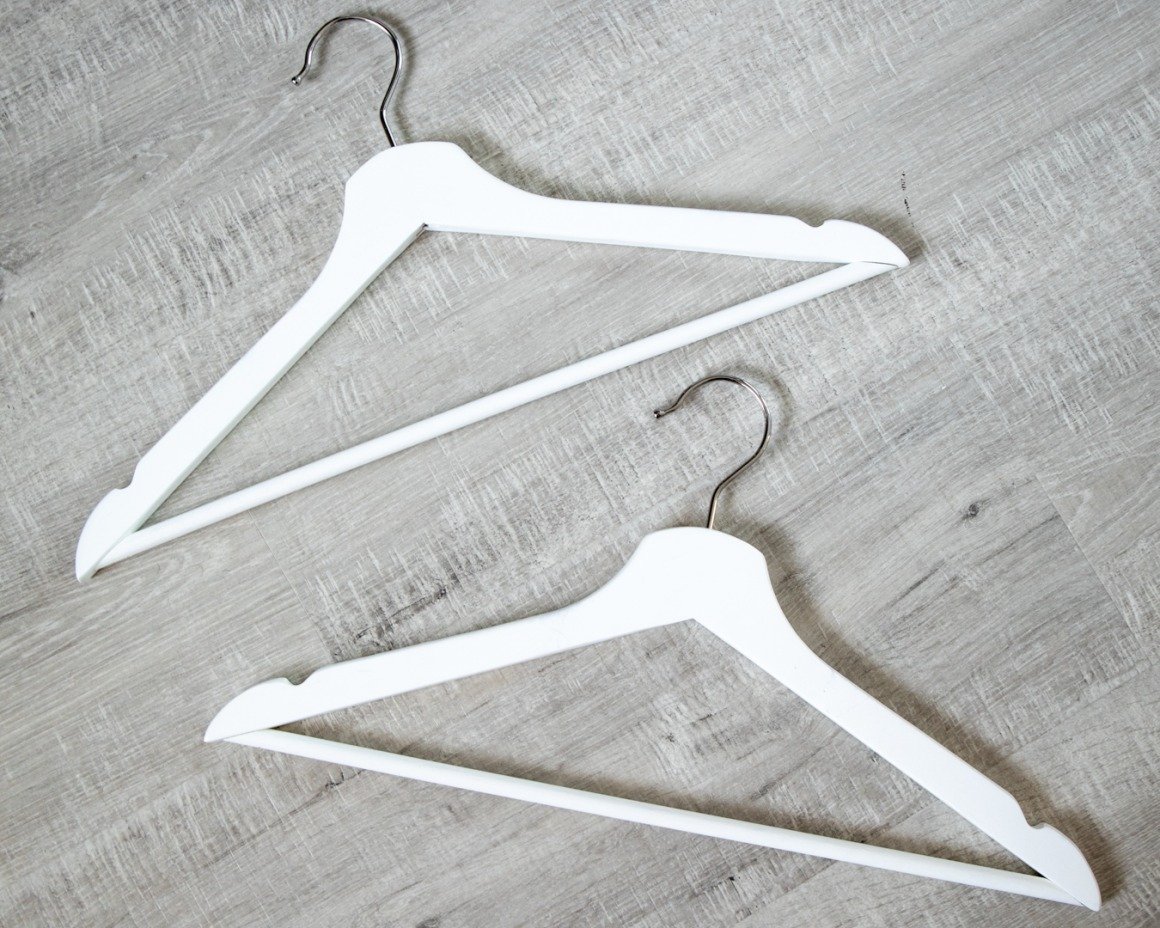
TOP TIP: I recommend to replace shop hangers and wire hangers for ones that will universally match throughout your wardrobe, if possible. I personally like to opt for white wooden hangers, but also velvet ones can be great for wardrobe areas with limited space and for items of clothing that aren’t easy to hang, such as satin like fabrics.
[show_shopthepost_widget id=”3979158″]
Step 8 – Go Through Your ‘No’ Pile
Sort through your ‘no’ pile and work out what you can give away to friends or family, take to a charity shop, and what needs throwing out. Remember when getting rid of old clothes it’s important to take these to a recycling centre if you can, otherwise they’ll only end up in a land fill.
This is where your bags will come in handy as you can now begin to bag up any unwanted clothes into categories – These categories might be:
Items to sell
Charity shop items
Items for friends and family
Items to recycle
Step 9 – Assess Your ‘Maybe’ Pile
Take a look at your ‘maybe’ pile. If you haven’t already, and then try some (if not all) of these pieces on, and work out what you do and don’t like about them. If the cons outweigh the pros, then you know what to do, and don’t forget to refer back to the flow chart for help.
If you’re still unsure about any items, don’t make any rushed decisions just yet, and instead either bag these items up, or store them away. Put them someplace that doesn’t interfere with the rest of your wardrobe and that’s somewhat out of site for the time being. If you have room under your bed for example, this could be a great place to keep these items out of the way.
I’d say give it a 4 week time period minimum, and if by the end of that period you haven’t missed, or gone rummaging for any of the items in the ‘maybe’ pile to wear, then that’s a good sign that these are pieces that you’re ready to pass on or recycle.
TOP TIP: So you don’t forget to go back and check your ‘maybe’ pile, set a reminder on your phone, or mark it out in your calendar for in 1 months time, to sort out your maybe pile.
Step 10 –Re-visit Your ‘Maybe’ Pile
Now once you’ve lived with your new and improved decluttered wardrobe, you can re-visit that ‘maybe’ pile that you previously set aside, four weeks on.
By now you should have a clear idea of if you need to keep, or get rid of the items in your ‘maybe’ pile. If you’re still unsure, the hesitation may be a bit of that old sentimentality trying to hold on. And if so, it’s important to remember why you started this process, and how it’s helped you since you’ve decluttered.
If you haven’t missed the items in your ‘maybe’ pile over the past four weeks, then you can also re-home or recycle these pieces.
You’ve Done It!
And now breathe! You’ve done it. Take a picture and compare it to the before picture you took. This should make you realise how far you’ve come, and it can also serve as a reminder if and when things start to feel cluttered again.
Hopefully decluttering has helped to give you a new found love for your wardrobe, so much so that as you do add new items in, you’ll now be better able to asses what you let into your wardrobe in order to keep it well organised, well loved and clutter free!
This is proving to be a very creative period for me. I’m not quite sure what’s going on, but all I can say is that the current ‘flow state’ I continue to find myself in at the moment, is a much welcomed distraction from the harsh realities of our world at present.
Whilst I’m not completely numb to whats going on (I think that would be near impossible), I have found great solace in the hours I find myself immersed in my creative processes. And I’m enjoying the ability to create, simply because.
Whilst I feel very fortune to have some ongoing work projects which I still need to focus on, (and feel glad to be in a creative headspace to work on those too), I also for the first time in a while, am spending ample amounts of time on non work related creative projects.
Usually it’s the never ending story of ‘I don’t have the time’, or it’s the case of not quite being in the mood. But right now, I find myself in this strange position where I both do and am; A rare occurrence of happenstances, aligning together in unity. It’s almost like the complete opposite of a creative block (of which I’ve had more than my fair share of course), the solar eclipse of creative happening shall we say. No excuse shall suffice for me in this instance, and nor am I coming with any either.
An Old Hobby
I used to sew, and craft and make ‘things’. In fact, if you’ve been around these parts long enough, you may even remember that I used to make bags for a time; A hobby which I tried to develop into a job and if I’m quite honest, soon after lost interest in (a reminder that not all hobbies should be monetized).
I’ve had a sewing machine for as long as I can remember, and with no official training or actual knowledge of how things should be done, I taught myself as I went and started to make things…and found I rather enjoyed it.
There’s a unique satisfaction in the process of having an idea in your mind come to life. I find I often think of things but don’t always put in the time to make them come to fruition. And quite possibly not every idea in my mind is worth pursuing, nor would I have the time to fully conceptualise and create every single thing. But I’m sure more than a few good ideas or creative projects have fallen to the way-side just because I didn’t take the time to develop them. And I’m not just talking about work related things here, but also just because things, things purely for the beauty and things purely for the joy.
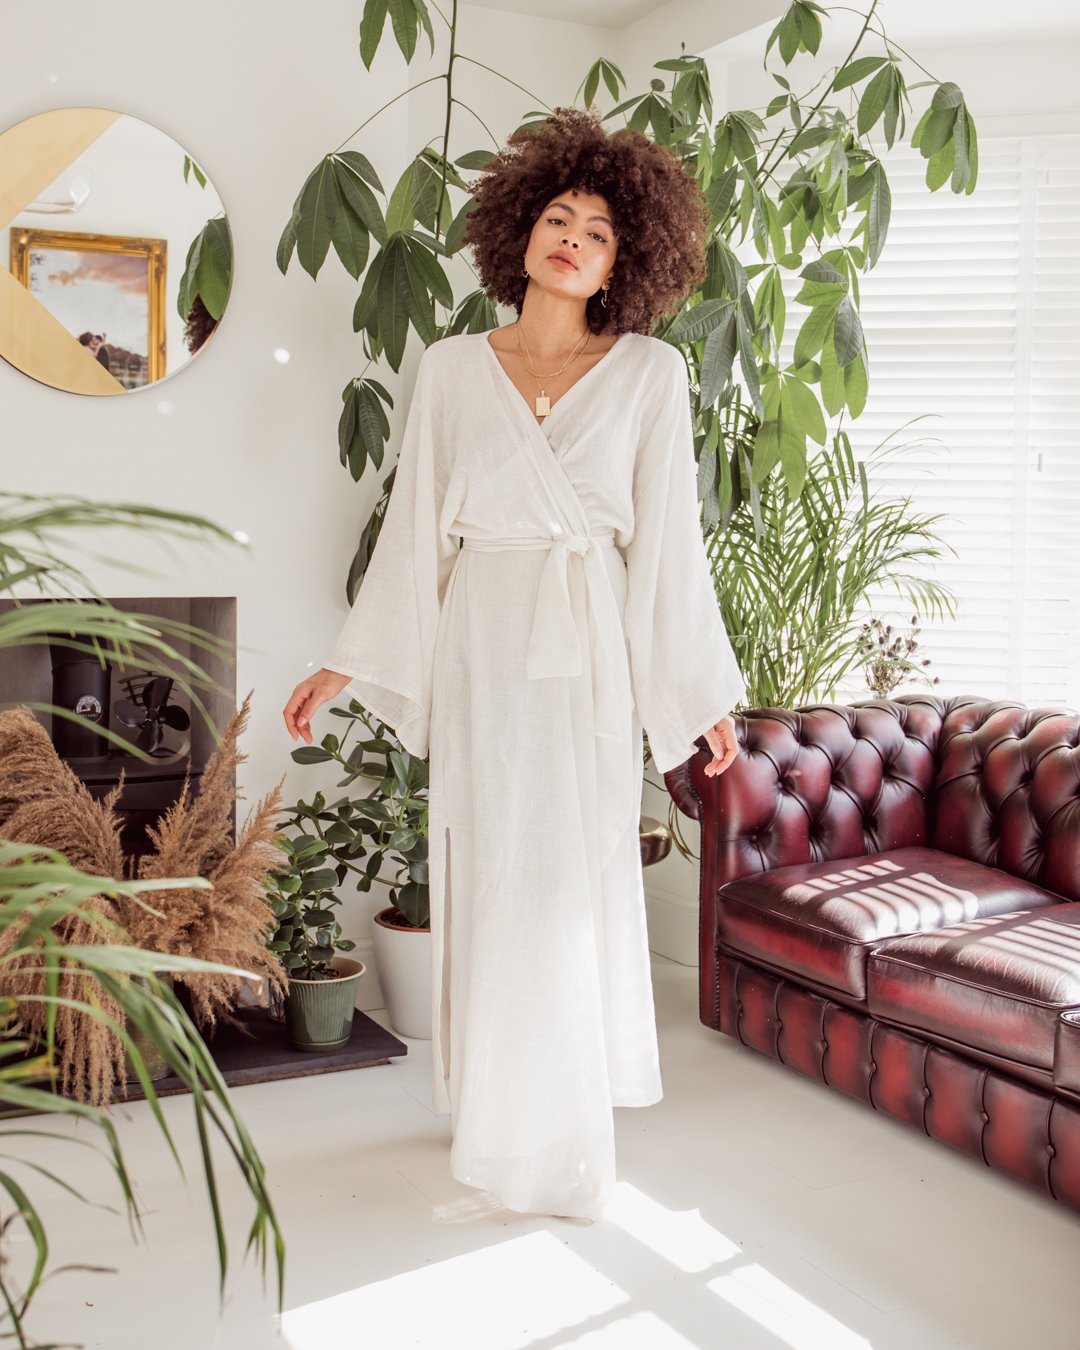
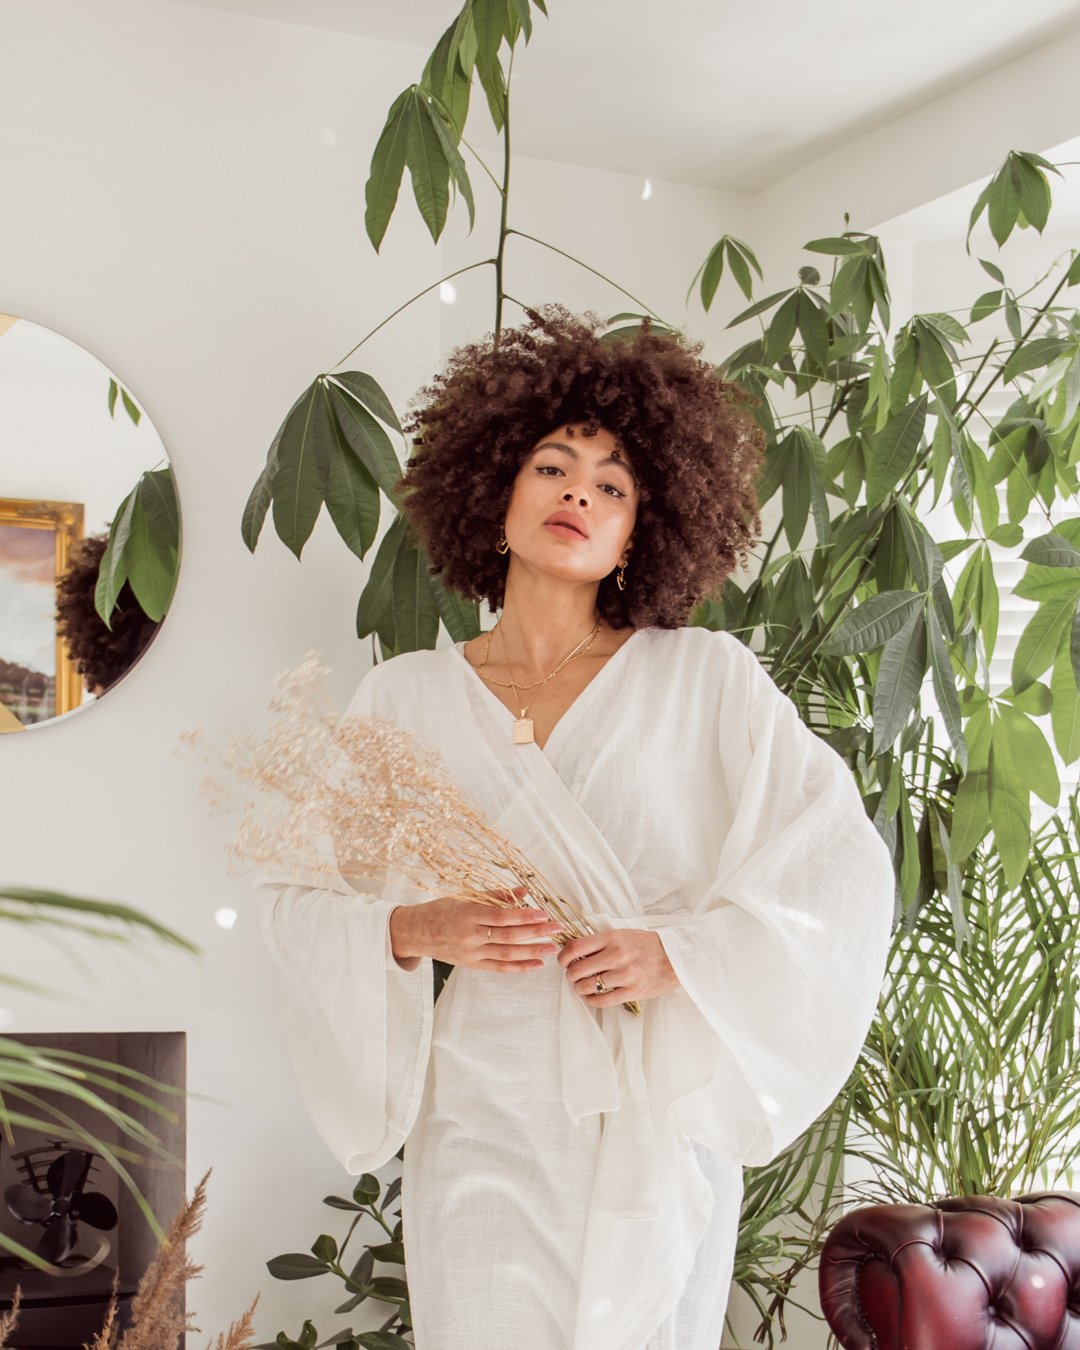
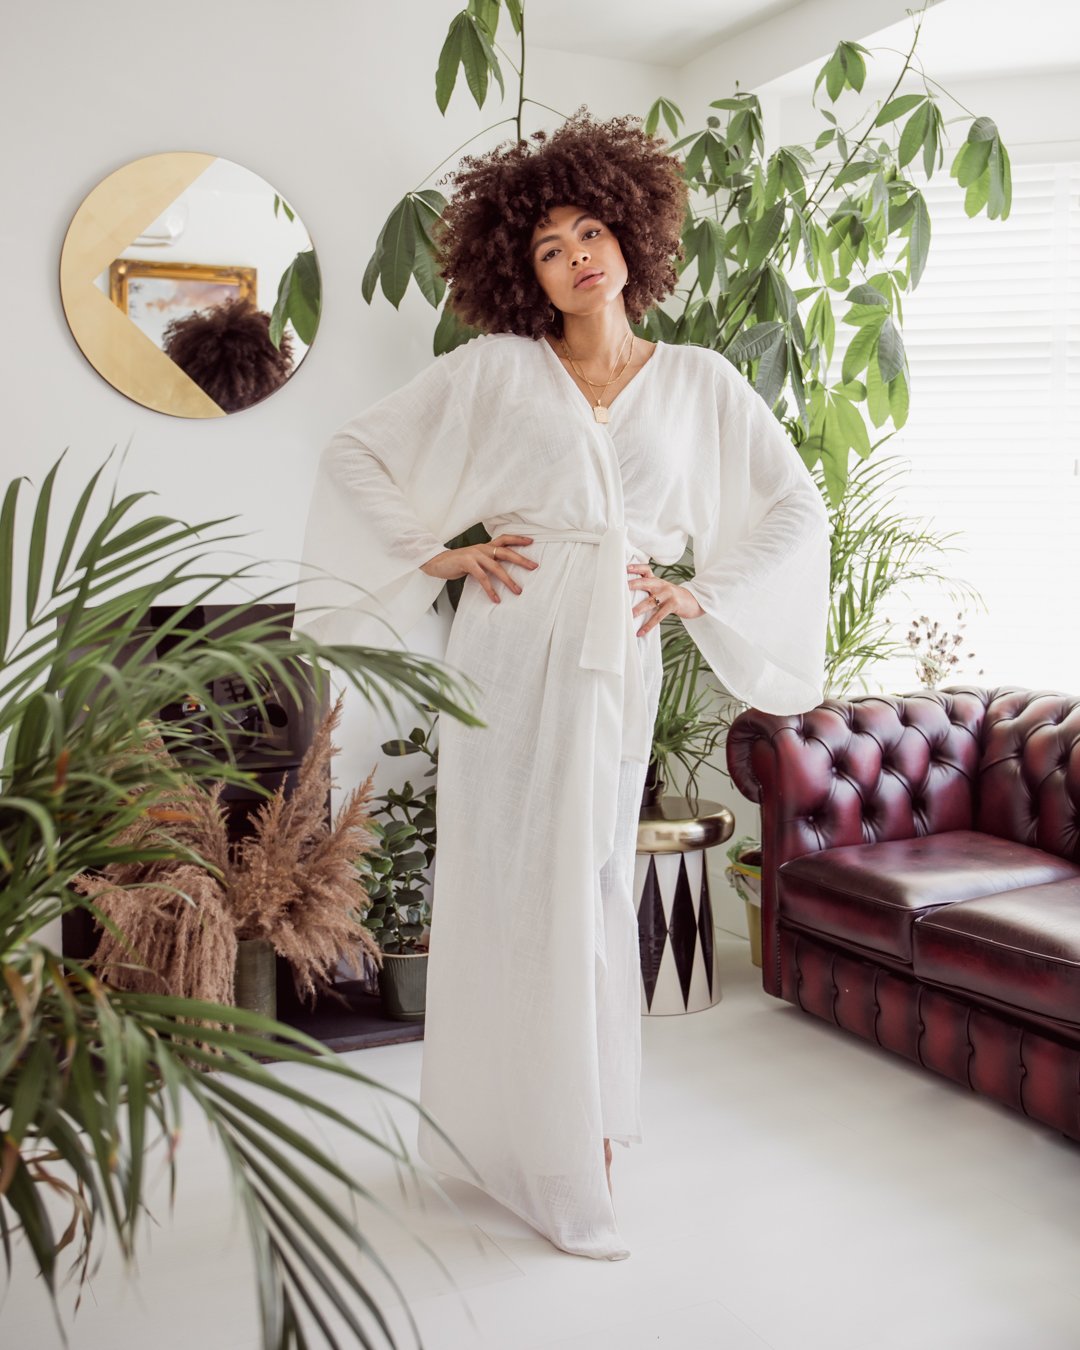
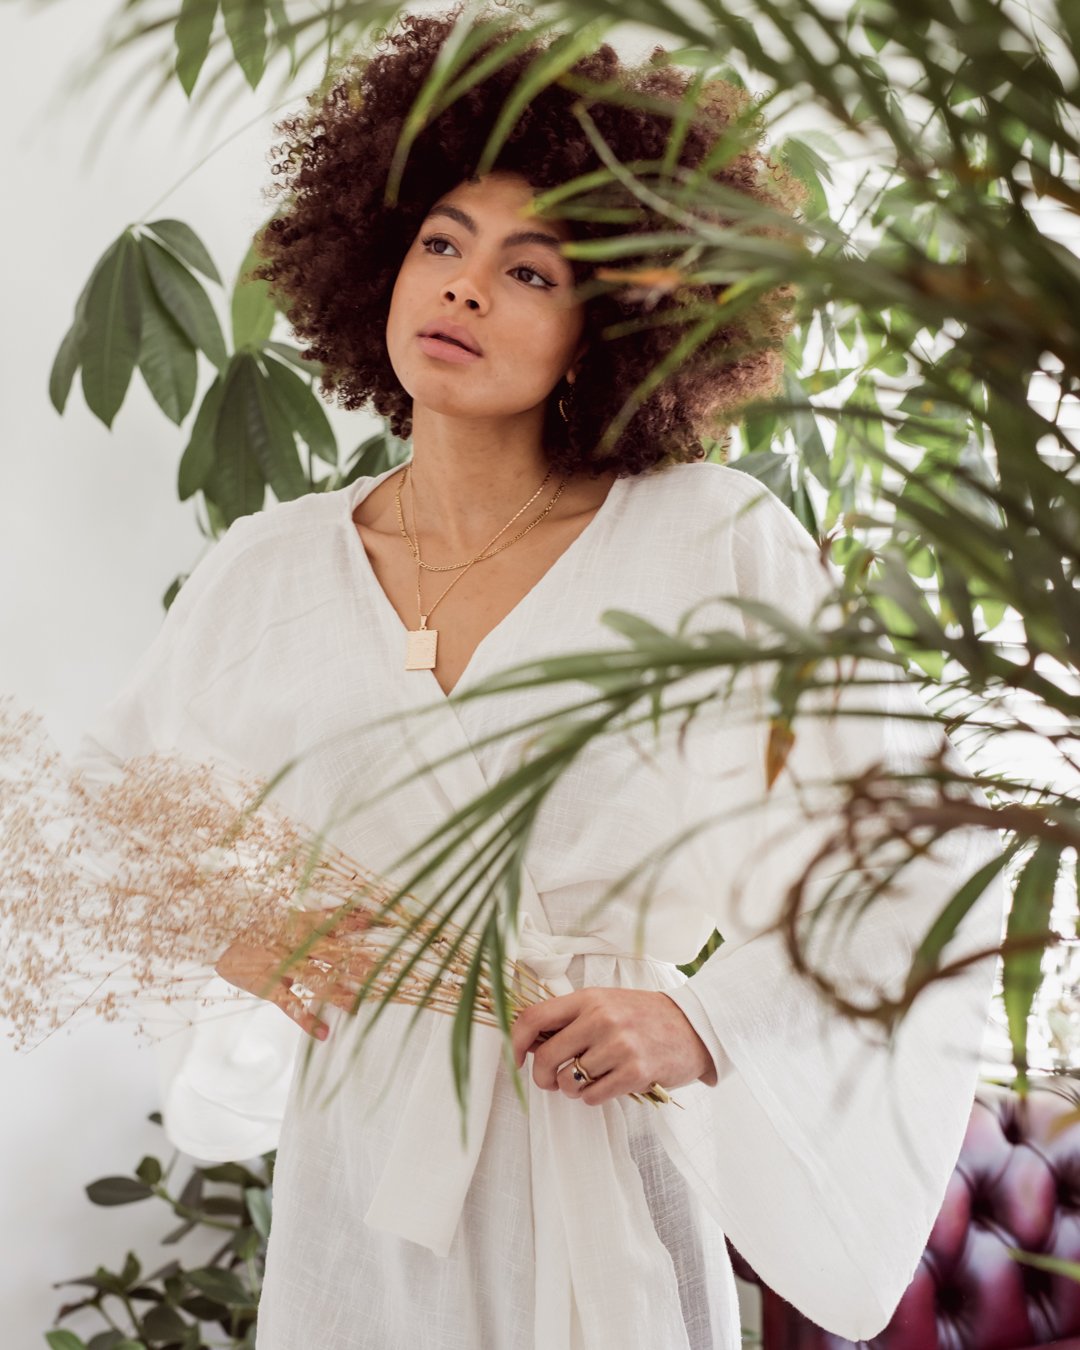
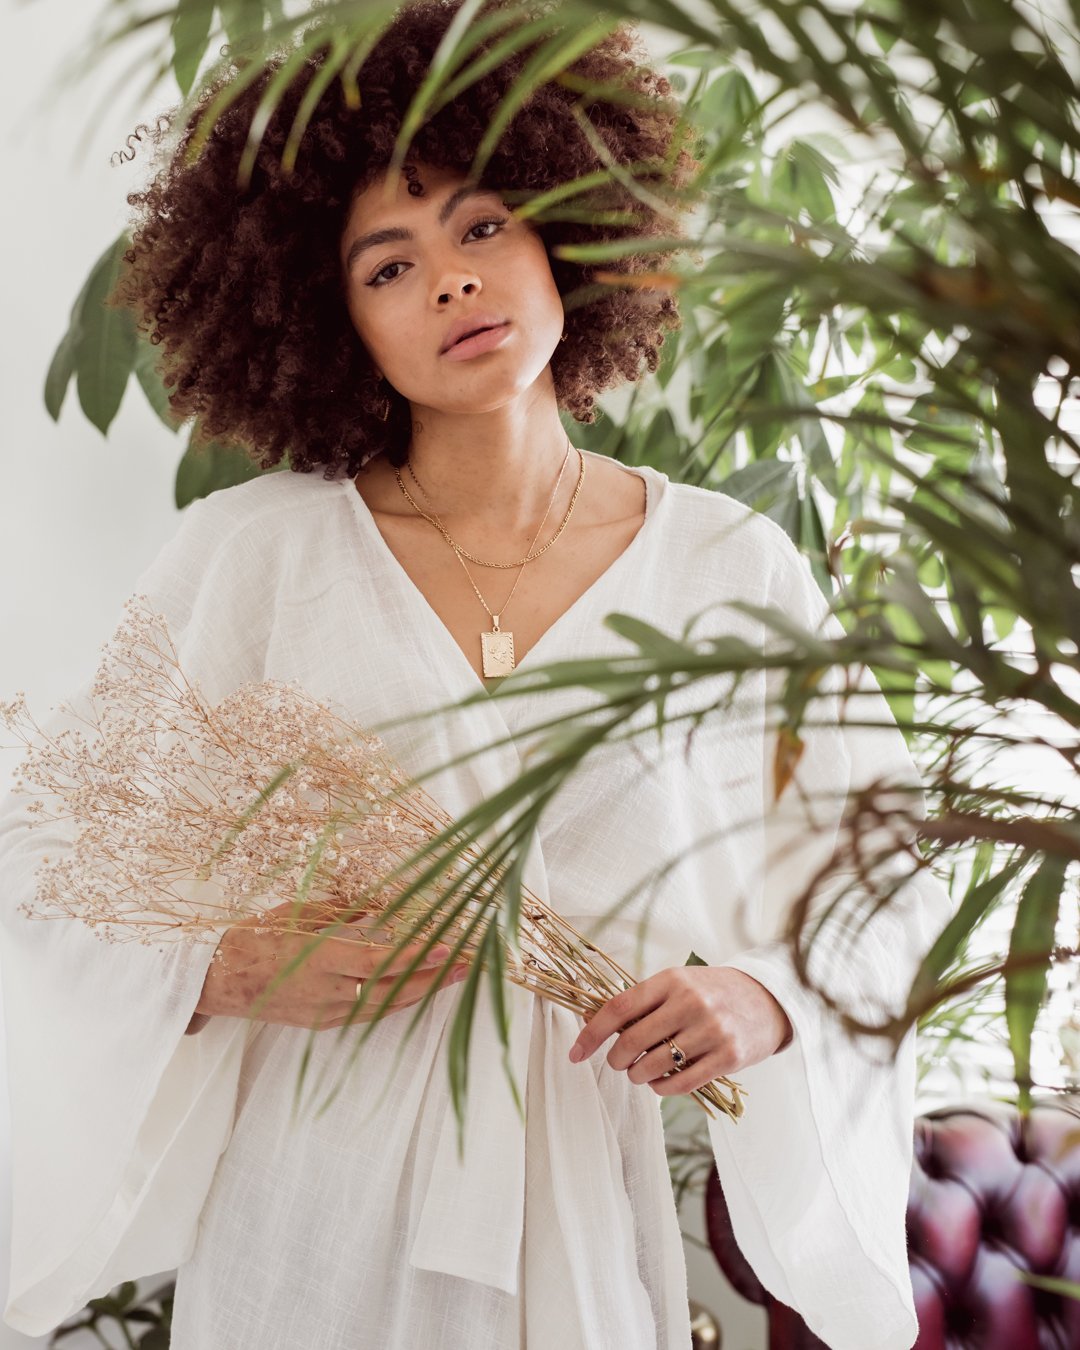
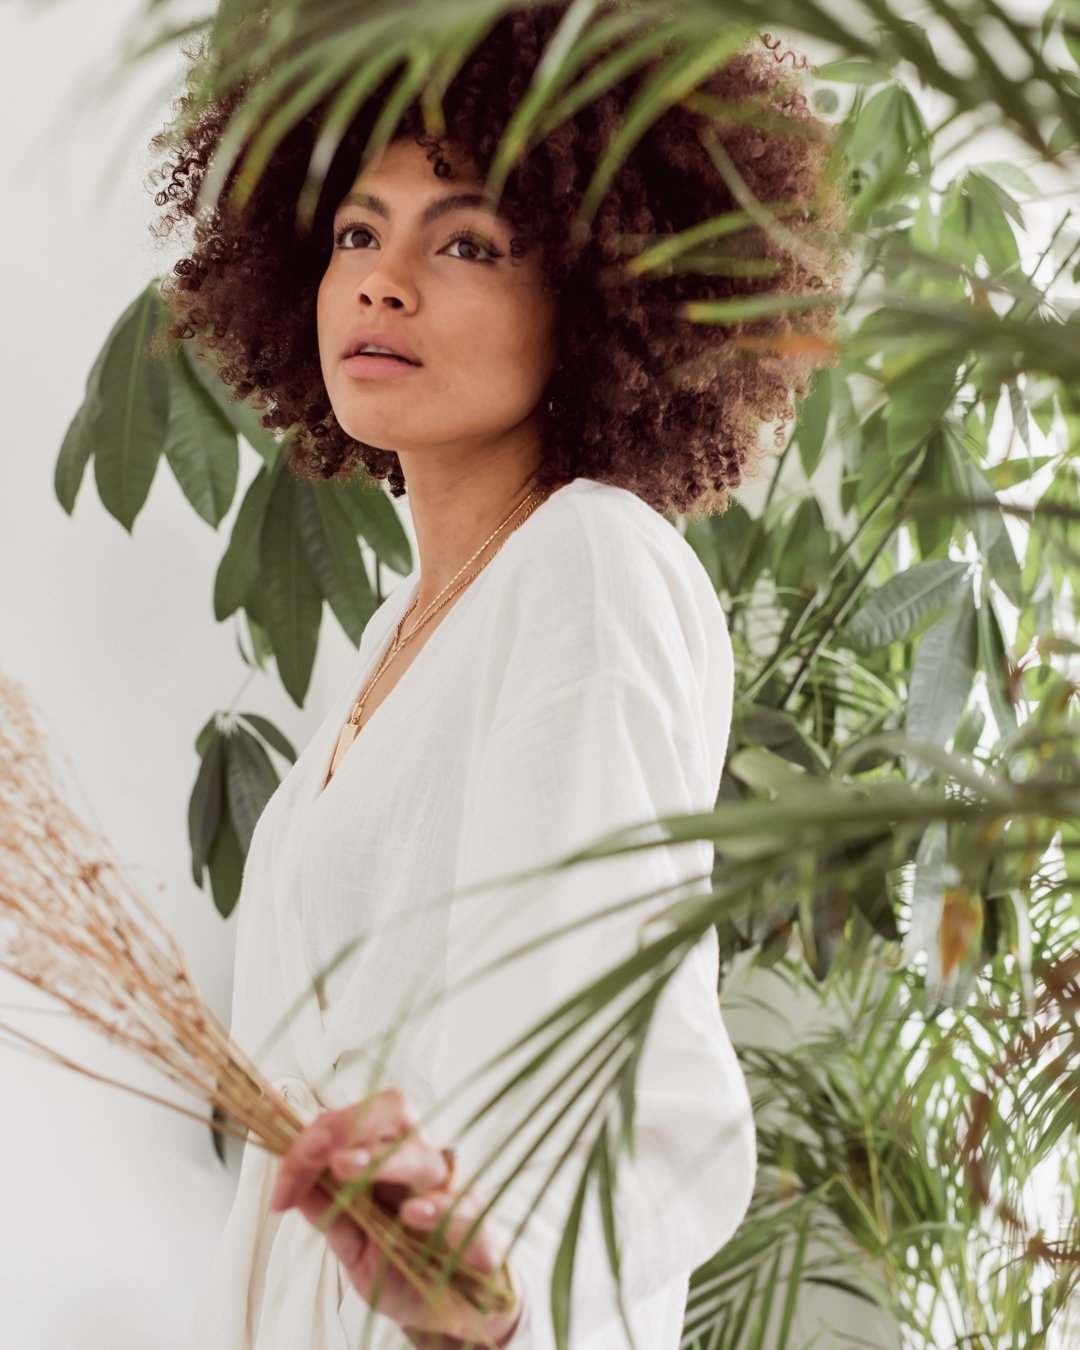
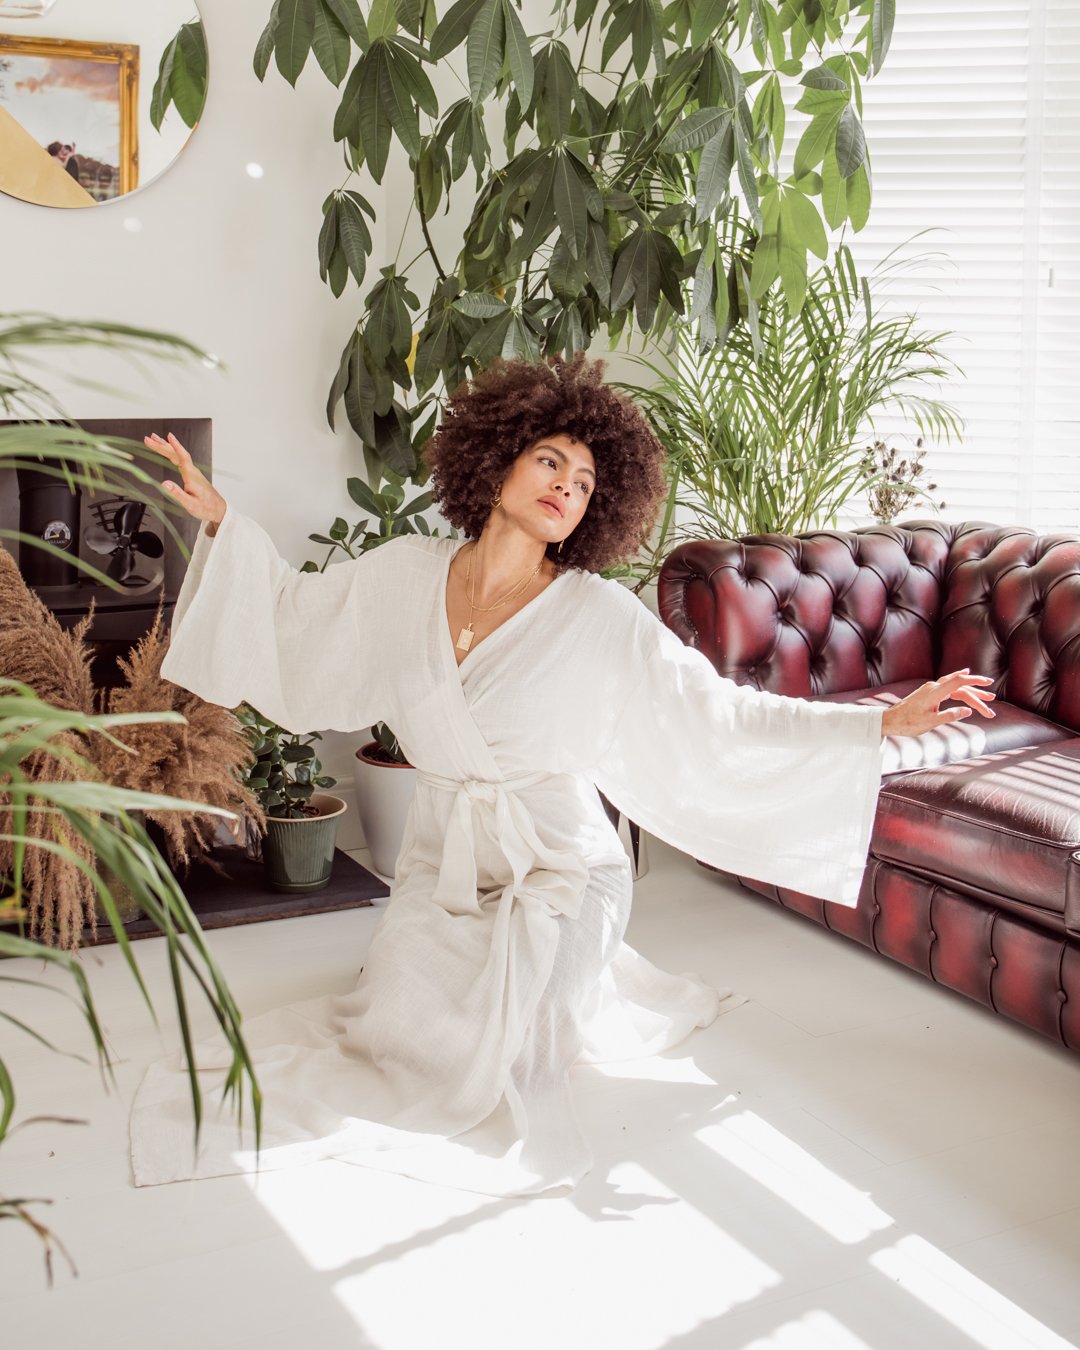
I’d said to myself for a while I’d wanted to make a long floaty wrap dress. I just wanted something elegant and ethereal that I could swan around the house in (as you do) and maybe wear down the street somewhere hot, like on holiday.
Making clothes doesn’t necessarily come easy to me (like I said, no training) and it is time consuming – oh so veeerry time consuming – but there’s nothing quite as rewarding than putting something on that you can say you made yourself.
Yesterday afternoon I couldn’t focus for the idea of getting this wrap dress out of my head and into the world as a fully formed creation. Of course I don’t claim to have invented this style of dress and it’s a pretty standard and overall straightforward design as far as dresses go, but still, for me it felt great to see something I’d worked in come to fruition.
A just for fun project, purely for the joy of it, just for me. It took quite a while longer than I’d expected. I started it yesterday afternoon and finished it this morning, working out the design as I went. Working on the finishes and then hemming the edges by hand was the longest part. But I will say it really made me re-appreciate the time it takes to make a garment and all the work that goes into even the most ‘simple’ looking piece. Anyway, I don’t want to waffle on too much longer, as I fear this quick post to say ‘here I made a dress’ is turning into another one of my contemplative monologues…
So look, I made a dress! And it took flippin’ ages, and yes, I am going to wear it all the time now!
Finding and developing your personal style can do much more for you than simply helping you realise which clothes suit you best. Whilst yes, finding your style can help you do exactly that, it can also assist you to refine your style, feel better in how you dress day to day, and in the process allow you to declutter and downsize your wardrobe to eliminate the things that you don’t actually wear or need, which will enable you to create better shopping habits going forward.
This in turn can promote a more organised space which enables you to feel freer and calmer, as you’ll find getting dressed quickly in the mornings doesn’t mean having to compromise on style and you won’t need an unlimited supply of clothes to feel and look good.
In this three part series we’ll be taking things back to basics and I’ll be sharing some of my top tips to help you refine your style, declutter your wardrobe and build outfits that you can feel good in everyday. Part one is all about how to find your style, so if you’d like some help with how to do that, then keep on reading…
You constantly find you have nothing to wear (even if you have an abundance of clothes).
You find yourself shopping without intention or purpose.
You simply want to feel better about how you dress day to day.
Step 1 – Find Inspiration
Think about what styles or who’s style you’re most drawn towards. It may be completely dissimilar to how you dress now but think about what type of style you like when you see it – feel free to be explorative when taking inspiration and even look to things like films.
It could be that you don’t even know yet, but this is your chance to look out for it and take note. Are there any particular celebrities who’s style you’re drawn towards? Are there any bloggers you follow or maybe even people you know or see around day to day? It could even be characters you see in movies.
From here you want to make a mood board. You can easily do this on Pinterest (my particular favourite), or even by saving images on Instagram. I’d recommend doing this digitally as opposed to creating a physical mood board, as this will give you more opportunity to develop and change your mood board as your style evolves.
Step 2 – Think About Your Lifestyle
Take a look through your mood board and think about what kind of outfits from your moodboard would and wouldn’t work with your lifestyle day to day.
It may be that you find you’re drawn to certain styles that don’t really work with your day to day lifestyle, however, this can be a good opportunity to work out what styles you really like and think about how you may be able to draw inspiration from them in your everyday outfits.
For example if the styles you find yourself most drawn to are that of 1950’s Hollywood starlets, yet in your everyday life you find you need to dress quite practically, a lot of these looks likely won’t work for you. Think of ways you can take elements from the outfits in the mood board that emulate parts of these styles, which you can then incorporate into your everyday outfits. With this particular style it could be the way you do your makeup or by adding vintage accessories that give a nod to the era.
Create a separate mood board (or on Pinterest you can now create sub categories within mood boards) and here you can start to refine things and save outfit ideas and inspiration that will work with your lifestyle day to day.
Side note: The reason I say to make the initial mood board collating any styles you’re drawn to at first, is that this allows you to look for style inspiration freely and solely focus on what styles you really like, without limitations. Then from there you’re able to hone in on that and think about how you can make some of these styles really work for you. Sometimes when starting with limitations it can prevent you from allowing yourself to discover what styles you’re really interested in and so I find it’s better to start big and then refine it to work for you.
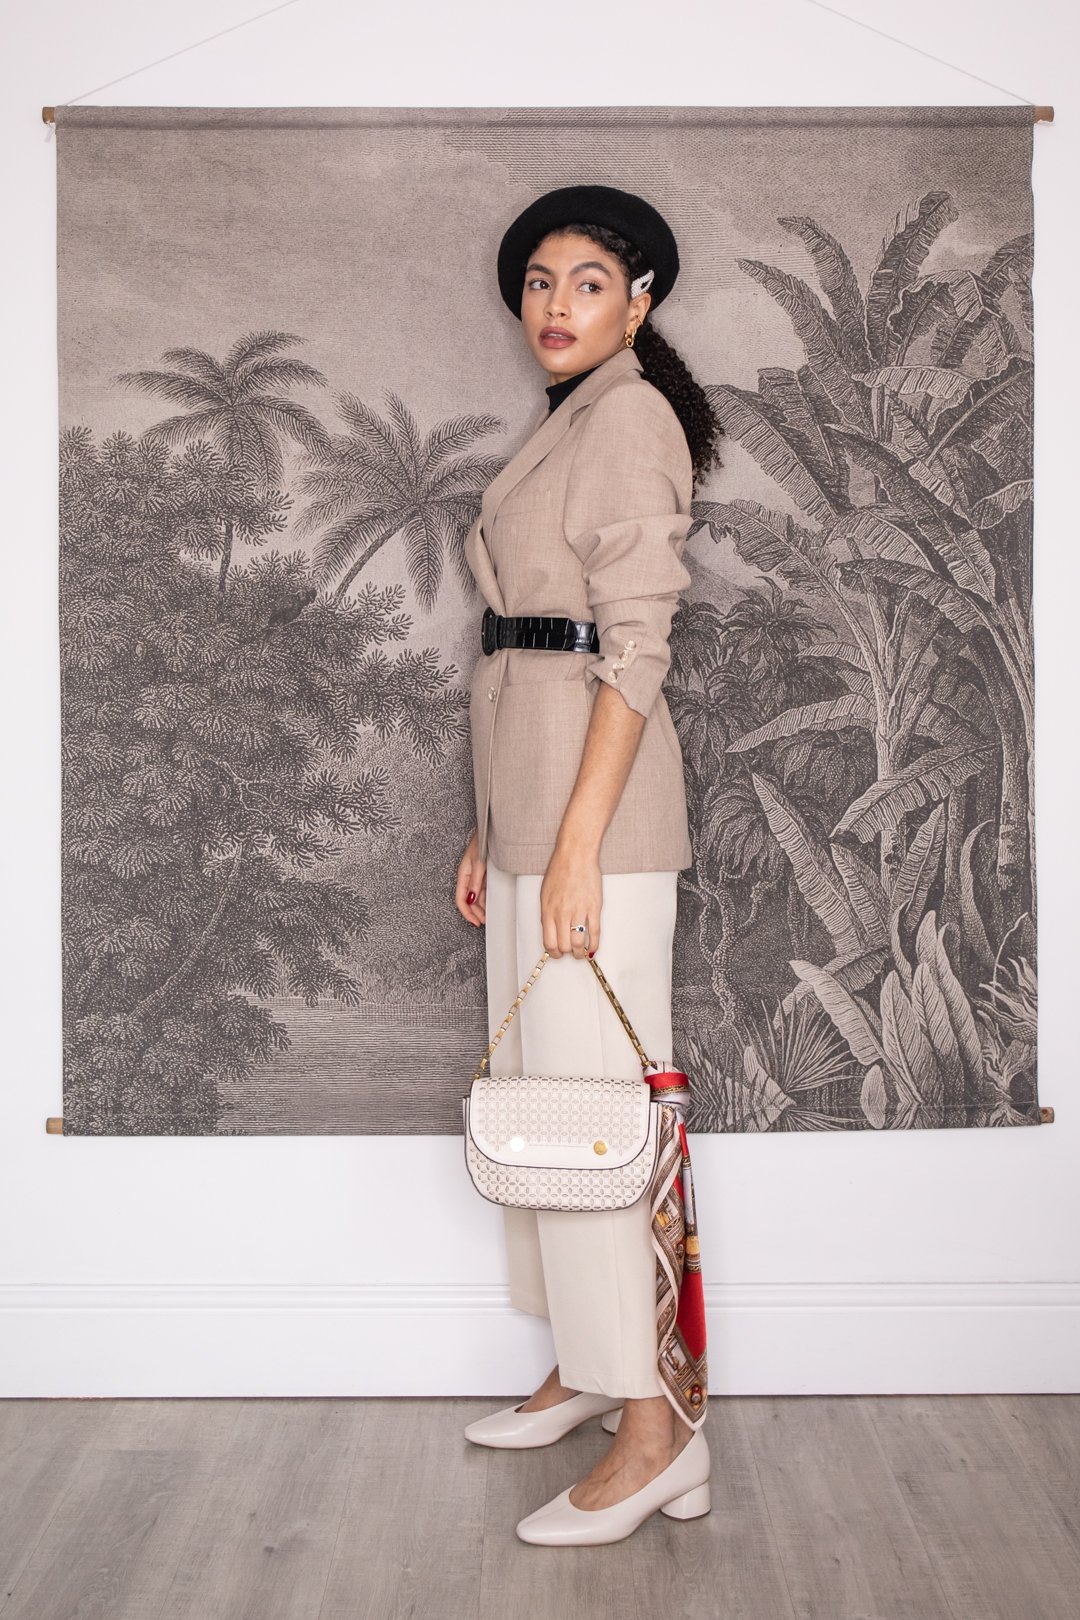
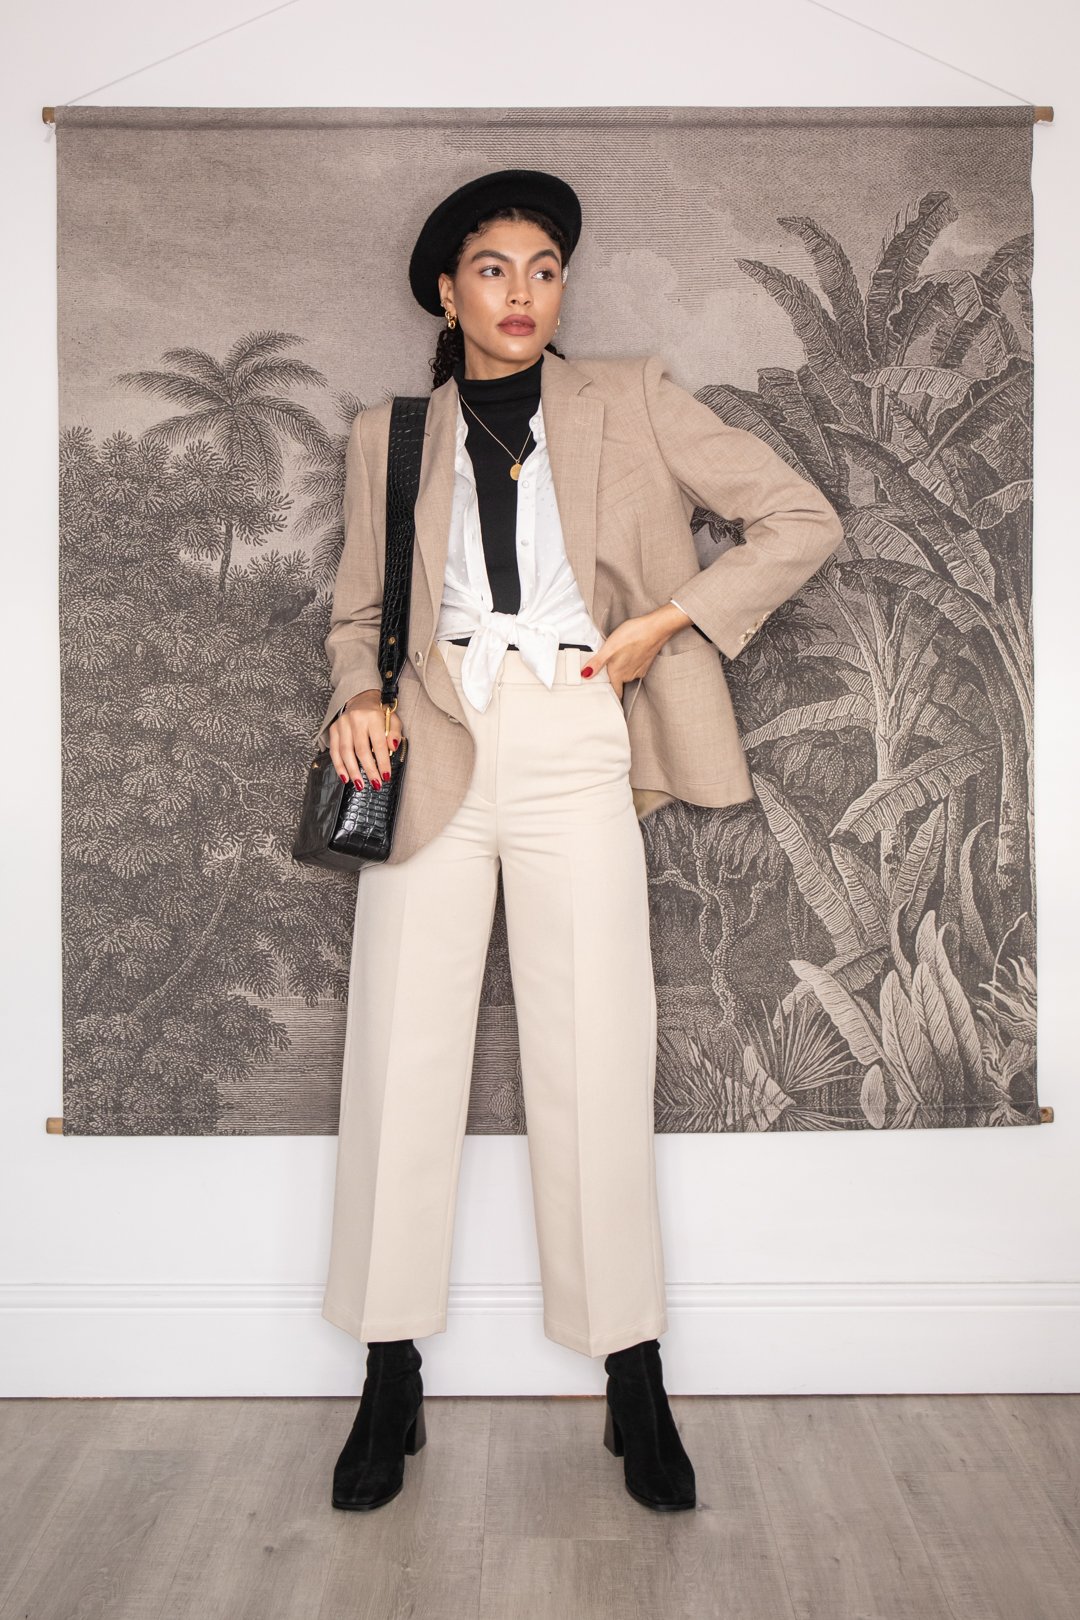
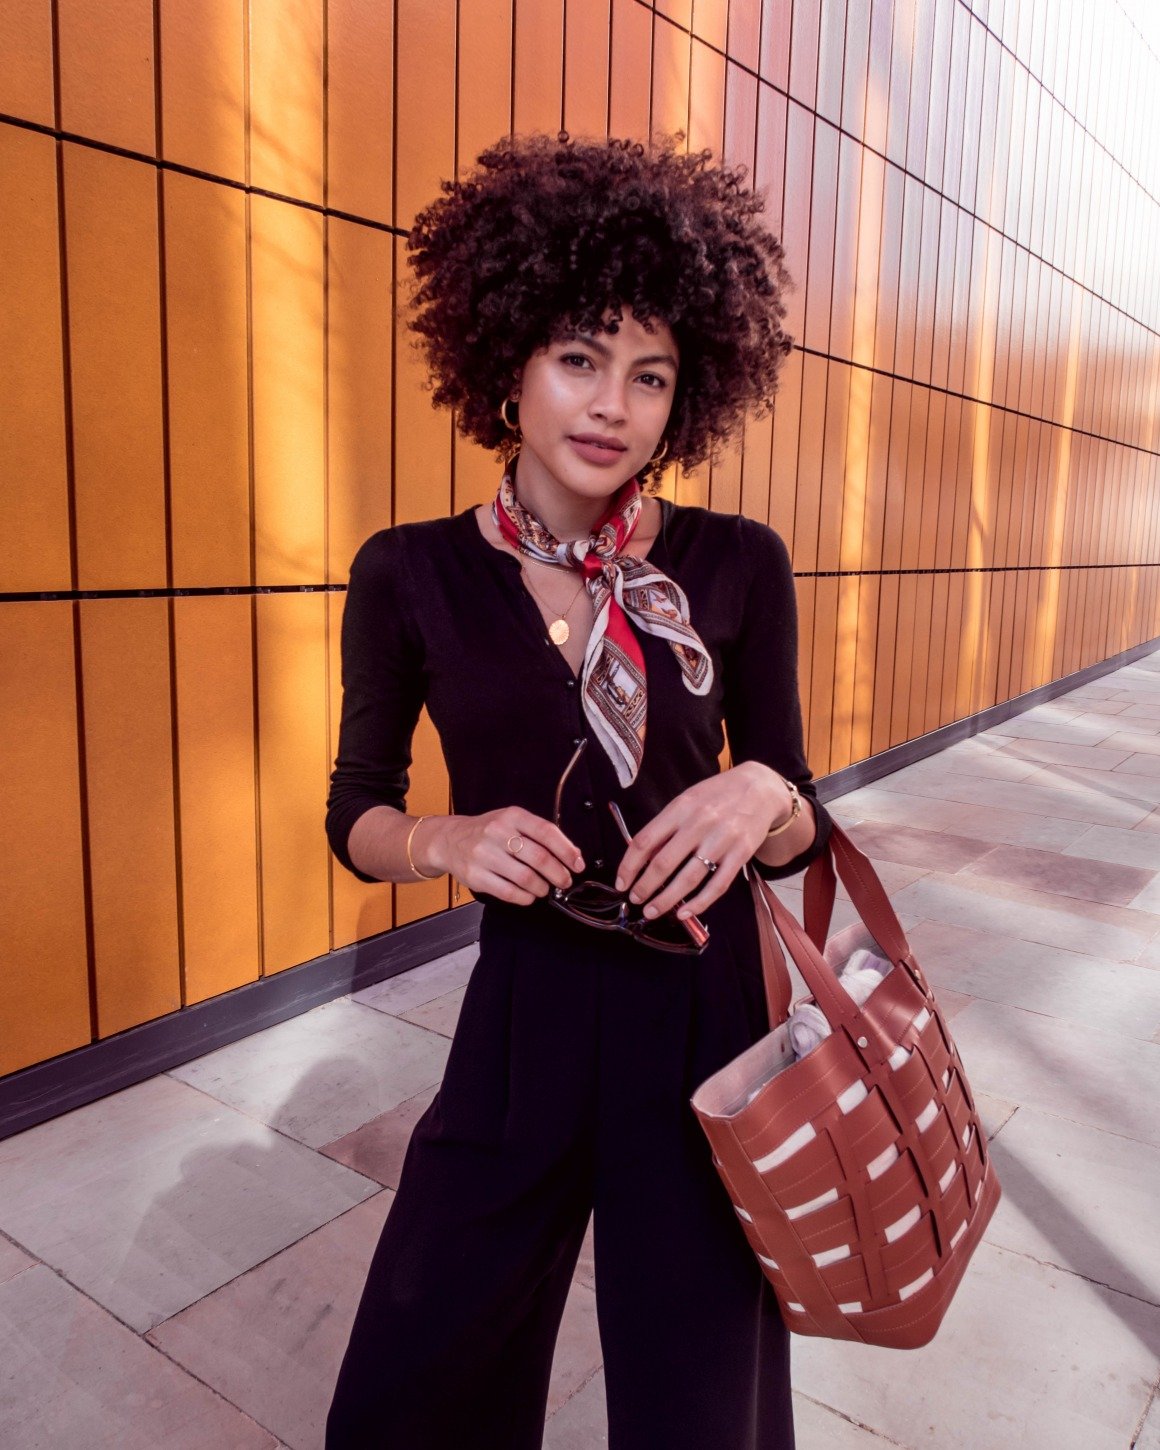
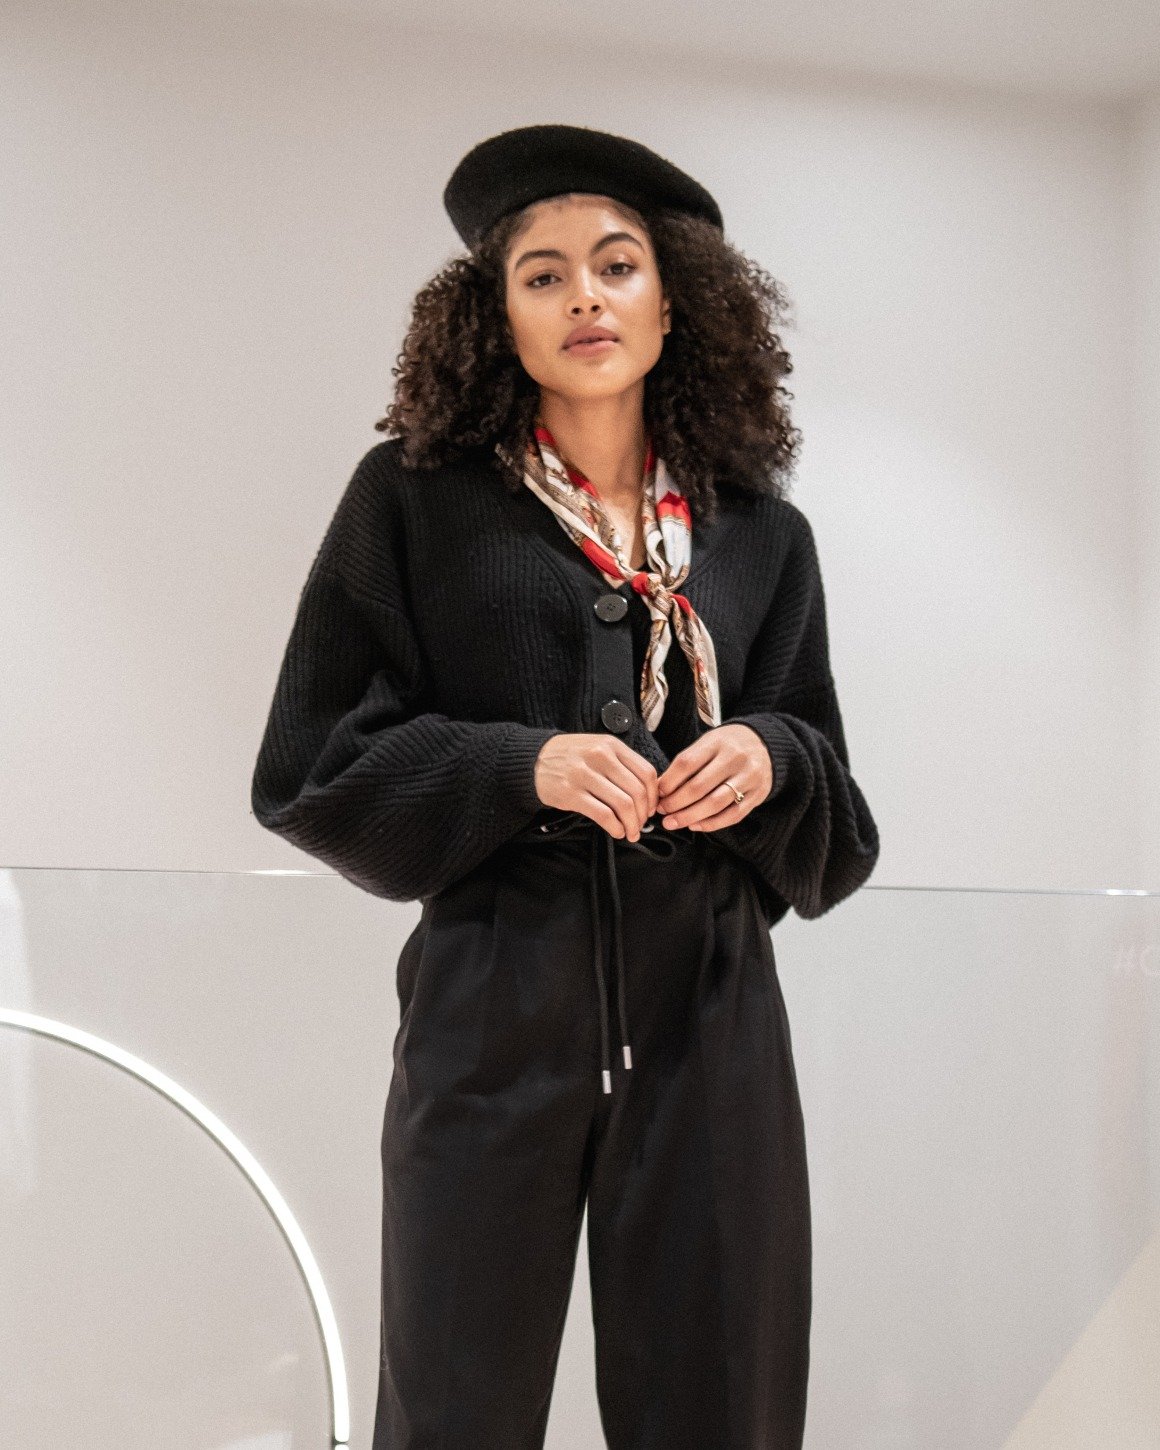
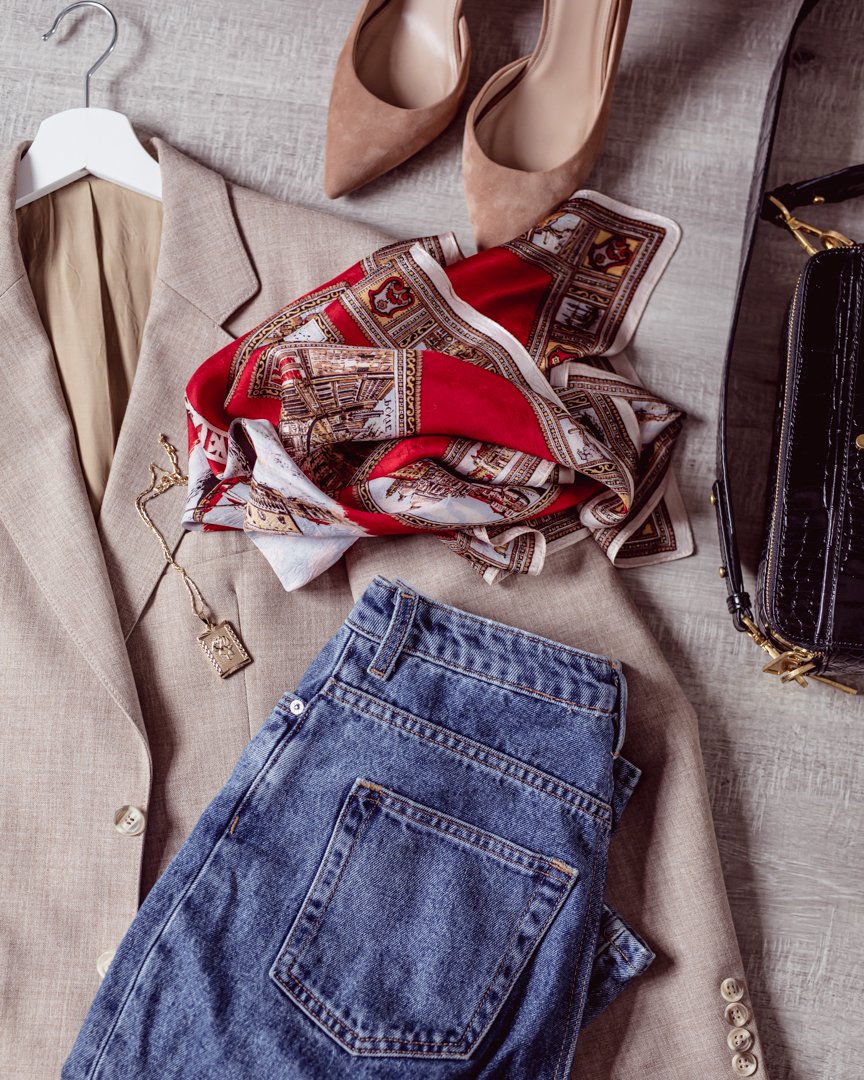
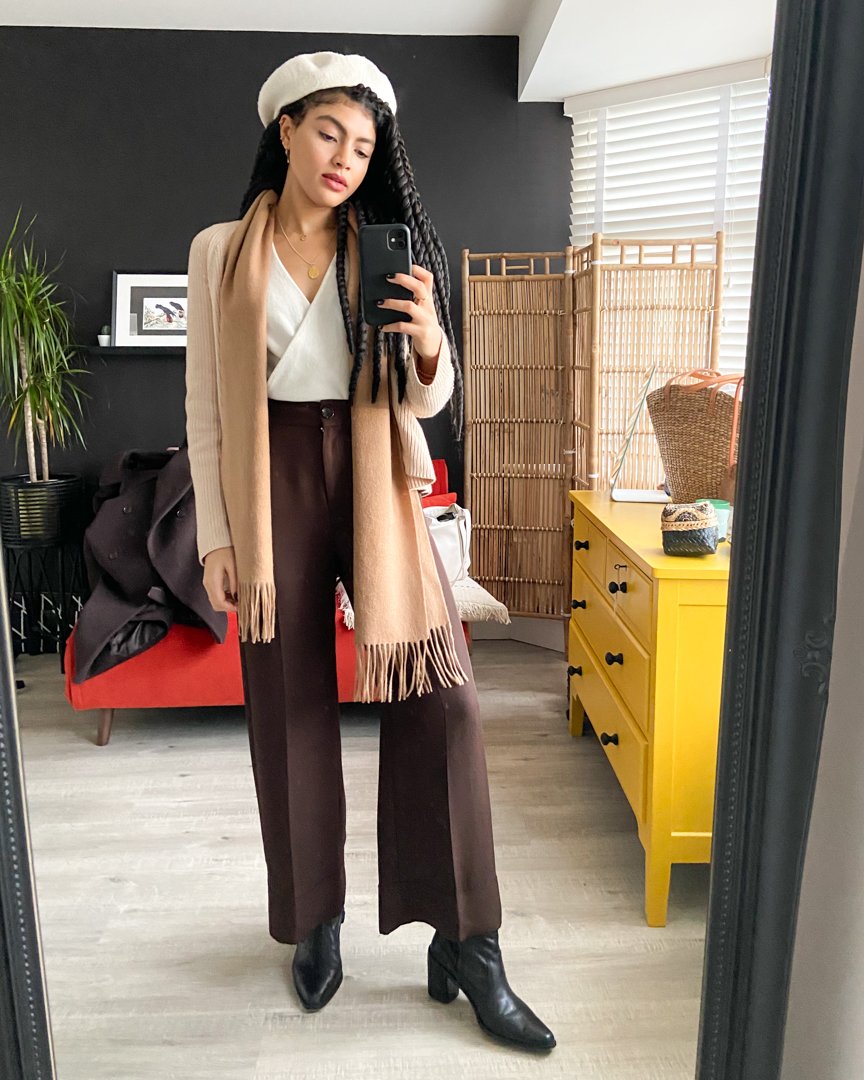
I myself often find that I’m draw to lots of vintage style looks and outfits. I tend to draw inspiration from these looks with accessories.
This vintage scarf for example is a simple piece that I use time and time again in my outfits.
Step 3 – Look At Your Wardrobe and Pull Out Pieces That Fit With the Style
Go back to your wardrobe and begin to pull out pieces that you feel may fit with the styles you’re inspired by. Now this may be tricky if the reason you’re doing this in the first place is because you feel you have nothing to wear, but refer back to your moodboard and go through your wardrobe meticulously, pulling out any pieces that you feel could work.
Try to break down each of the outfits in your mood board and look at individual items to figure out what pieces you may already have in your wardrobe.
It actually might be really obvious pieces that you already have but haven’t given much regard to previously because you haven’t ever experimented with styling them differently before.
You may have to get inventive with this if you feel your wardrobe is really lacking many items that fit with the styles in your mood board. But try your best and pull out anything that you think could possibly work.
Step 4 – Plan Outfits
Now with the items you’ve pulled from your wardrobe, begin to try and plan some outfits. This step could take some time, but be patient and don’t be afraid to experiment and try different ways of styling pieces.
Make sure you keep referring back to your mood board because this will really help you when thinking of outfits to put together.
It could even be that you find yourself going back to your wardrobe to pull out additional items which help you to create full looks.
Step 5 – Separate Your Wardrobe
Separate the items in your wardrobe that you don’t think you want to wear anymore from the items that you’ve just planned outfits with.
Sometimes it can be that you wear things out of habit as opposed to wearing what you actually love and feel good in. So by putting any pieces you’re not sure of, or don’t love, to the back of your wardrobe for the time being, this can help you to focus on the things you do want to wear.
It might be hard to separate your clothes if you don’t have much wardrobe space, but do your best to distinguish the items that you’ve planned outfits with, separately from the items you don’t want to wear. That should make it easier when it comes to dressing day to day whilst you’re trying to refine your style.
Step 6 – Go On A Shopping Ban
By going on a shopping ban, it’s going to really help you to hone in on your style. It might be hard, especially if the style you’re trying to lean towards is quite different to how you currently dress. But by going on a shopping ban, it will give you time to think about how you really want to dress and what really works for you whilst experimenting with what you already have in your wardrobe.
It will also force you to be a little bit more creative and push you to think outside of the box when it comes to putting together new outfits. And in turn this will further push you towards finding a style that you really feel is you. (I’m going to go into more detail about how to put together an outfit in the 3rd episode in this series, so be sure to check back for that if you’d like more tips on this).
Step 7 – Document Your Outfits
Now it’s time to start wearing the outfits you’ve planned and documenting them as you go. I’d say give yourself a good two week period of doing this, or maybe even longer if you feel you can. Two weeks at least, means you’ll have a solid 14 outfits to look back on by the end of it.
You can simply use your phone to take daily mirror pictures of your outfit, or prop your phone up somewhere and take a quick self timer photo. Either way, just take a clear photo of your outfit each day so that you’re able to document it. It doesn’t have to be fancy, it’s just a way for you to clearly see your outfit when looking back.
It’s likely you’ll find yourself wearing certain pieces again within the time frame you’ve given, or you may even find yourself wearing complete outfits on repeat, which is completely fine too.
If you can, create a separate folder on your phone in which you can store all of these daily outfit photos in one place.
Step 8 – Re-asses
Once you’ve had your minimum of two weeks of documenting outfits, you can go back through your camera roll and start to re-asses.
Looking through the outfits you’ve documented you can now start to really asses which outfits have been working for you, what have you felt good in, and have there been any outfits that you didn’t like wearing.
As you look back through the images it may be that certain outfits really jump out at you in a positive way. This is a good indication of looks you may want to wear again or create similar outfits from.
It’s important to acknowlege outfits that jump out to you in a negative way too. If when looking back you don’t like them, ask yourself why? Maybe it wasn’t comfortable, or you’re not keen on the colours. By working out what you don’t like you can avoid making repeat mistakes again with future outfit combinations.
Make notes as you go through your outfit assessment and think about which outfits you loved and which outfits you feel you could change or make better.
You may start to see patterns in your outfits and notice which items really work for you. It may be that over this period you’ve also noticed certain items which would really benefit being in your wardrobe when putting together your everyday outfits. If so, make a note of this.
TOP TIP: It’s really important to think about how certain items and outfits make you feel, and work out what really makes you feel best. Sometimes we can be drawn to certain things because they look good on other people but when we put them on ourselves we realise it’s not actually something we love on ourselves. So finding out what you really feel good in can help you avoid making future mistakes when adding new items into your wardrobe.
Additional note: COLOUR PALETTES – I haven’t added a colour palette step to this list, simply because I don’t actually believe colour palettes are for everyone.
I myself find it quite useful to focus on certain colour palettes as I know which colours and shades I like and which I like to avoid. However I feel that works well for me, as I have a taste for earthy tones and more muted colours generally speaking (particularly when it comes to my winter wardrobe), but for someone who loves bright colours and clashing prints, I don’t feel a colour palette would maybe be a necessity.
If a big part of your style is to dress in rainbow prints, then I’m sure you’ll agree that focusing on a particular colour palette would be useless to you. It’s all about figuring out what works for you when it comes to honing in on your style, so if you would find sticking to a particular colour palette useful, then this step is optional.
Step 9 – Declutter
Now it’s time to get rid of anything that isn’t serving a purpose, so that you can clearly see what you have and want to wear.
By this point you’ve gone through your wardrobe, you’ve planned outfits, you’ve assessed everything, and so you should have a much better idea of what’s really working for you in your wardrobe and what you actually want to wear.
This is when you can go through the section of your wardrobe with the items you were unsure of, which you separated out earlier, and begin to sort through it and clear things out.
Part two in the series is fully dedicated to decluttering your wardrobe, so check back for that in a few days if you’d like to see my step by step guide on how to do that.
Once you’ve decluttered you’ll have a much clearer view of the items in your wardrobe and it will make the process of getting dressed everyday, a lot easier.
Step 10 – Shop With Intention
Now you may get to this point and feel like you don’t actually need to add anything new into your wardrobe, which is great if you’ve been able to refine and find your style within the wardrobe you already had, perfect!
However you might get to this point and discover that there are particular pieces you feel your wardrobe could now really benefit from to better fit with your style.
At this point it’s important to be mindful when shopping and really take time to assess what will work in your newly curated wardrobe.
When shopping for a particular garment you may want to ask yourself specific questions to do with what colour, fit, or fabric you’d like the item you’re looking for to be. That way when you do add in new pieces, you’ll know you’ve taken the time to consider them first and what will fit with your style and lifestyle, so that you’re able to really get the most out of any new pieces you add into your wardrobe.
And that’s it! Hopefully this blog post could give you some useful steps and tips to help you find your style. I’ve also created a video to go alongside this blog post which you can watch down below. Be sure to check back for part two in this mini-series, which will be all about, How to Successfully Declutter Your Wardrobe.