I’ve said it about ten times already but I’m feeling super festive! I always love getting into the Christmas spirit but this year I feel even more Christmassy than ever.
The run up to Christmas Day seems to have gone so fast that I’ve barely had time to do any proper planning. Luckily though, all my presents are purchased, the fridge is full and now I just have two more restless sleeps until I can have my much anticipated Gothic Christmas! Yes that’s right, our family is doing a themed Christmas this year and I can’t wait.
I came up with the idea of a themed Christmas last month when I was in a period of loving black. I just loved the idea of having an Adams Family/The Munsters style family Christmas Dinner. I was surprised to hear my family were well up for the idea and even ended up planned and purchasing outfits before I did! I even spent a large chunk of last night making a luxurious Vampire cape for my boyfriend, which turned out quite fabulous I must say.
With everyone else sorted I’d almost forgot to pick out an outfit for myself. Luckily, with me owning an array of ‘Gothic attire’, I was able to pull something out of my wardrobe last minute. Strangely enough the planning of a Gothic Christmas has made me feel more festive than ever and I am more than giddy for Christmas Day.
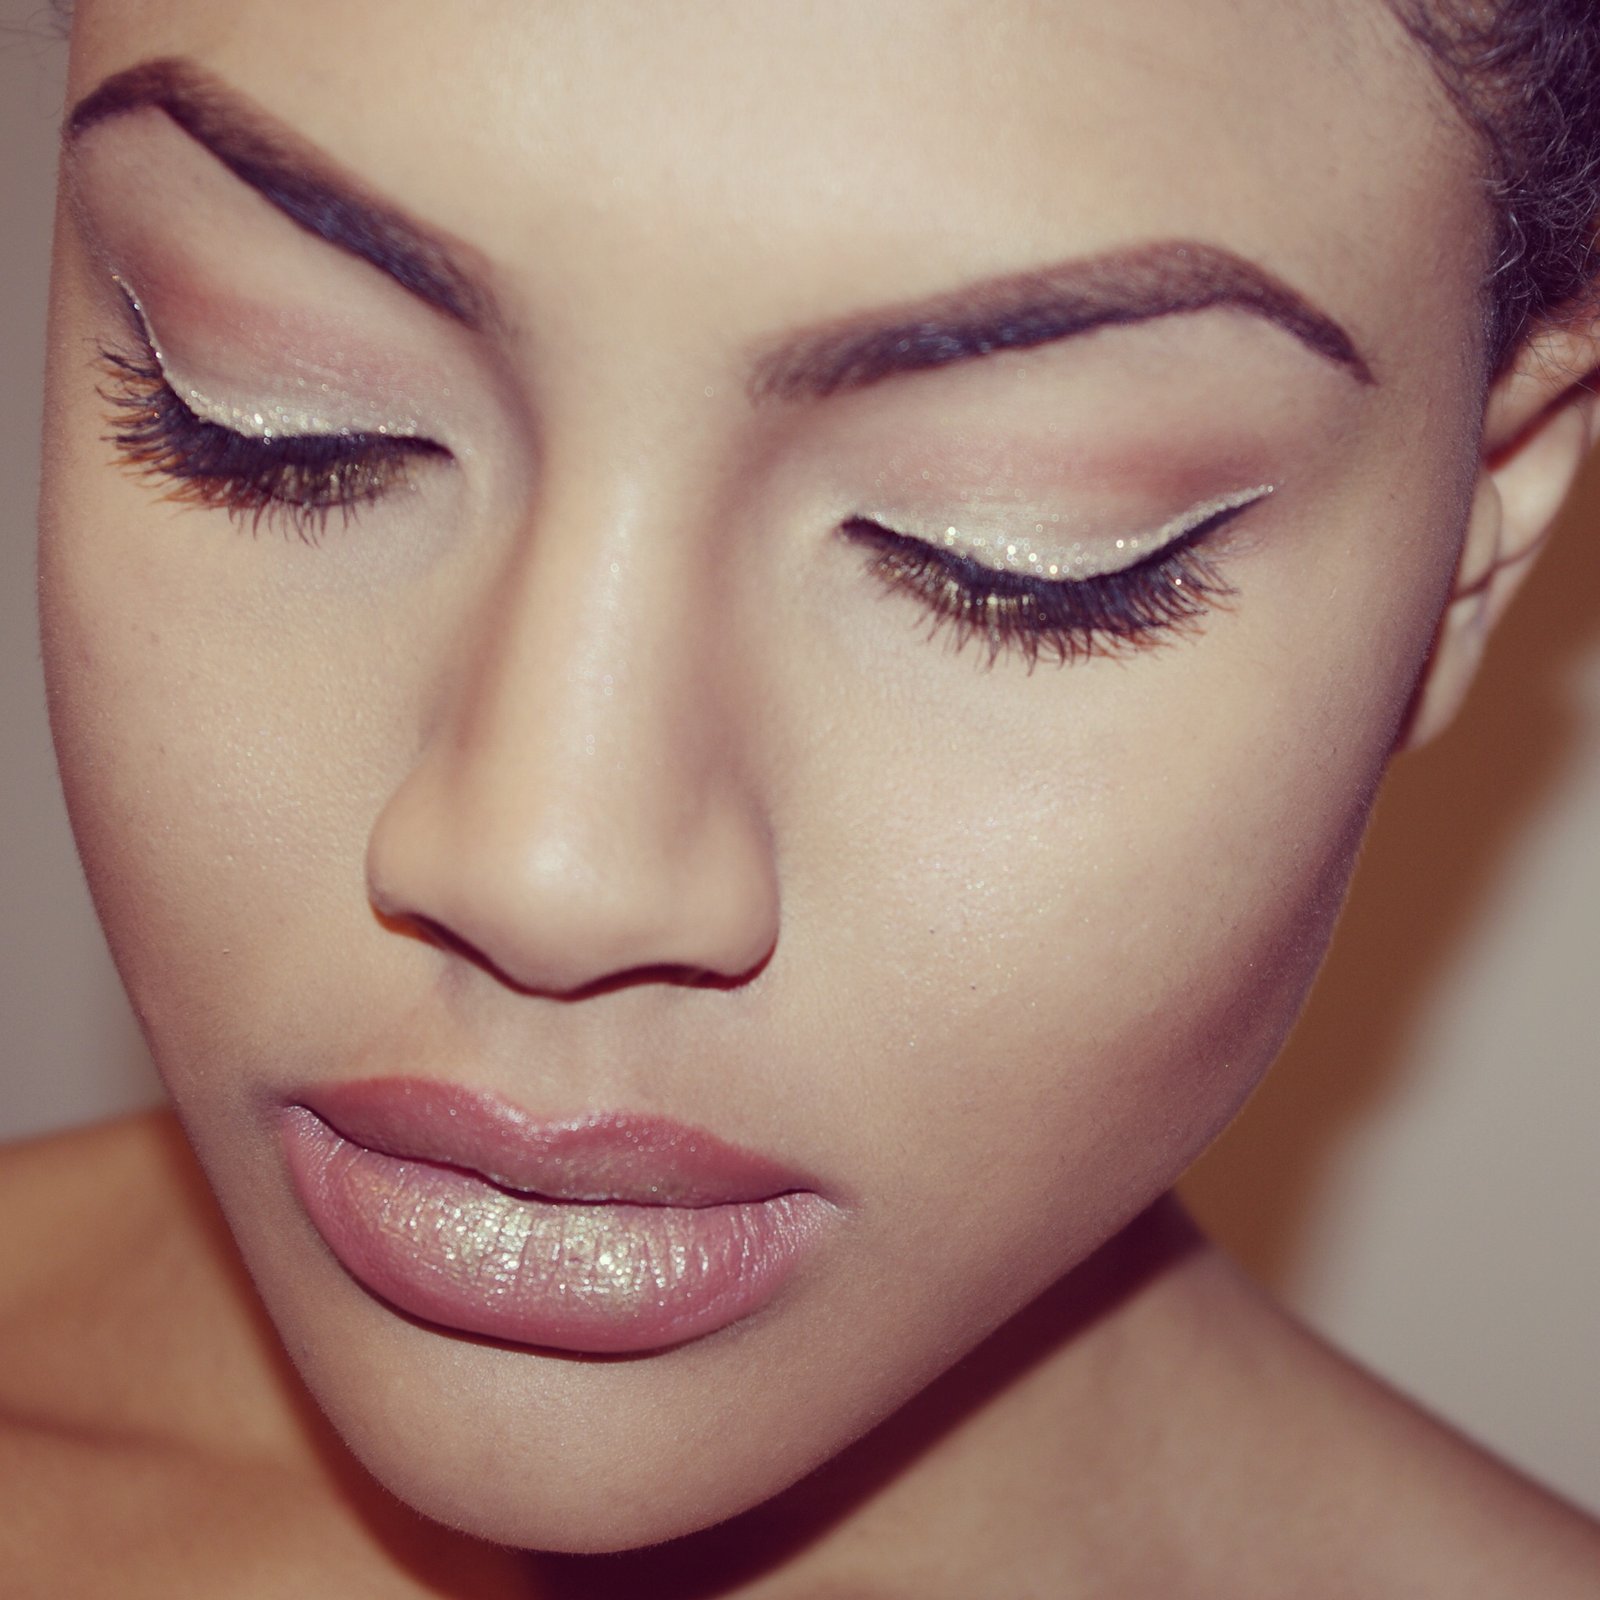
Anyway, despite the fact that I’m getting ready to release my inner Goth, as it’s Christmas Eve, Eve, I thought I’d do a Christmas Day makeup blog post. So for those of you who are looking for some festive makeup inspiration and won’t be going for smokey eyes and dark lips like me, then maybe this step by step tutorial can come in handy for you.
The Eyes
Step 1:
Prep the eyelids with your regular foundation and fill in your eyebrows as usual.
With a light shimmer, go over the lid of your eye. Here I’ve used Front Cover’s eye shadow shade, Biscuit.

Step 2:
Using a light shimmery brown eye shadow, shadow in just above the eyelid crease and then blend. I used shade Hazel from Front Cover’s Rainbow Eyes Pallet.

Step 3:
Draw on some winged liner using a black eyeliner pencil.

Step 4:
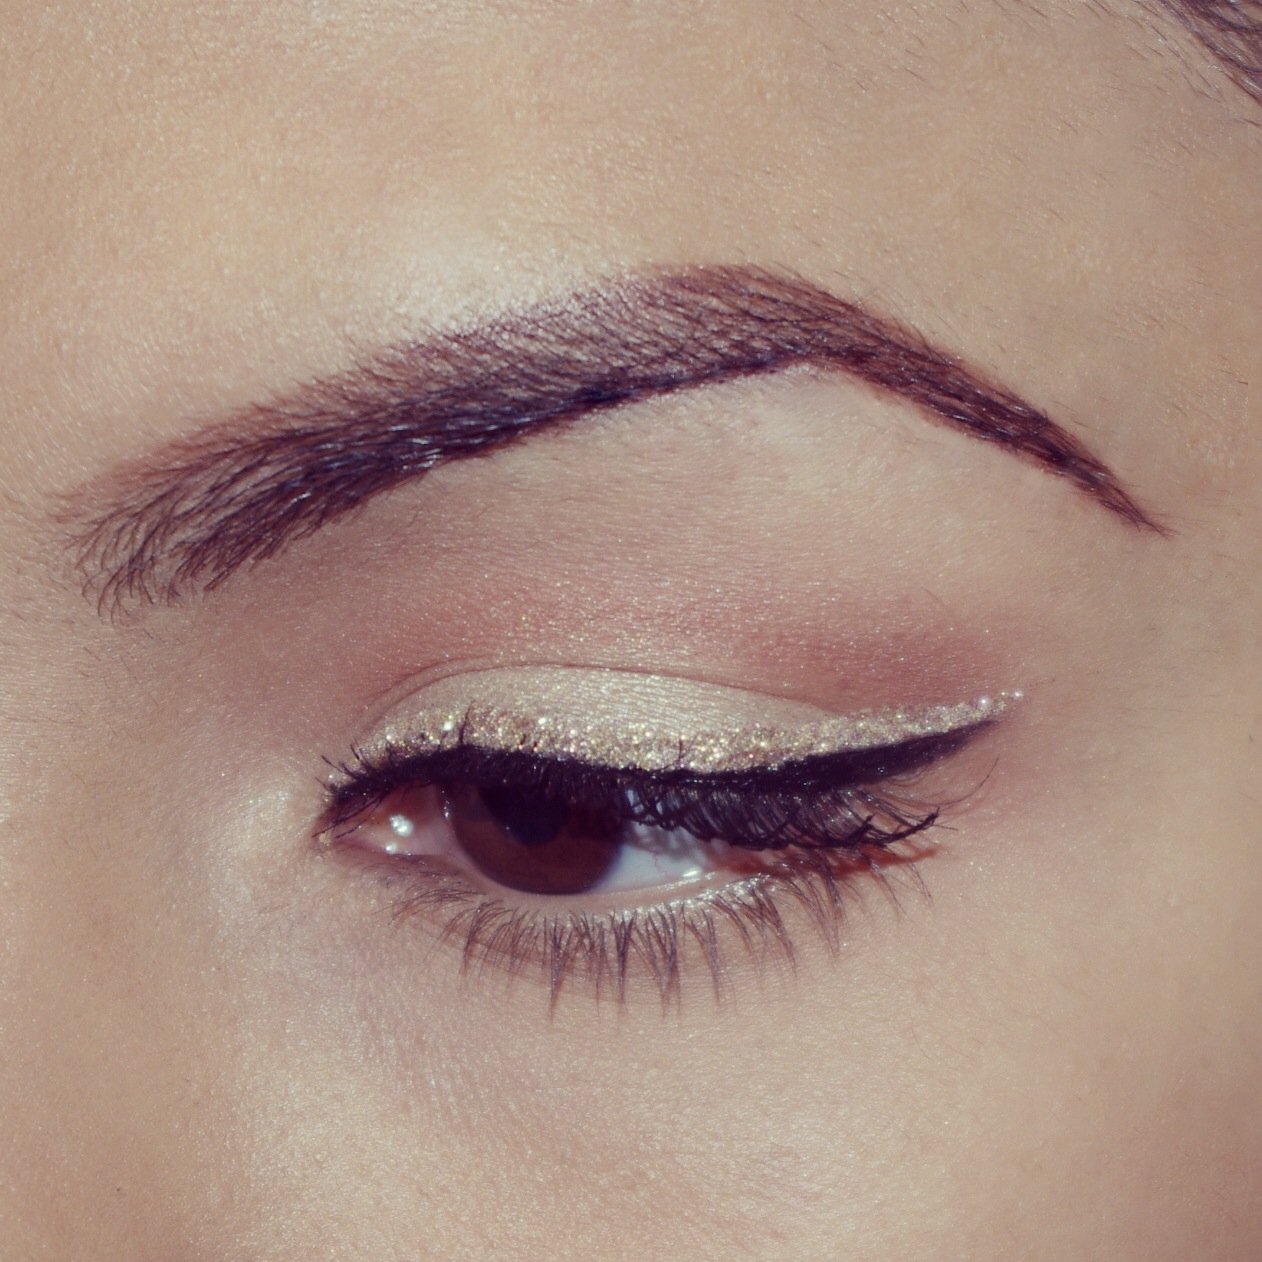
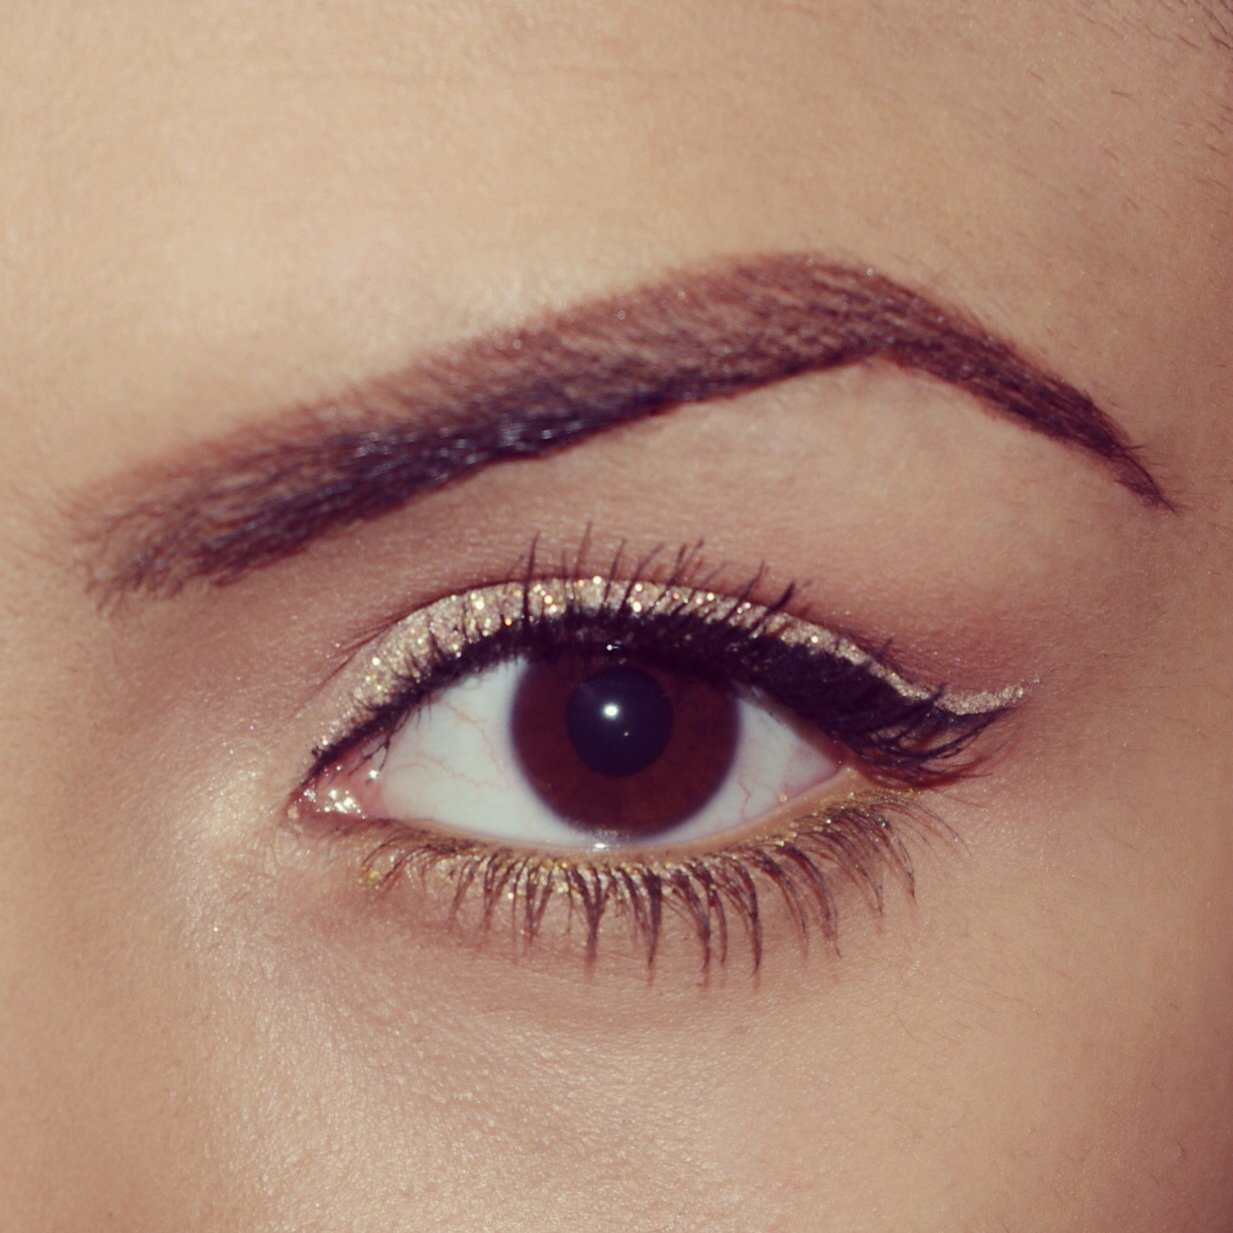
Using a glitter gel liner, draw a winged line above the black pencil line.
For this I used Collection’s Glam Crystal Dazzling Gel Liner in Funk, which is a gold shade.

Step 5:
Once the gold glitter liner has dried, go over the black pencil eyeliner with a black liquid eyeliner in order to create a more solid line. (Go over the glitter eyeliner again afterwards if needed)
Apply black mascara to the top lashes only.
Step 6:
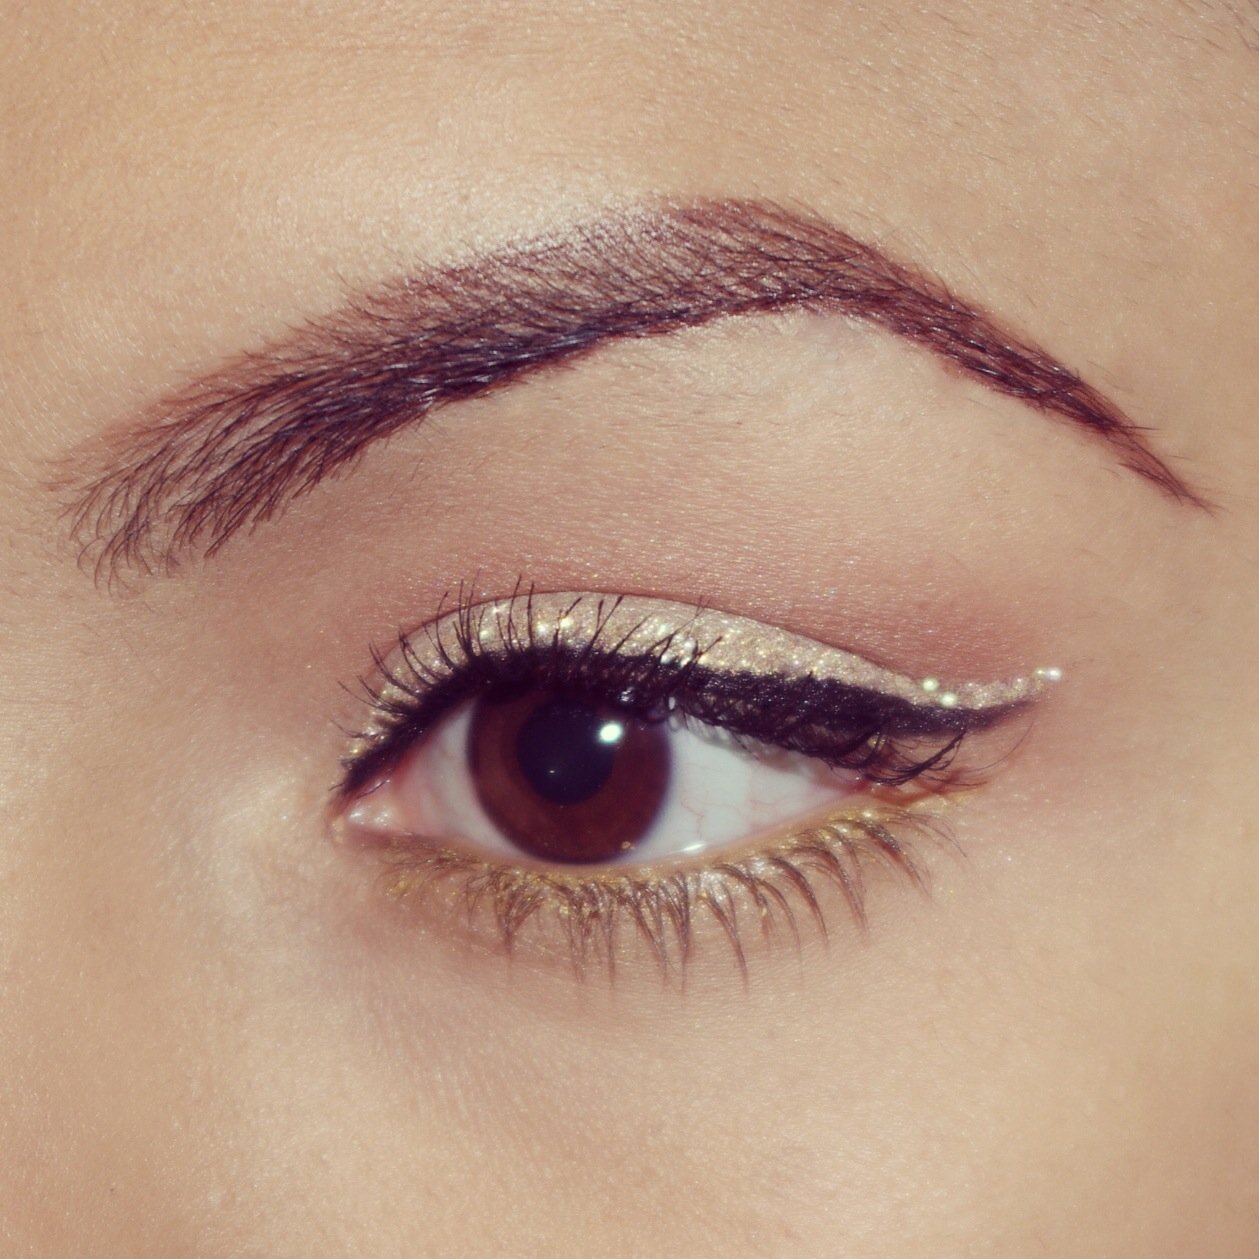
Using a gold eyeliner pencil, liner the bottom of your eye. I used Model’s Own Golden Girl Glitter Eye Pencil.
Step 7:
Add black mascara to your bottom lashes for the end result.
The Lips
Step 1:
Lightly liner the lips using a brown to light brown to nude lip liner pencil, depending on your skin tone. For this I used a pencil in shade Cinnamon from Boots Natural Collection.

Step 2:
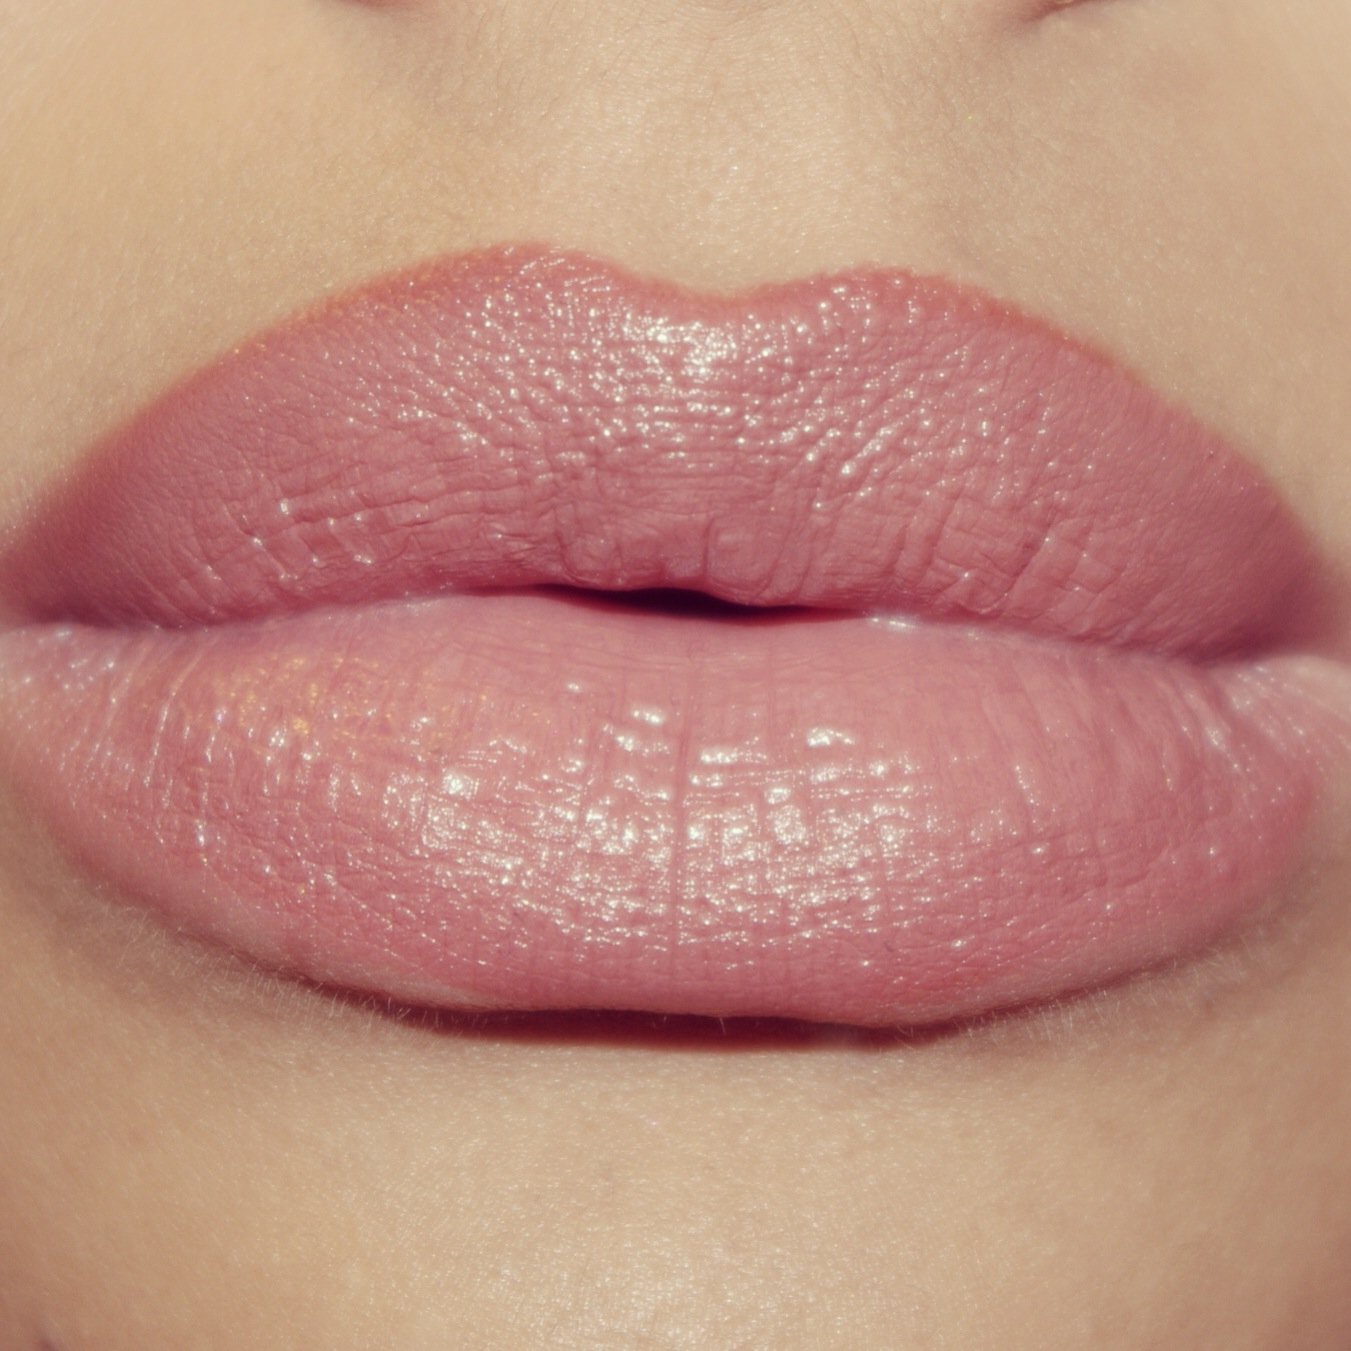
Again, finding a shade to suit your skin tone, fill the lips in with a nude to brown shade of lipstick. I used NYC’s Expert Lip Last in shade, Creamy Caramel 440.
Step 3:
Appling to the centre of the lips, add some gold shimmery lip gloss and carefully pat outwards with your finger to blend. The perfect gloss to use for this effect is Illamasqua’s Intense Lipgloss in shade, Stranger, as used here.

The Finished Look

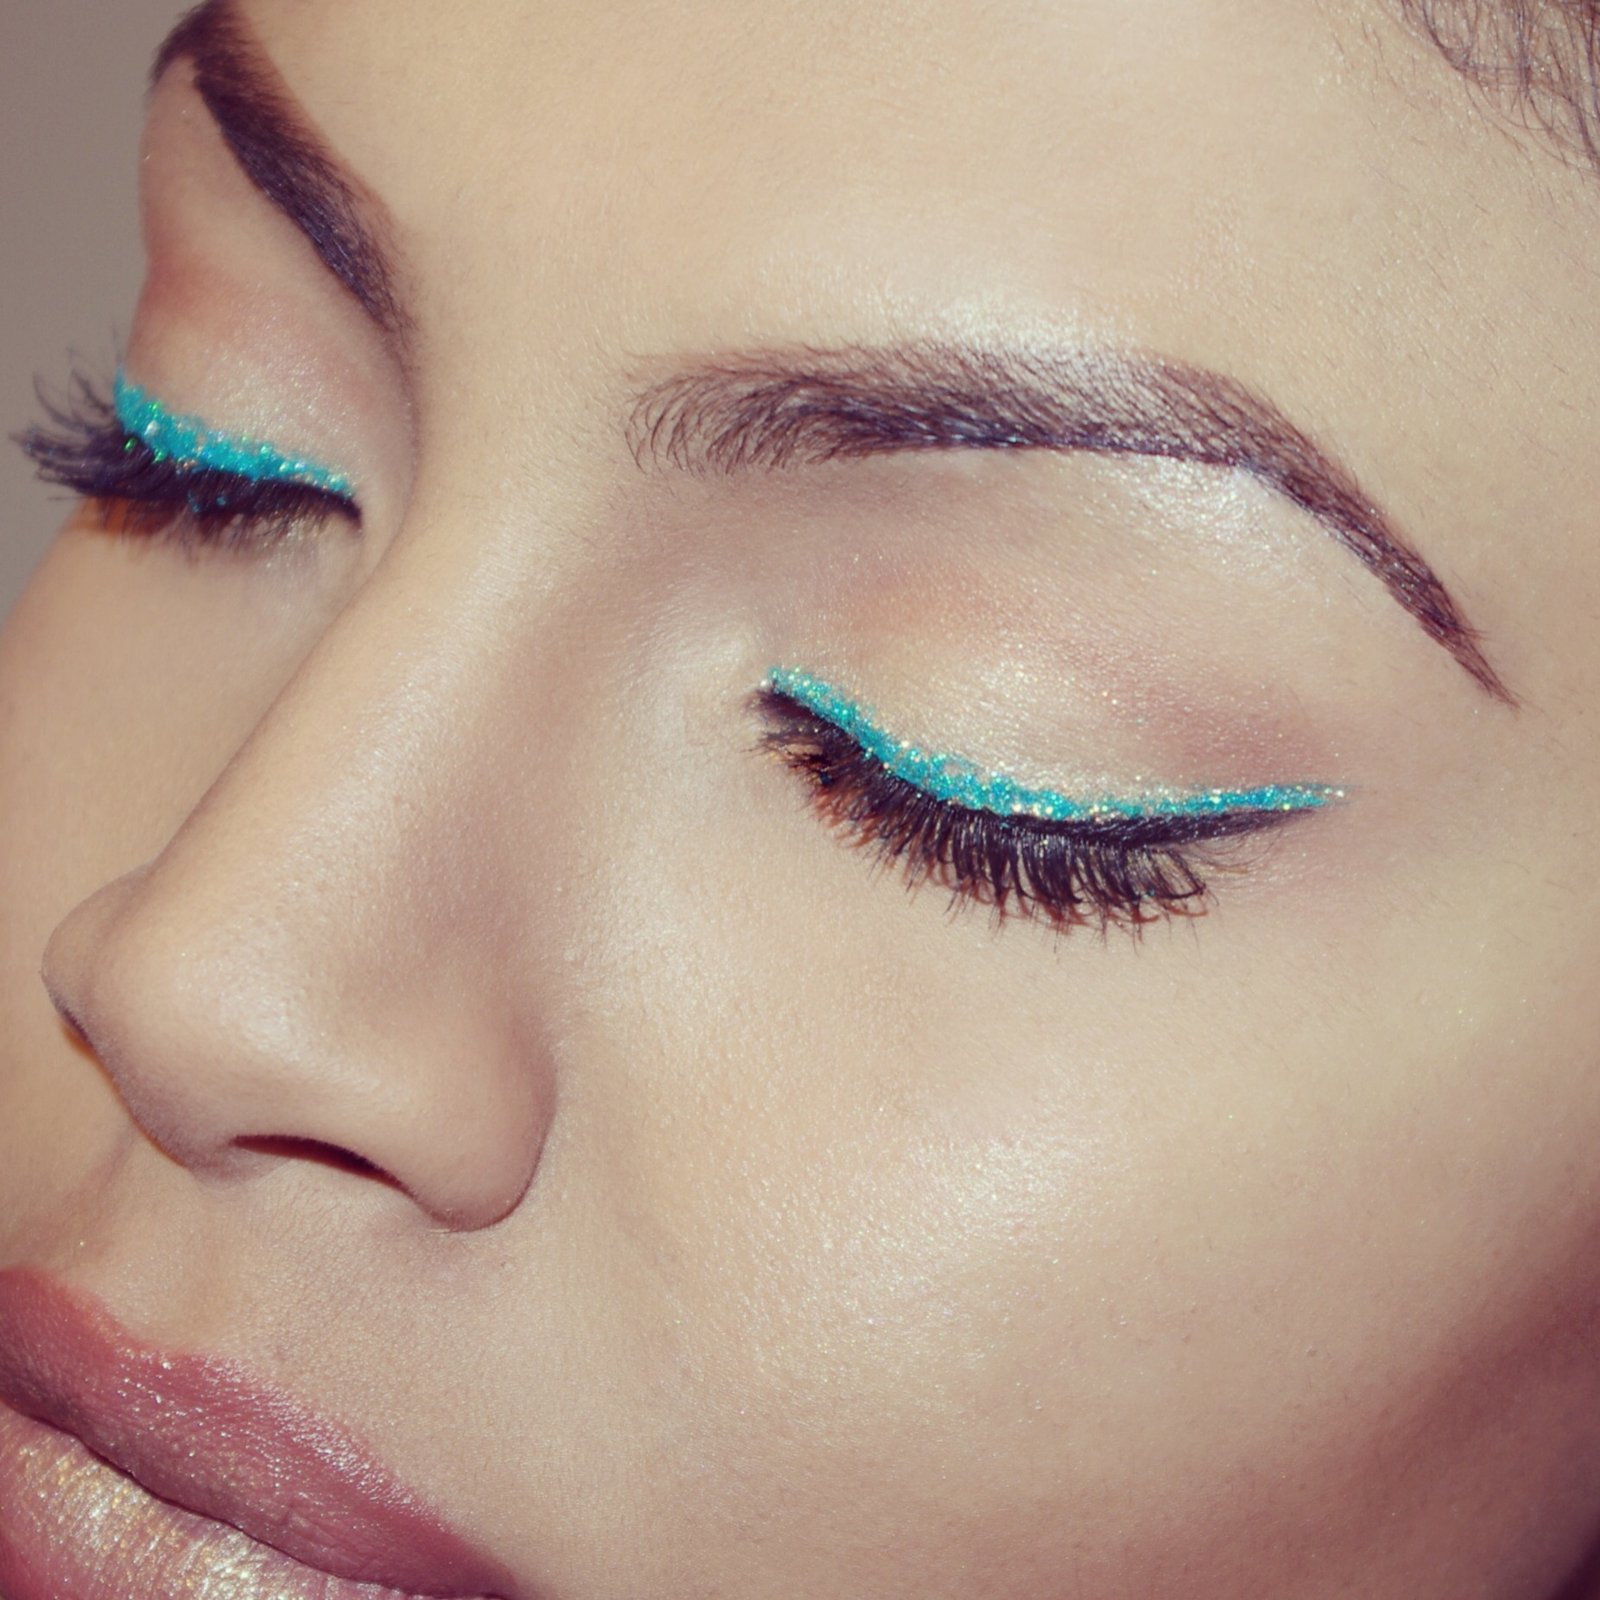
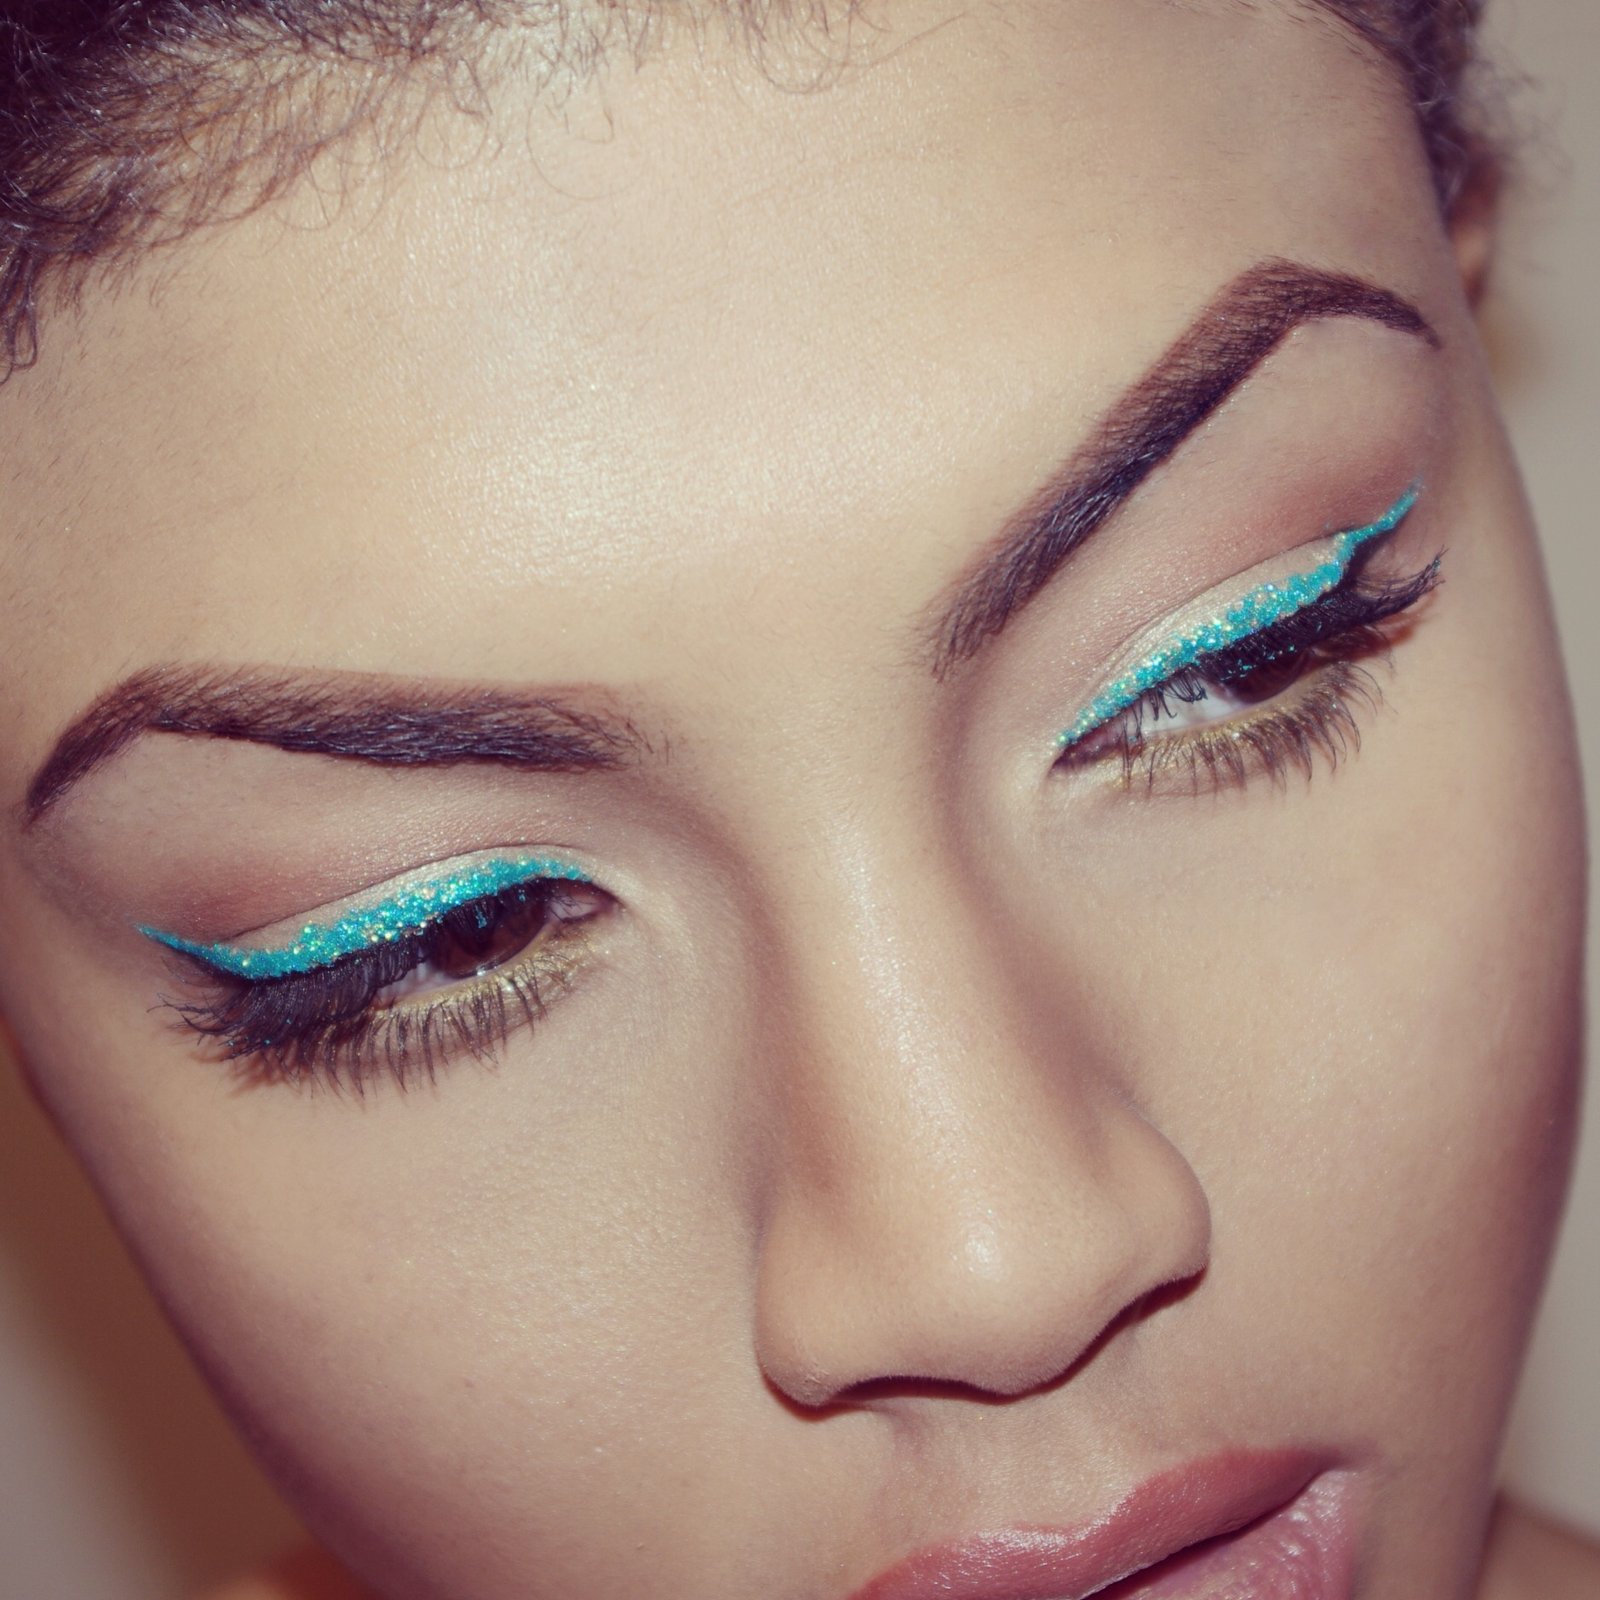
A great variation to this look is to use a different colour glitter eyeliner. Here I’ve used Collection’s Glam Crystals Dazzling Gel Eyeliner in Pizzazz, which is a super festive green shade.
Samio x

