It’s always good to experiment with different styles with your afro or curly hair, especially if you’re transitioning or are in a process of trying to grow your hair and fancy something different. Some days the regular puff just doesn’t cut it, so why not try out a frohawk if you haven’t done before. It’s actually a rather simple style to achieve and here a my two easiest methods for doing so…
Method 1 – The Kirby Grip/Bobby Pin Method
Whatever you like to call them, kirby grips or bobby pins, using them to pin your hair in place is a super easy way to create a frohawk hair style.
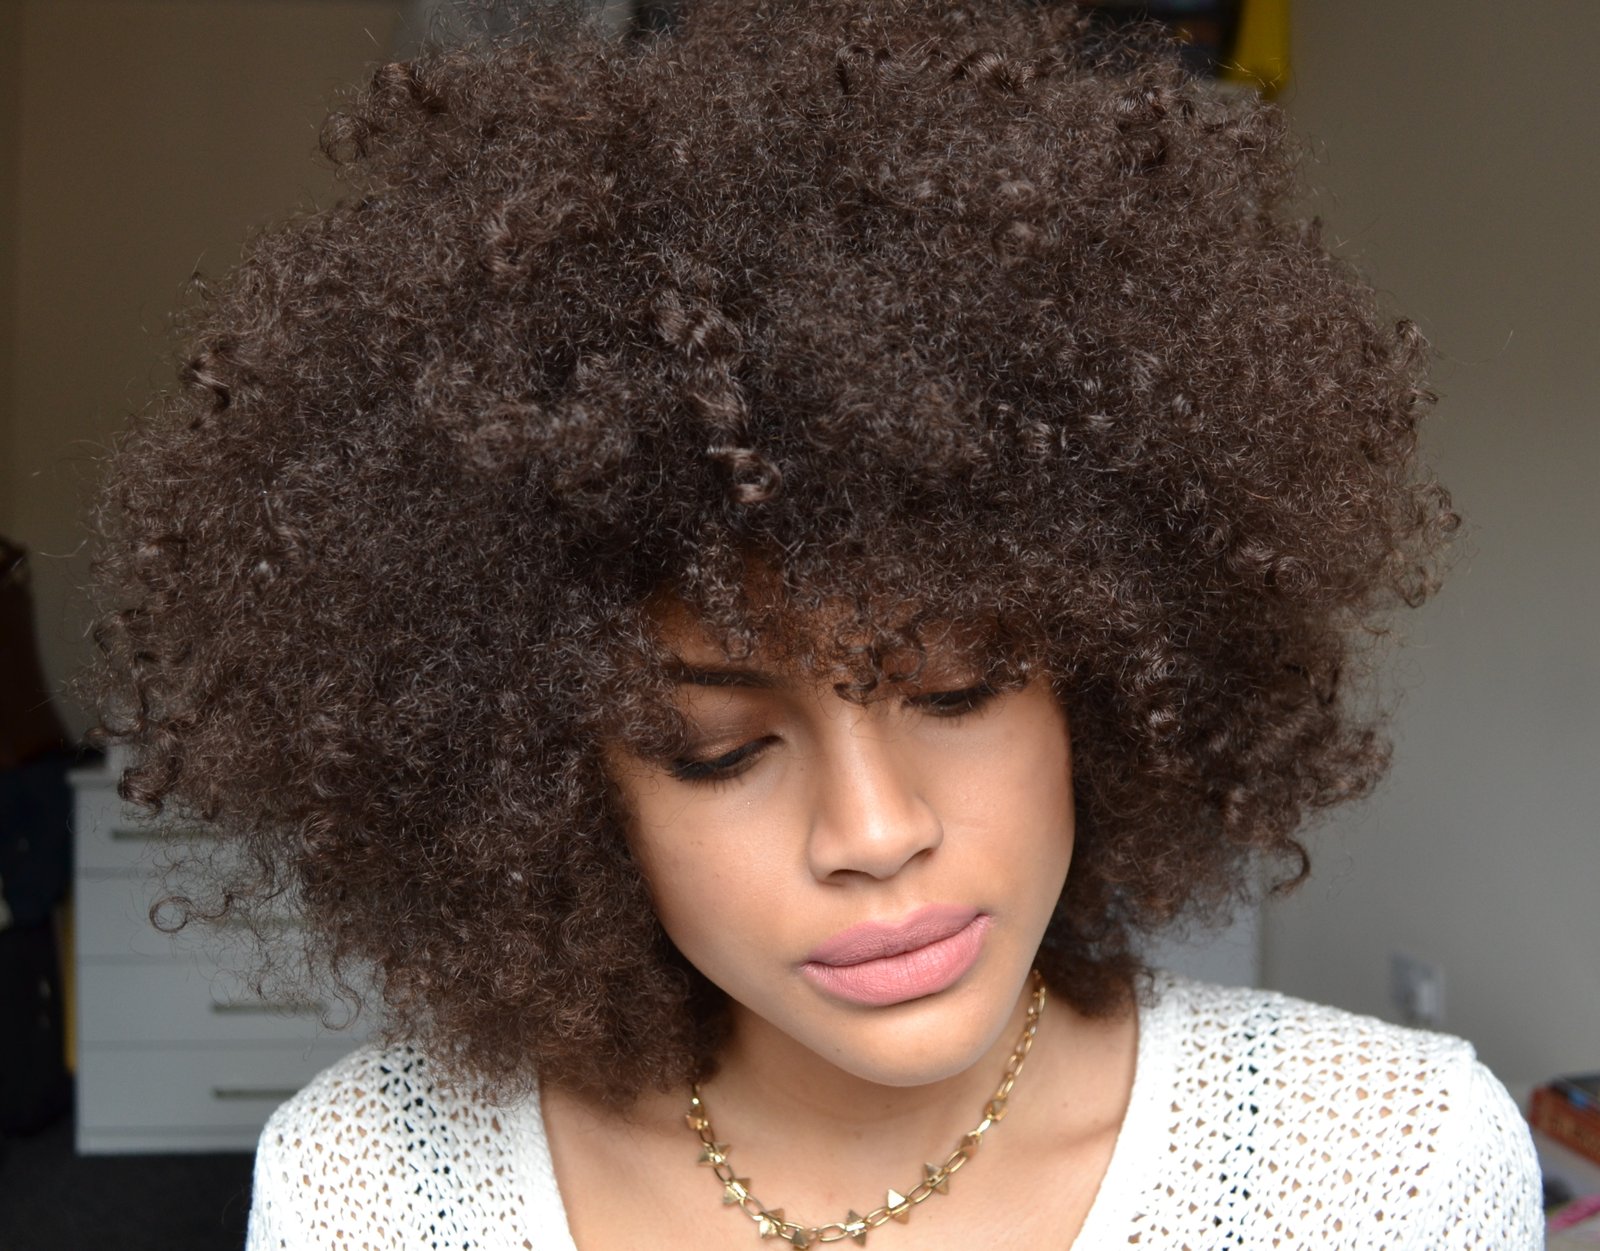
First of all I added volume and fizz to my hair by combing it out slightly with an afro comb. You can do this look with any type of curly hair of course, I just decided to go for a more wild, frizzy look so that I could create a bigger frohawk.
First of all get a bunch of kirby grips. I used around 8 or 10 kirby grips (between 4 and 5 on each side). For a tighter more slick style or if your adding product to neaten up the sides you may want to use more kirby grips.
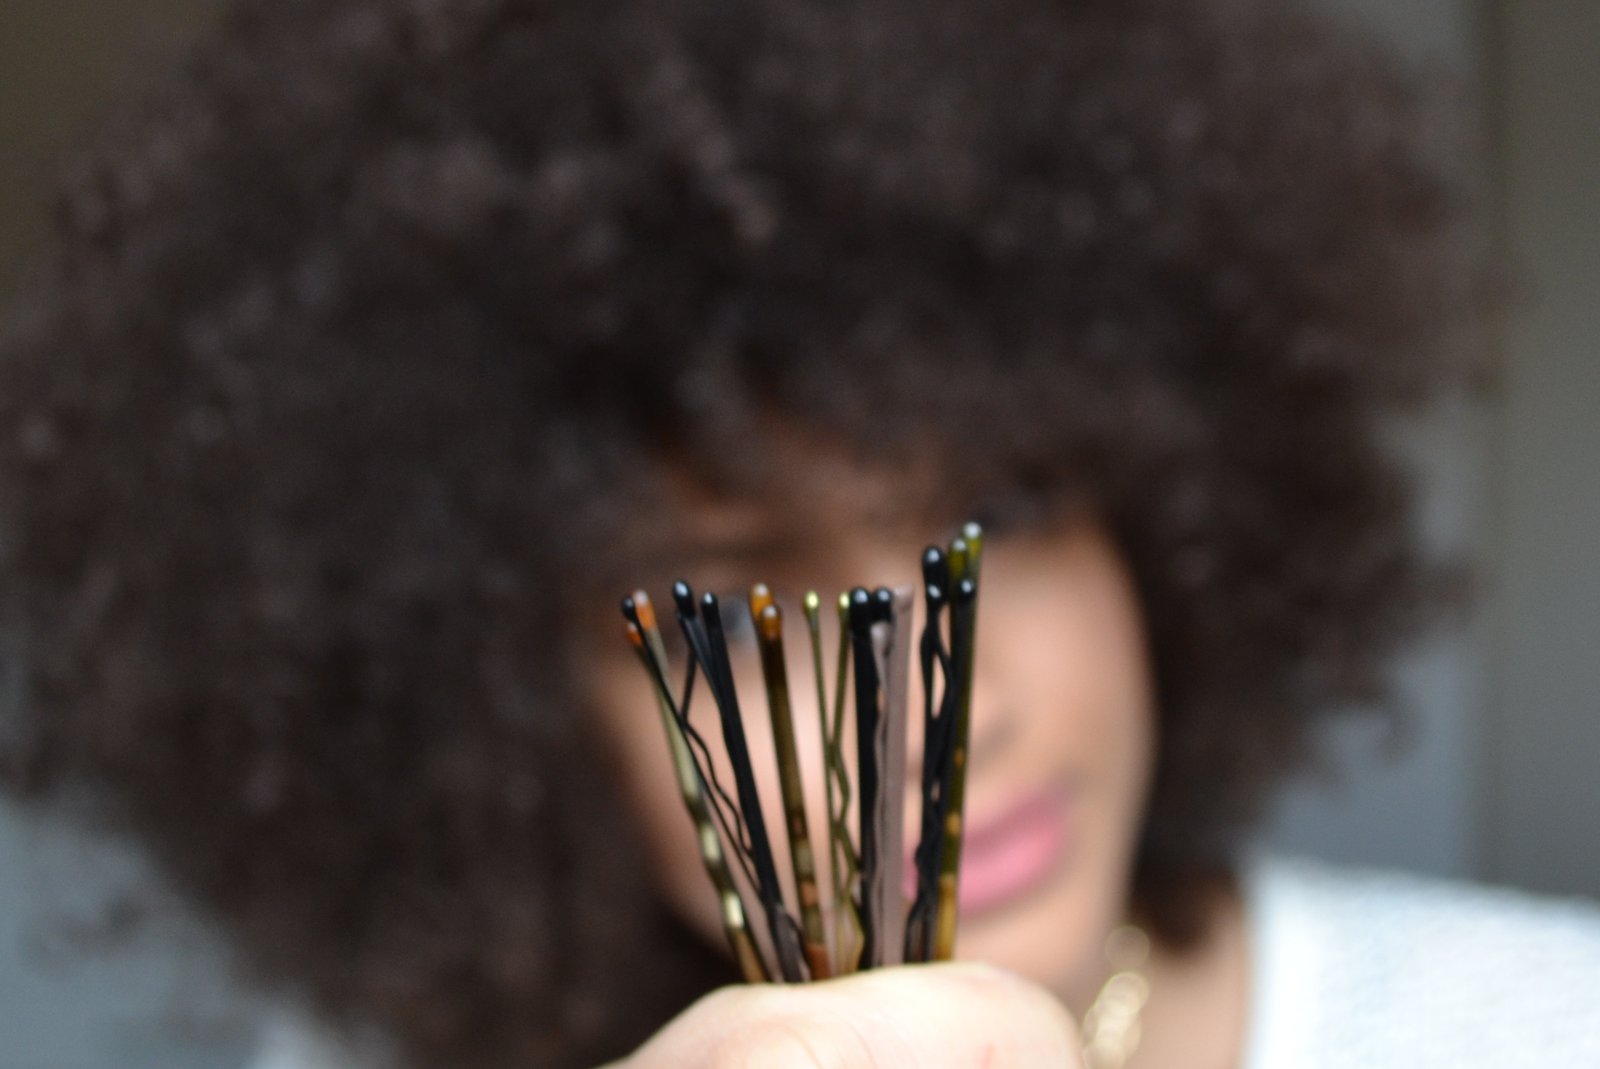
Make sure all of your kirby grips have their nibs on the end, like the one on the right here. Often I find some of my older kirby grips lose their nib, like this one on the left, which can be slightly painful as well as damaging on your hair when trying to pin it in place. So be sure to throw any kirby grips without a nib in the bin before you get started.
(btw, kirby grips/bobby pins go curvy side down when sliding them into your hair, in case you weren’t sure)

Start by grabbing the lower section of your hair on one side of your head and pull it back before sliding in your first kirby grip to hold the section of hair in place.
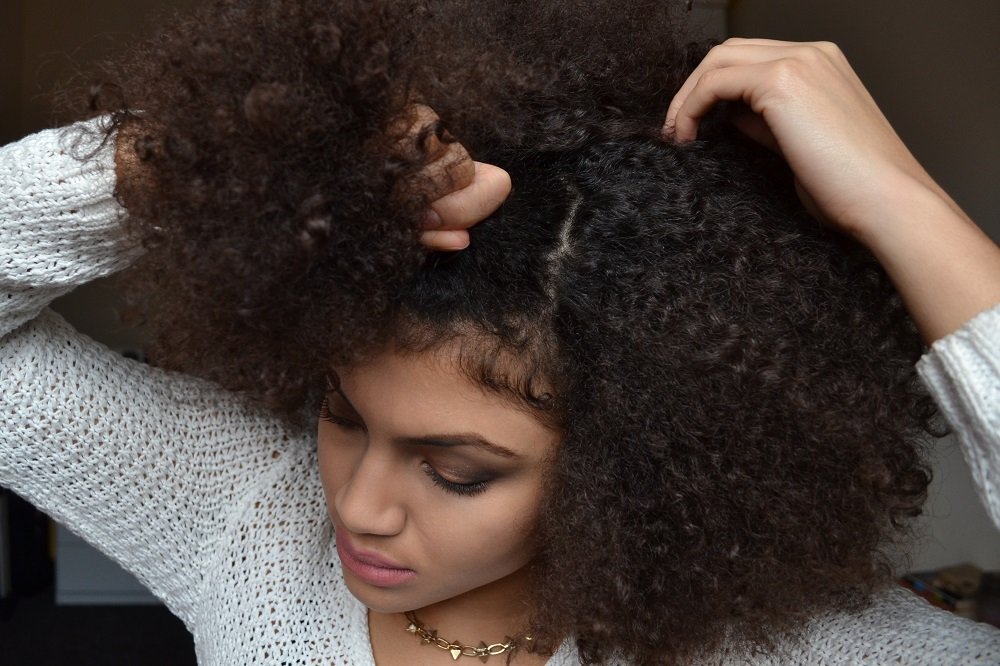
Work forward, grabbing the next section of hair and pinning the hair back in place until you have lifted and pinned all of your hair on one side.

Work from the front to the back of your hair if you find it easier and repeat the technique on the other side of your head so that both sides are pinned up.
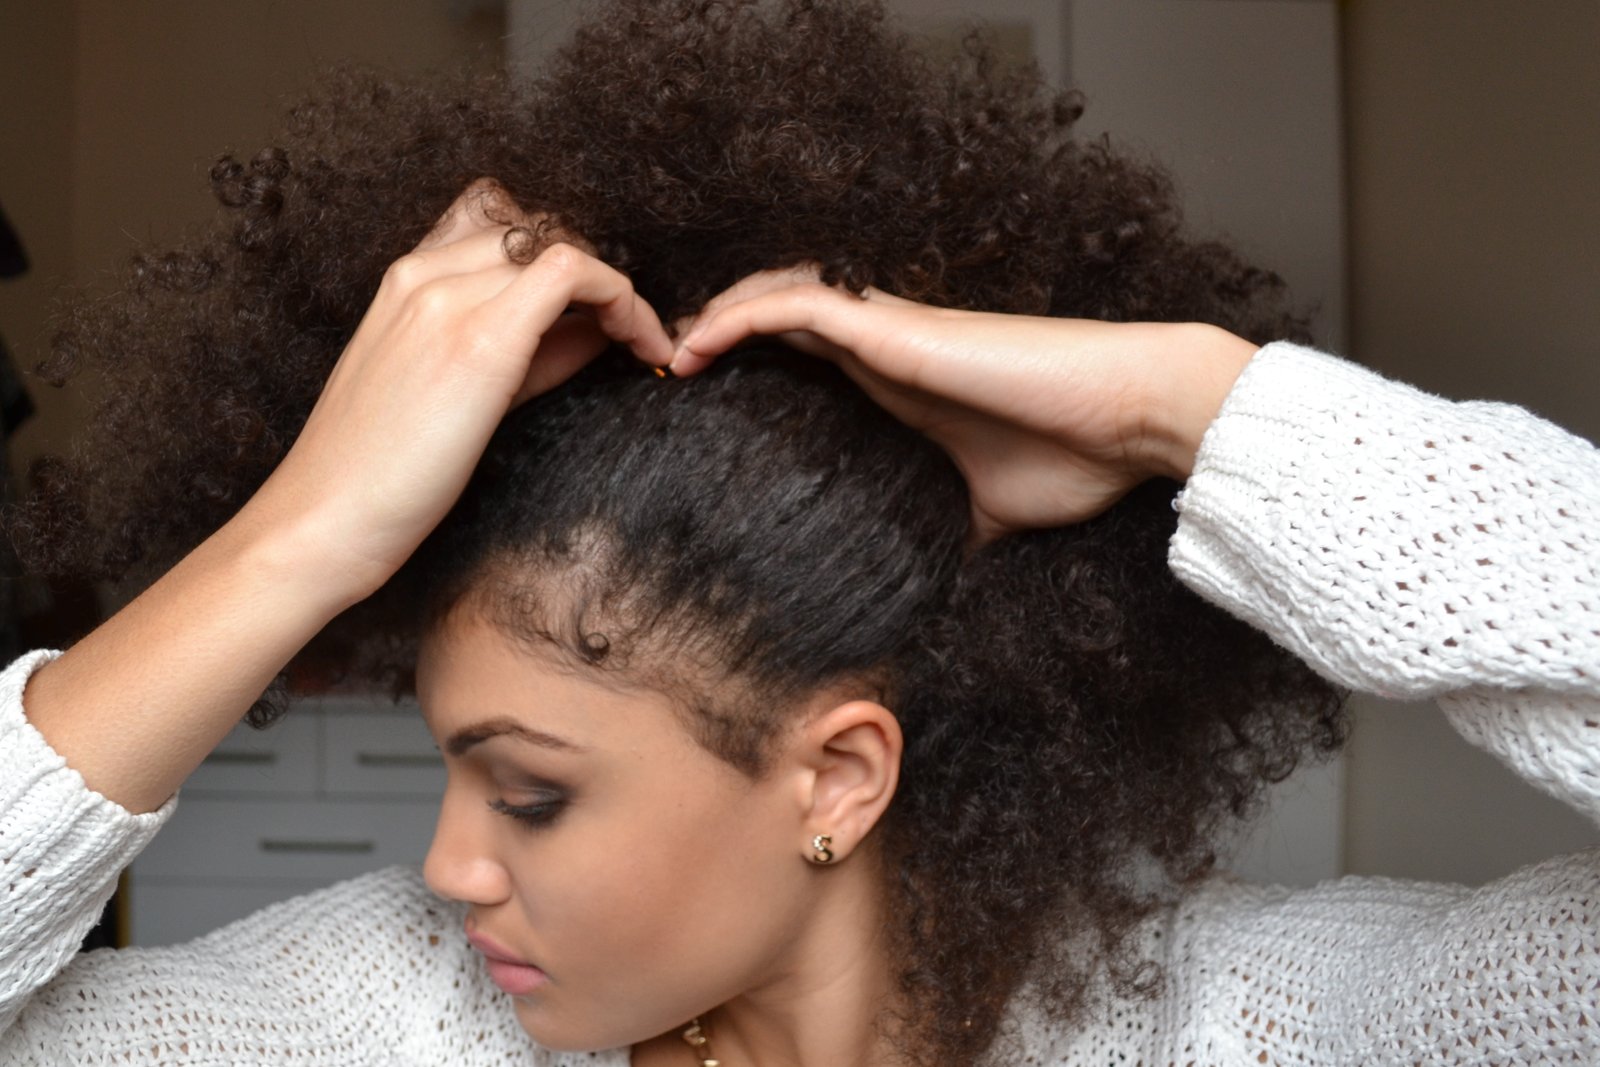
There you have it, your kirby grip frohawk. Like I said, if you want a slicker, more neater looking frohawk then you can add products to the sides and comb the hair as you pin it to make it look super neat. I however rather like the rough and ready look.
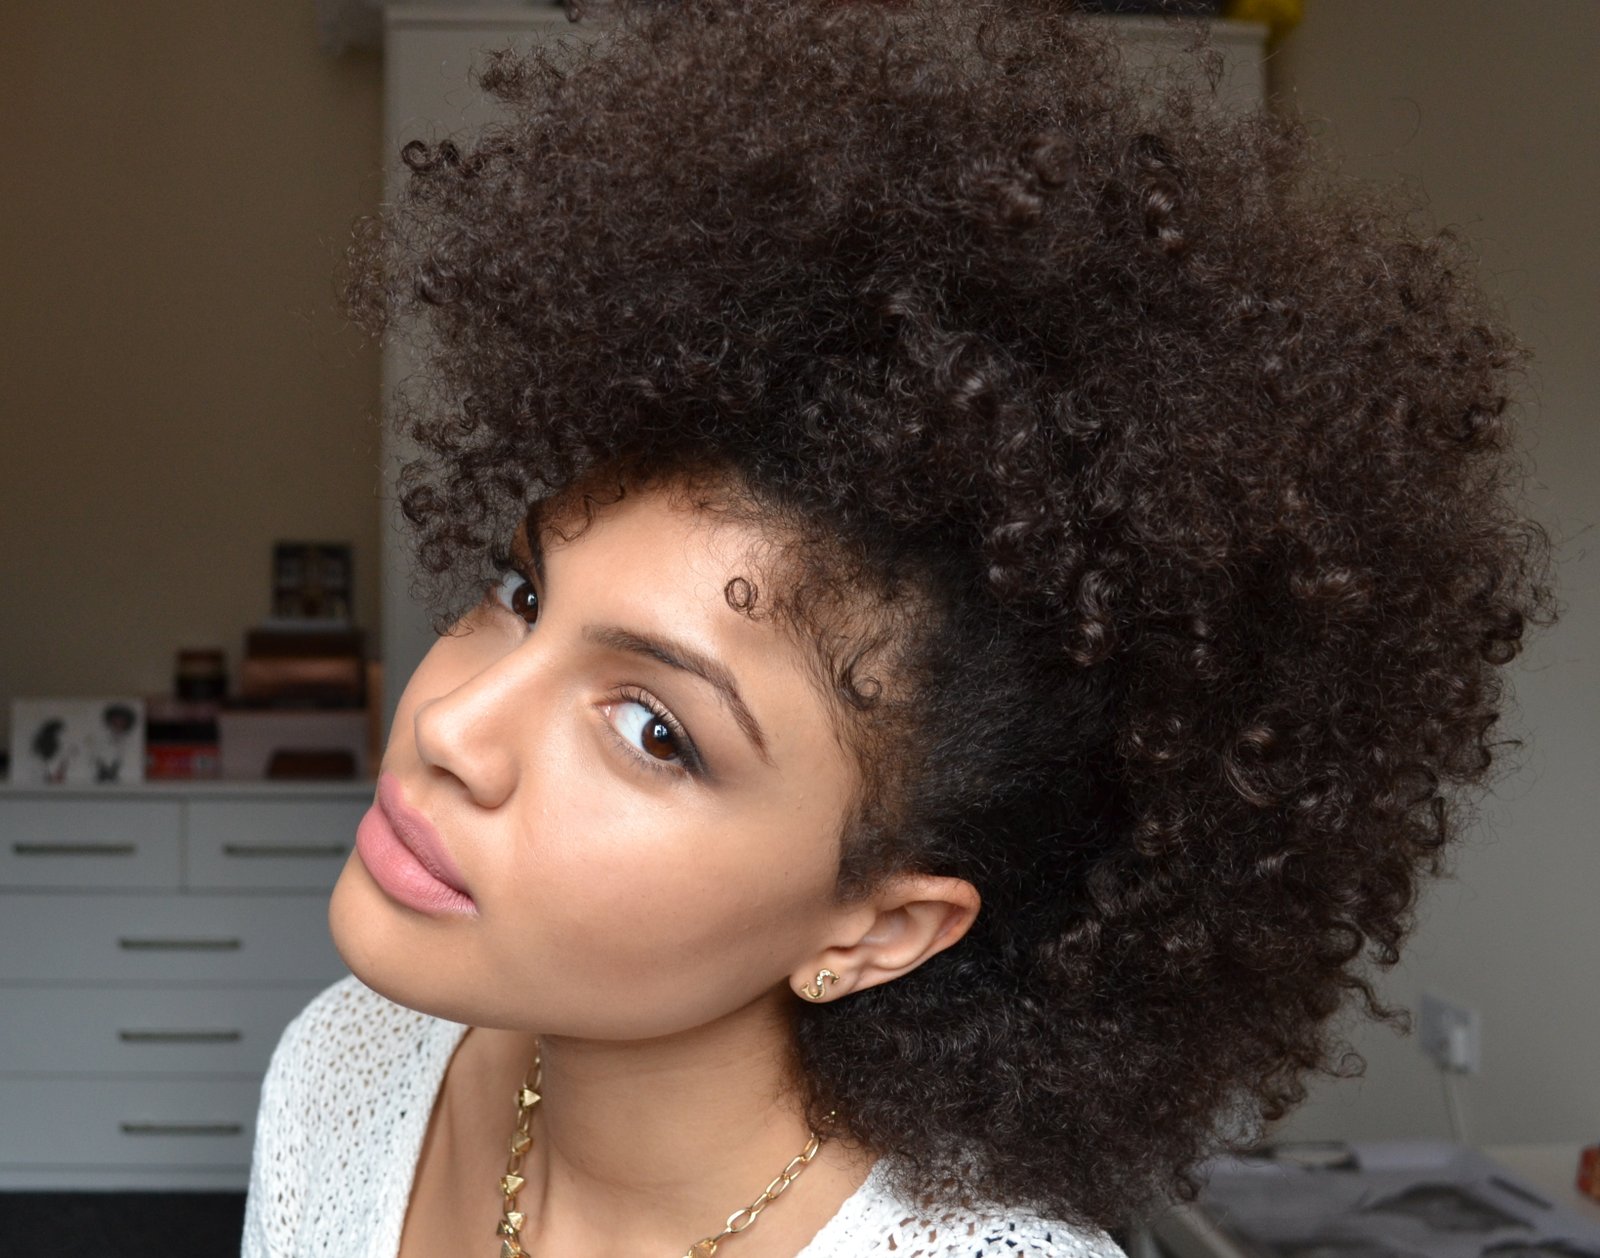
Method 2 – The Bobble/Hair Tie Method
Again, whatever you call these, bobbles (my personal favourite) or hair ties, you will need three of them.
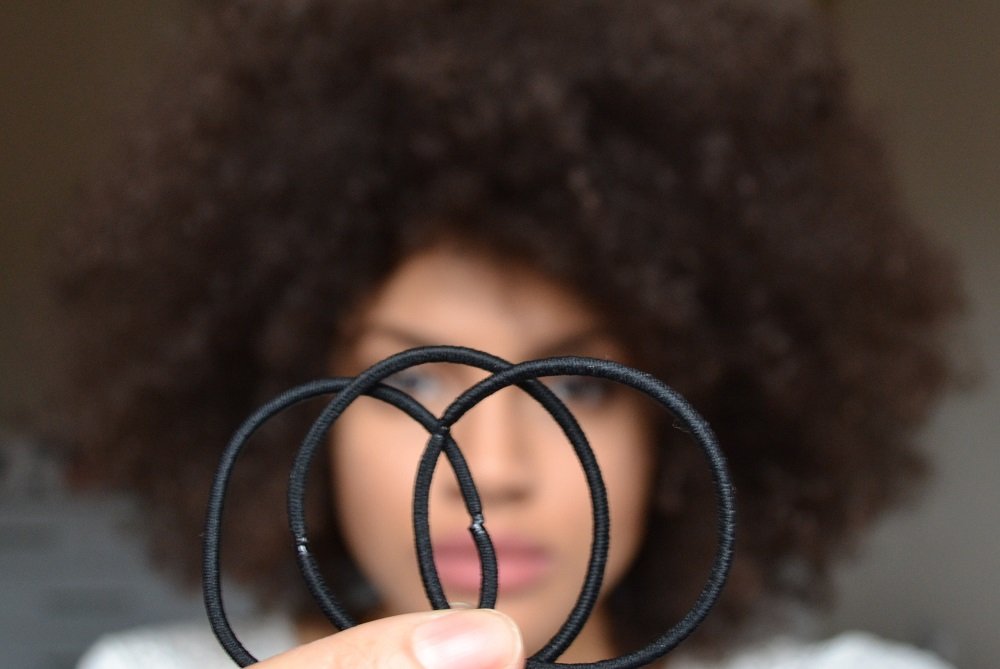
Section the middle front part of hair on your head. This doesn’t have to be neat but try and make it central, then bobble it.

Repeat this with the middle section of hair (behind the first puff), this time also bringing in the hair from the sides, up to round about your ears. Again don’t worry about the sections being super neat.
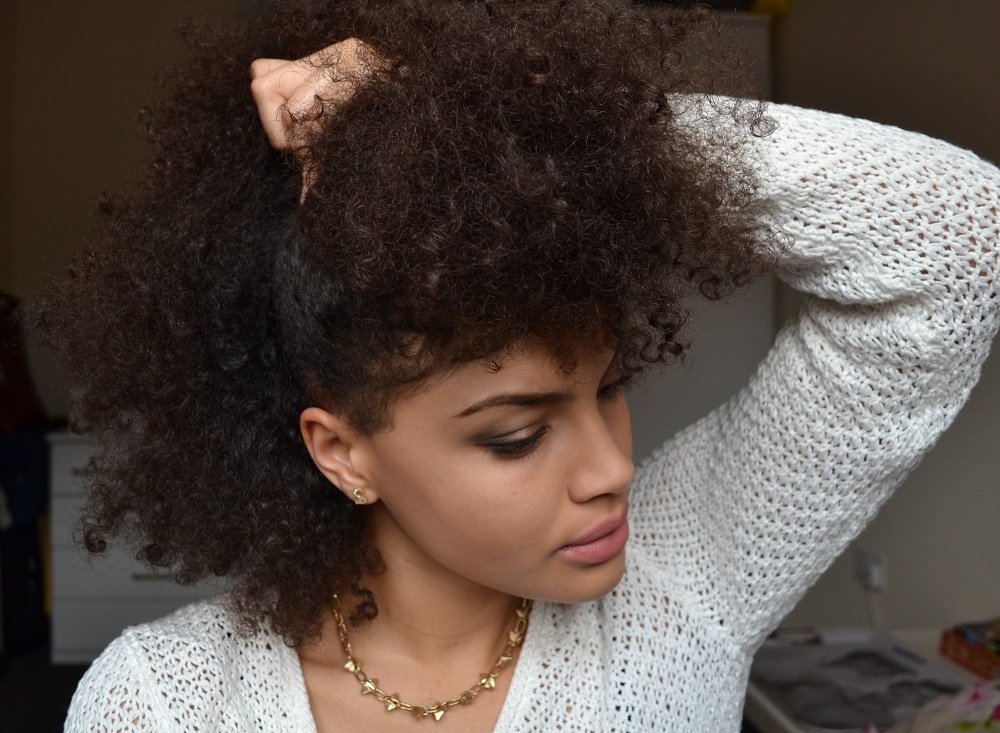
The first two sections tied up should look like this – a semi frohawk.
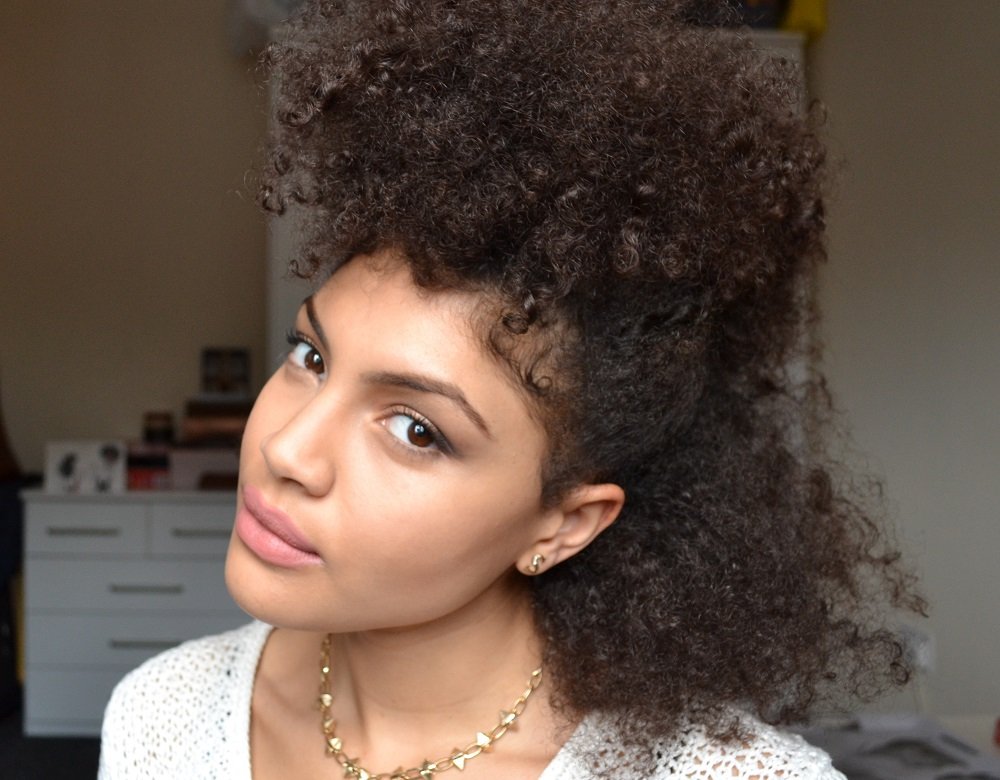
Finally grab the remaining lower section of hair and tie in a bobble.

This will create three puffs on your head, which you can tweak around slightly with your fingers to make sure all the hair blends together (if it doesn’t initially).
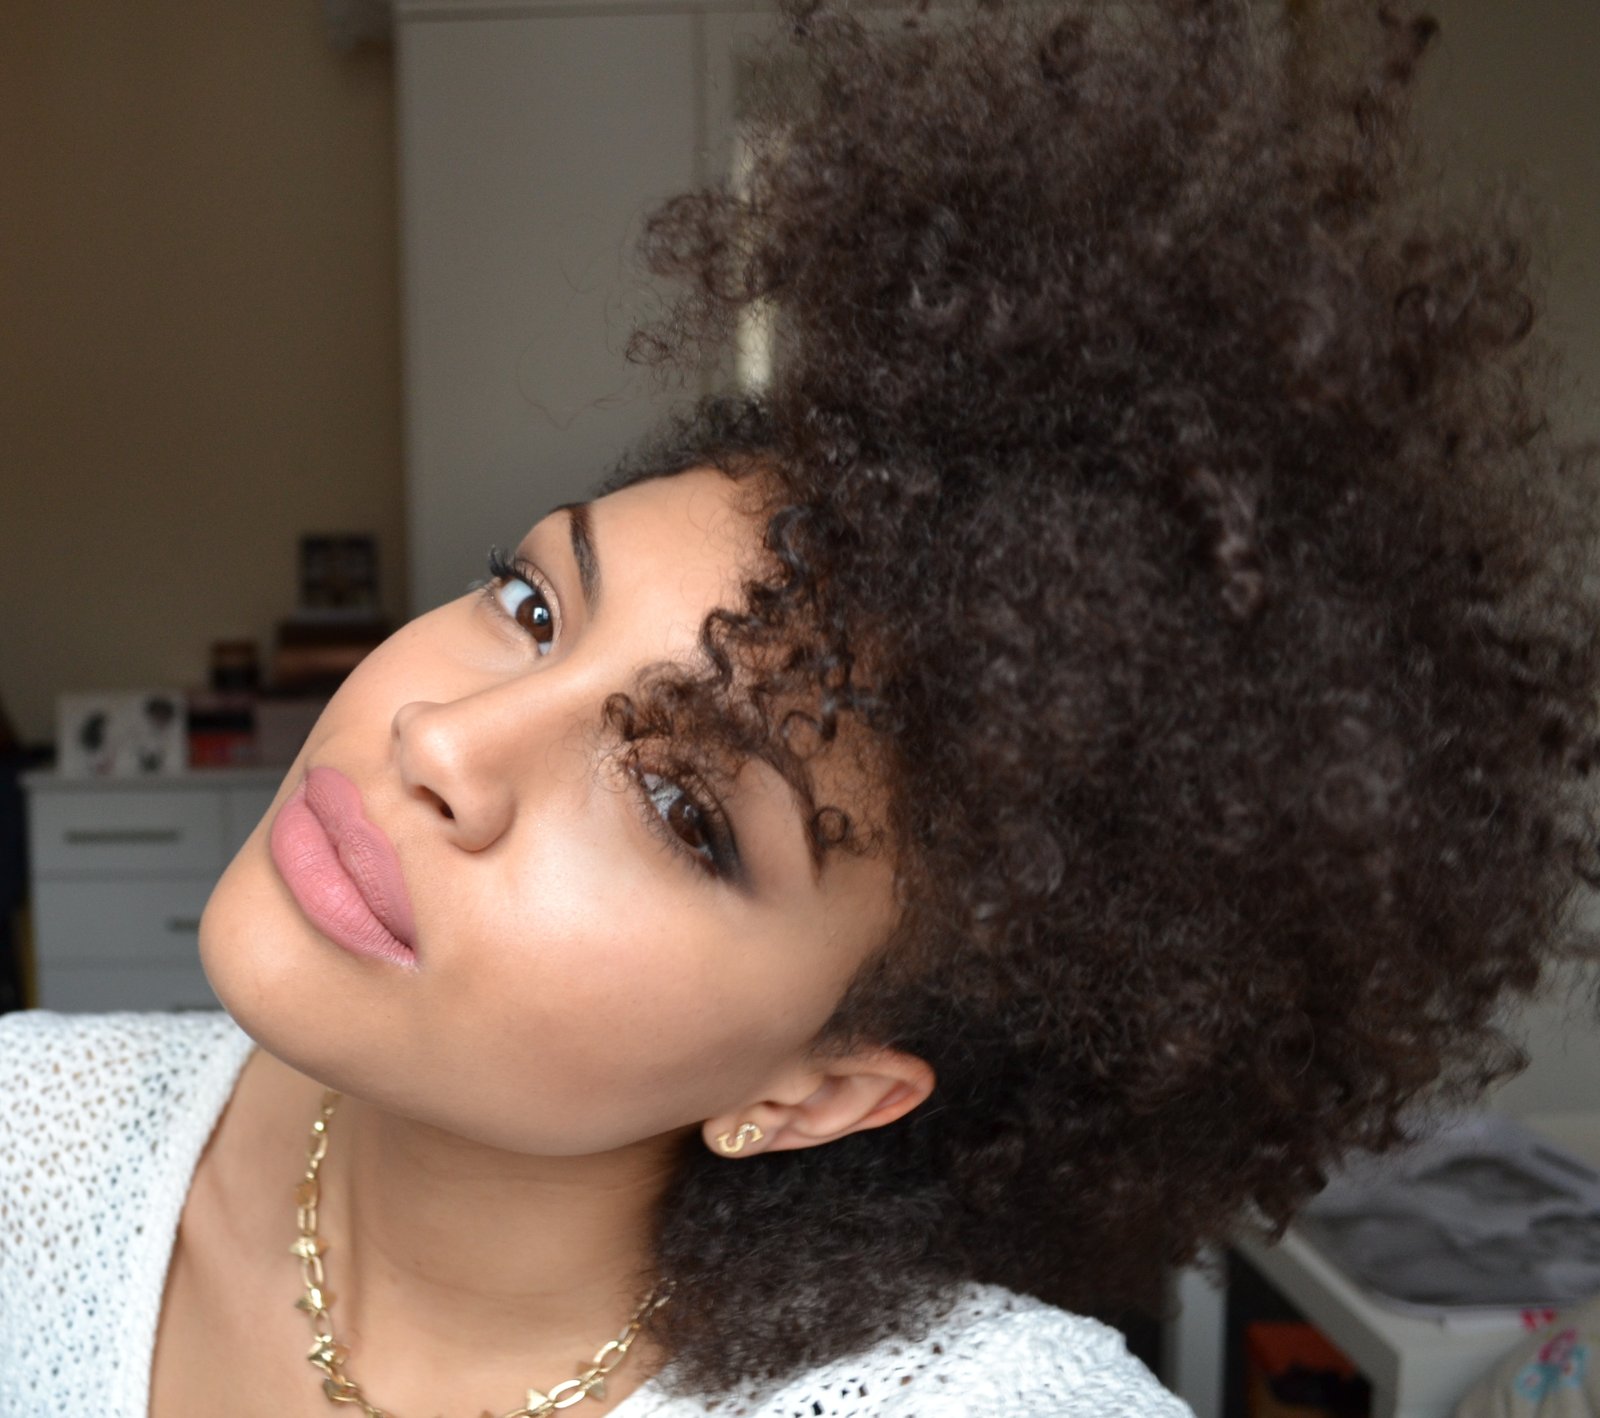
And voilà, the quick and easy three bobble frohawk.
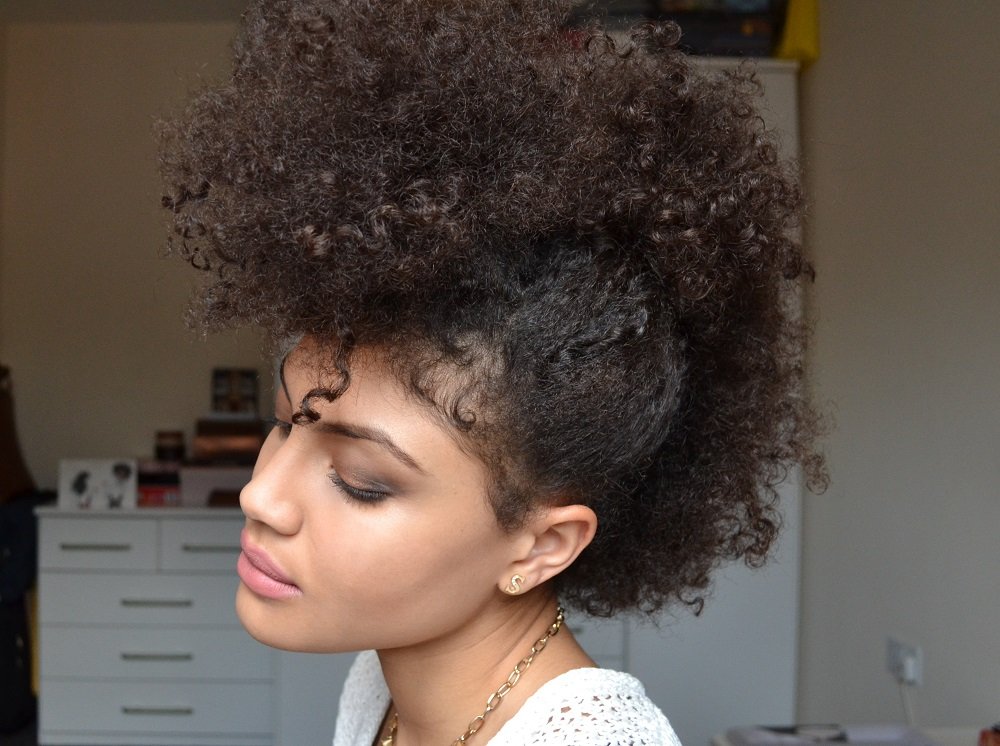
So if you’re having a bad hair day, or maybe just fancy doing something different, why not try out a quick and easy frohawk using one of these simple methods.
I would love to know some of your thoughts. Have you ever tried a frohawk or do you think you’d like to try out this style in the future?
Samio x


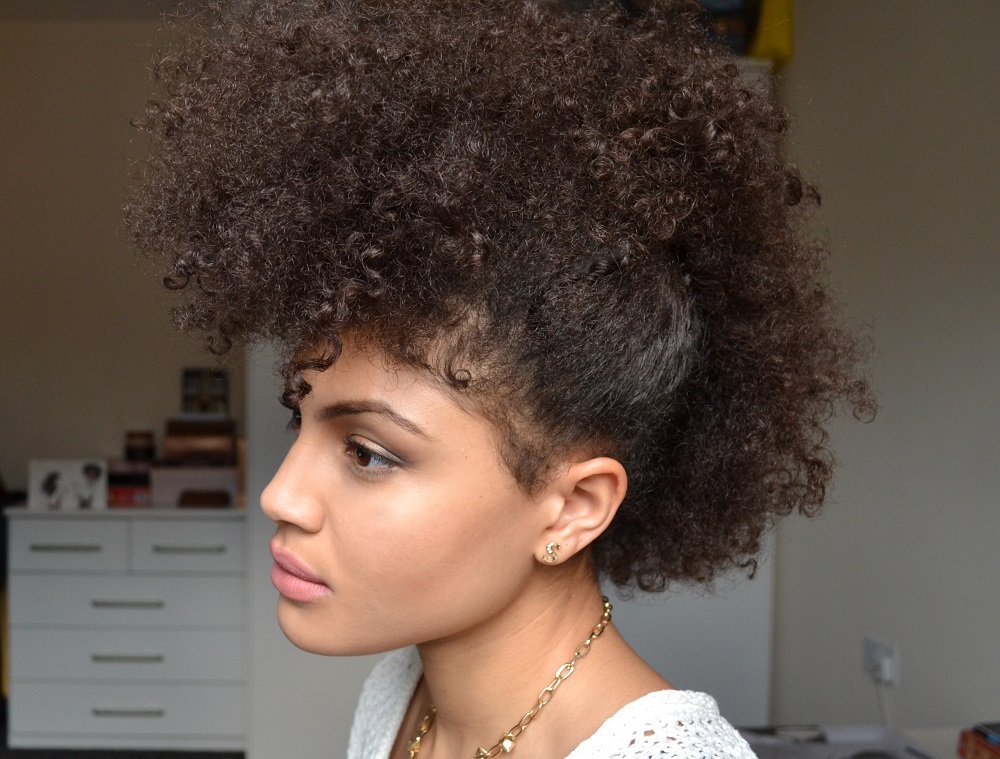

3 comments
I have thick, curly hair and really struggle to think of ways to celebrate it. Will definitely give this frohawk a try so thanks for this great blog!
Zoex
Ah yes, embrace the fro. This is definitely a fun way to rock the afro!
And no problem, I’m glad that it could be of some help. 😀
Samio x
whenever i take my brades down this is my to go to hairstyle thank you!!!!!